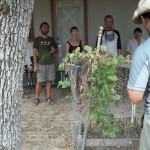
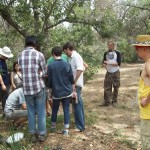
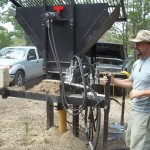
After months of design work and preparation, the time finally arrived to begin this two week adventure in permaculture design. I met with my co-teacher Chowgene Koay a few days before to go over the schedule and get our first few days really well cemented. I also met with guest teachers Dani Slabaugh and Daniel Rollings. We reviewed the course plans and schedule and prepared for the first days of the course.
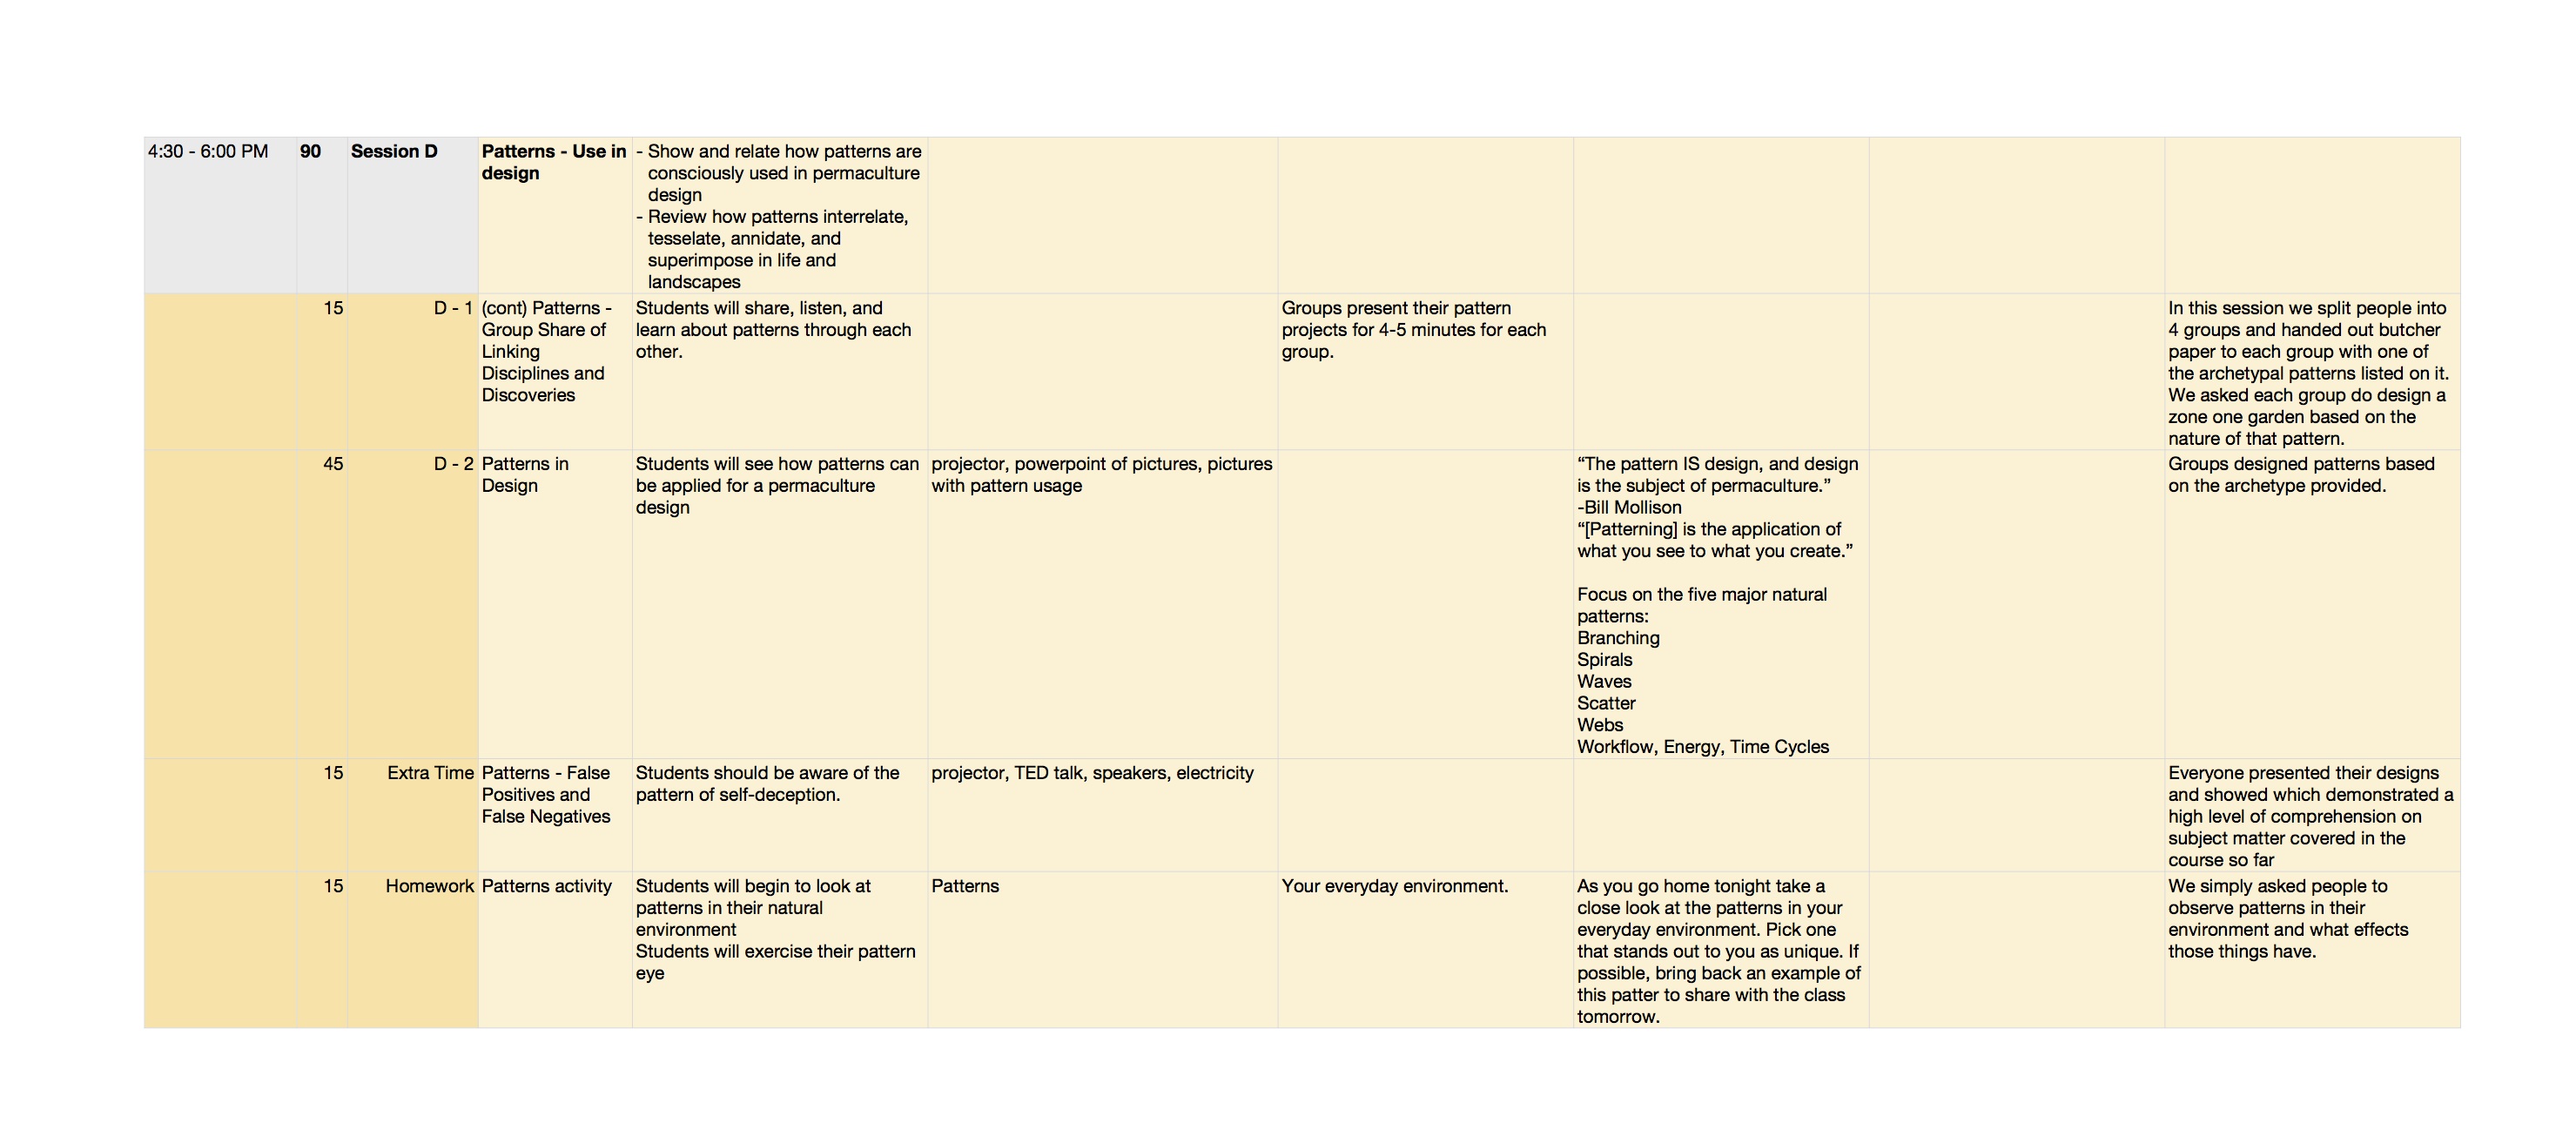
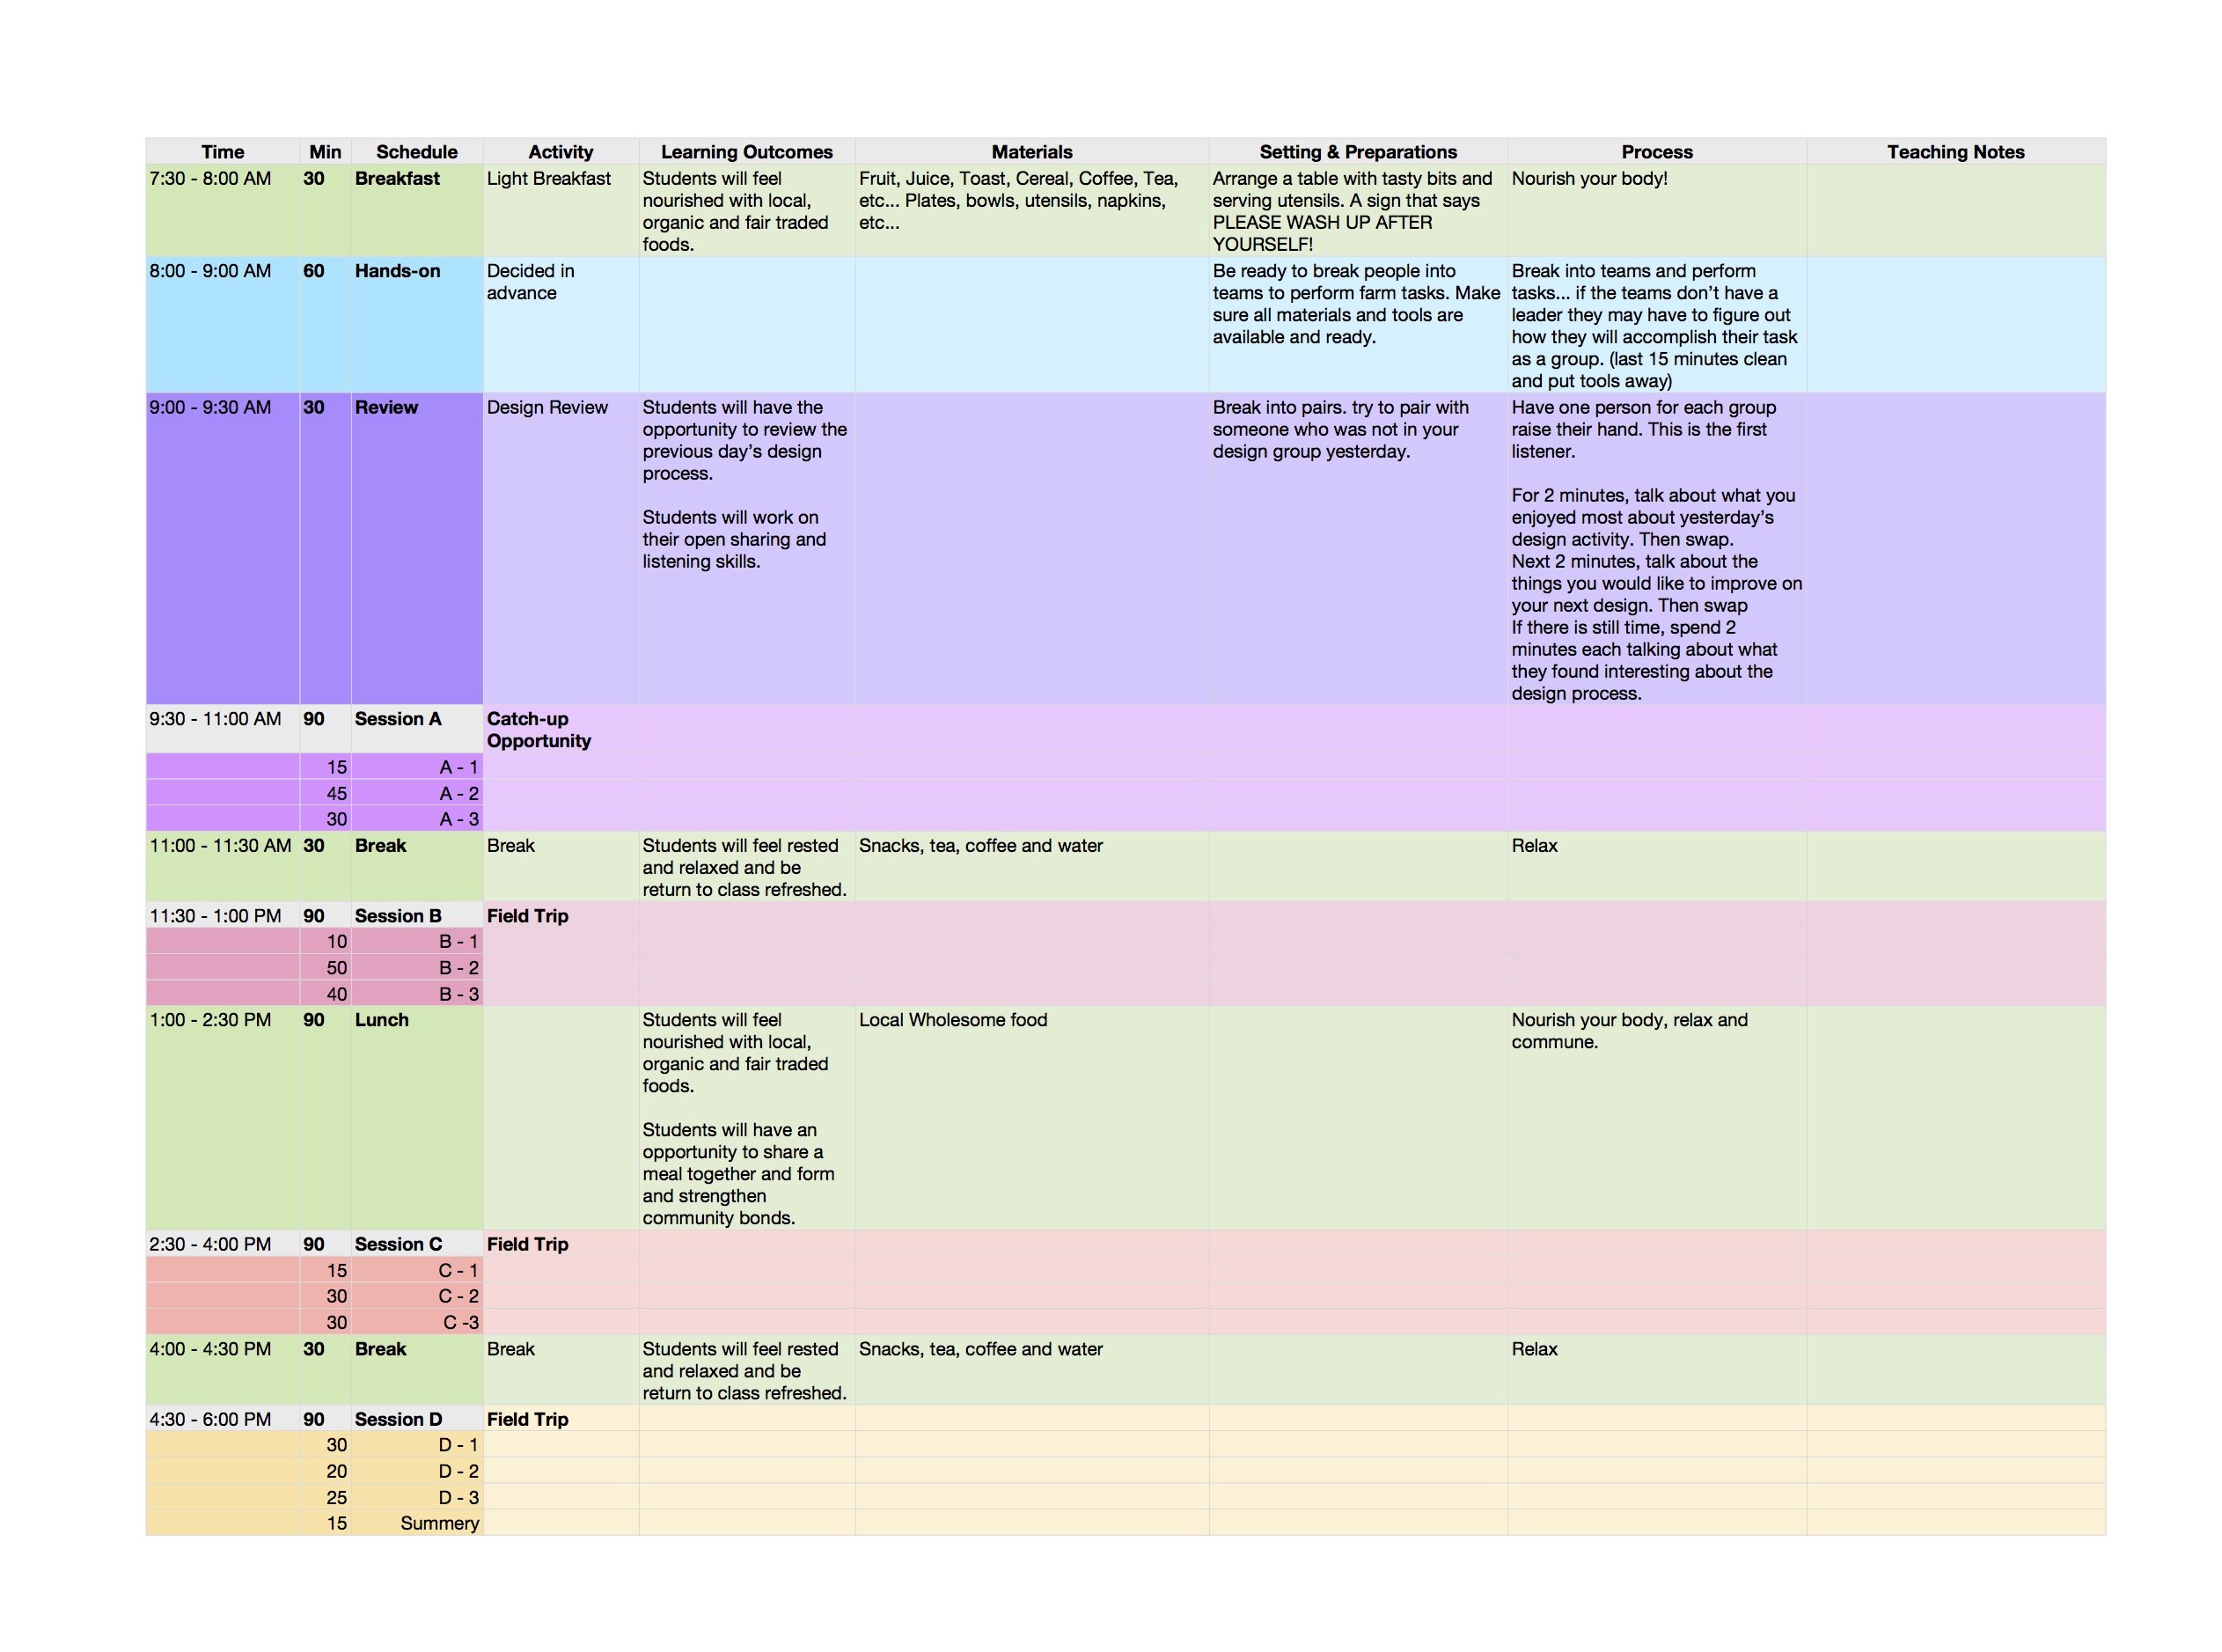
I’ve separated the course outline into various sections and included images and video below where available. Sadly, my external hard drive crashed while working on the documentation of this section and so some of the areas below have gaps that I hope to be able to fill as I gather resources from course participants.
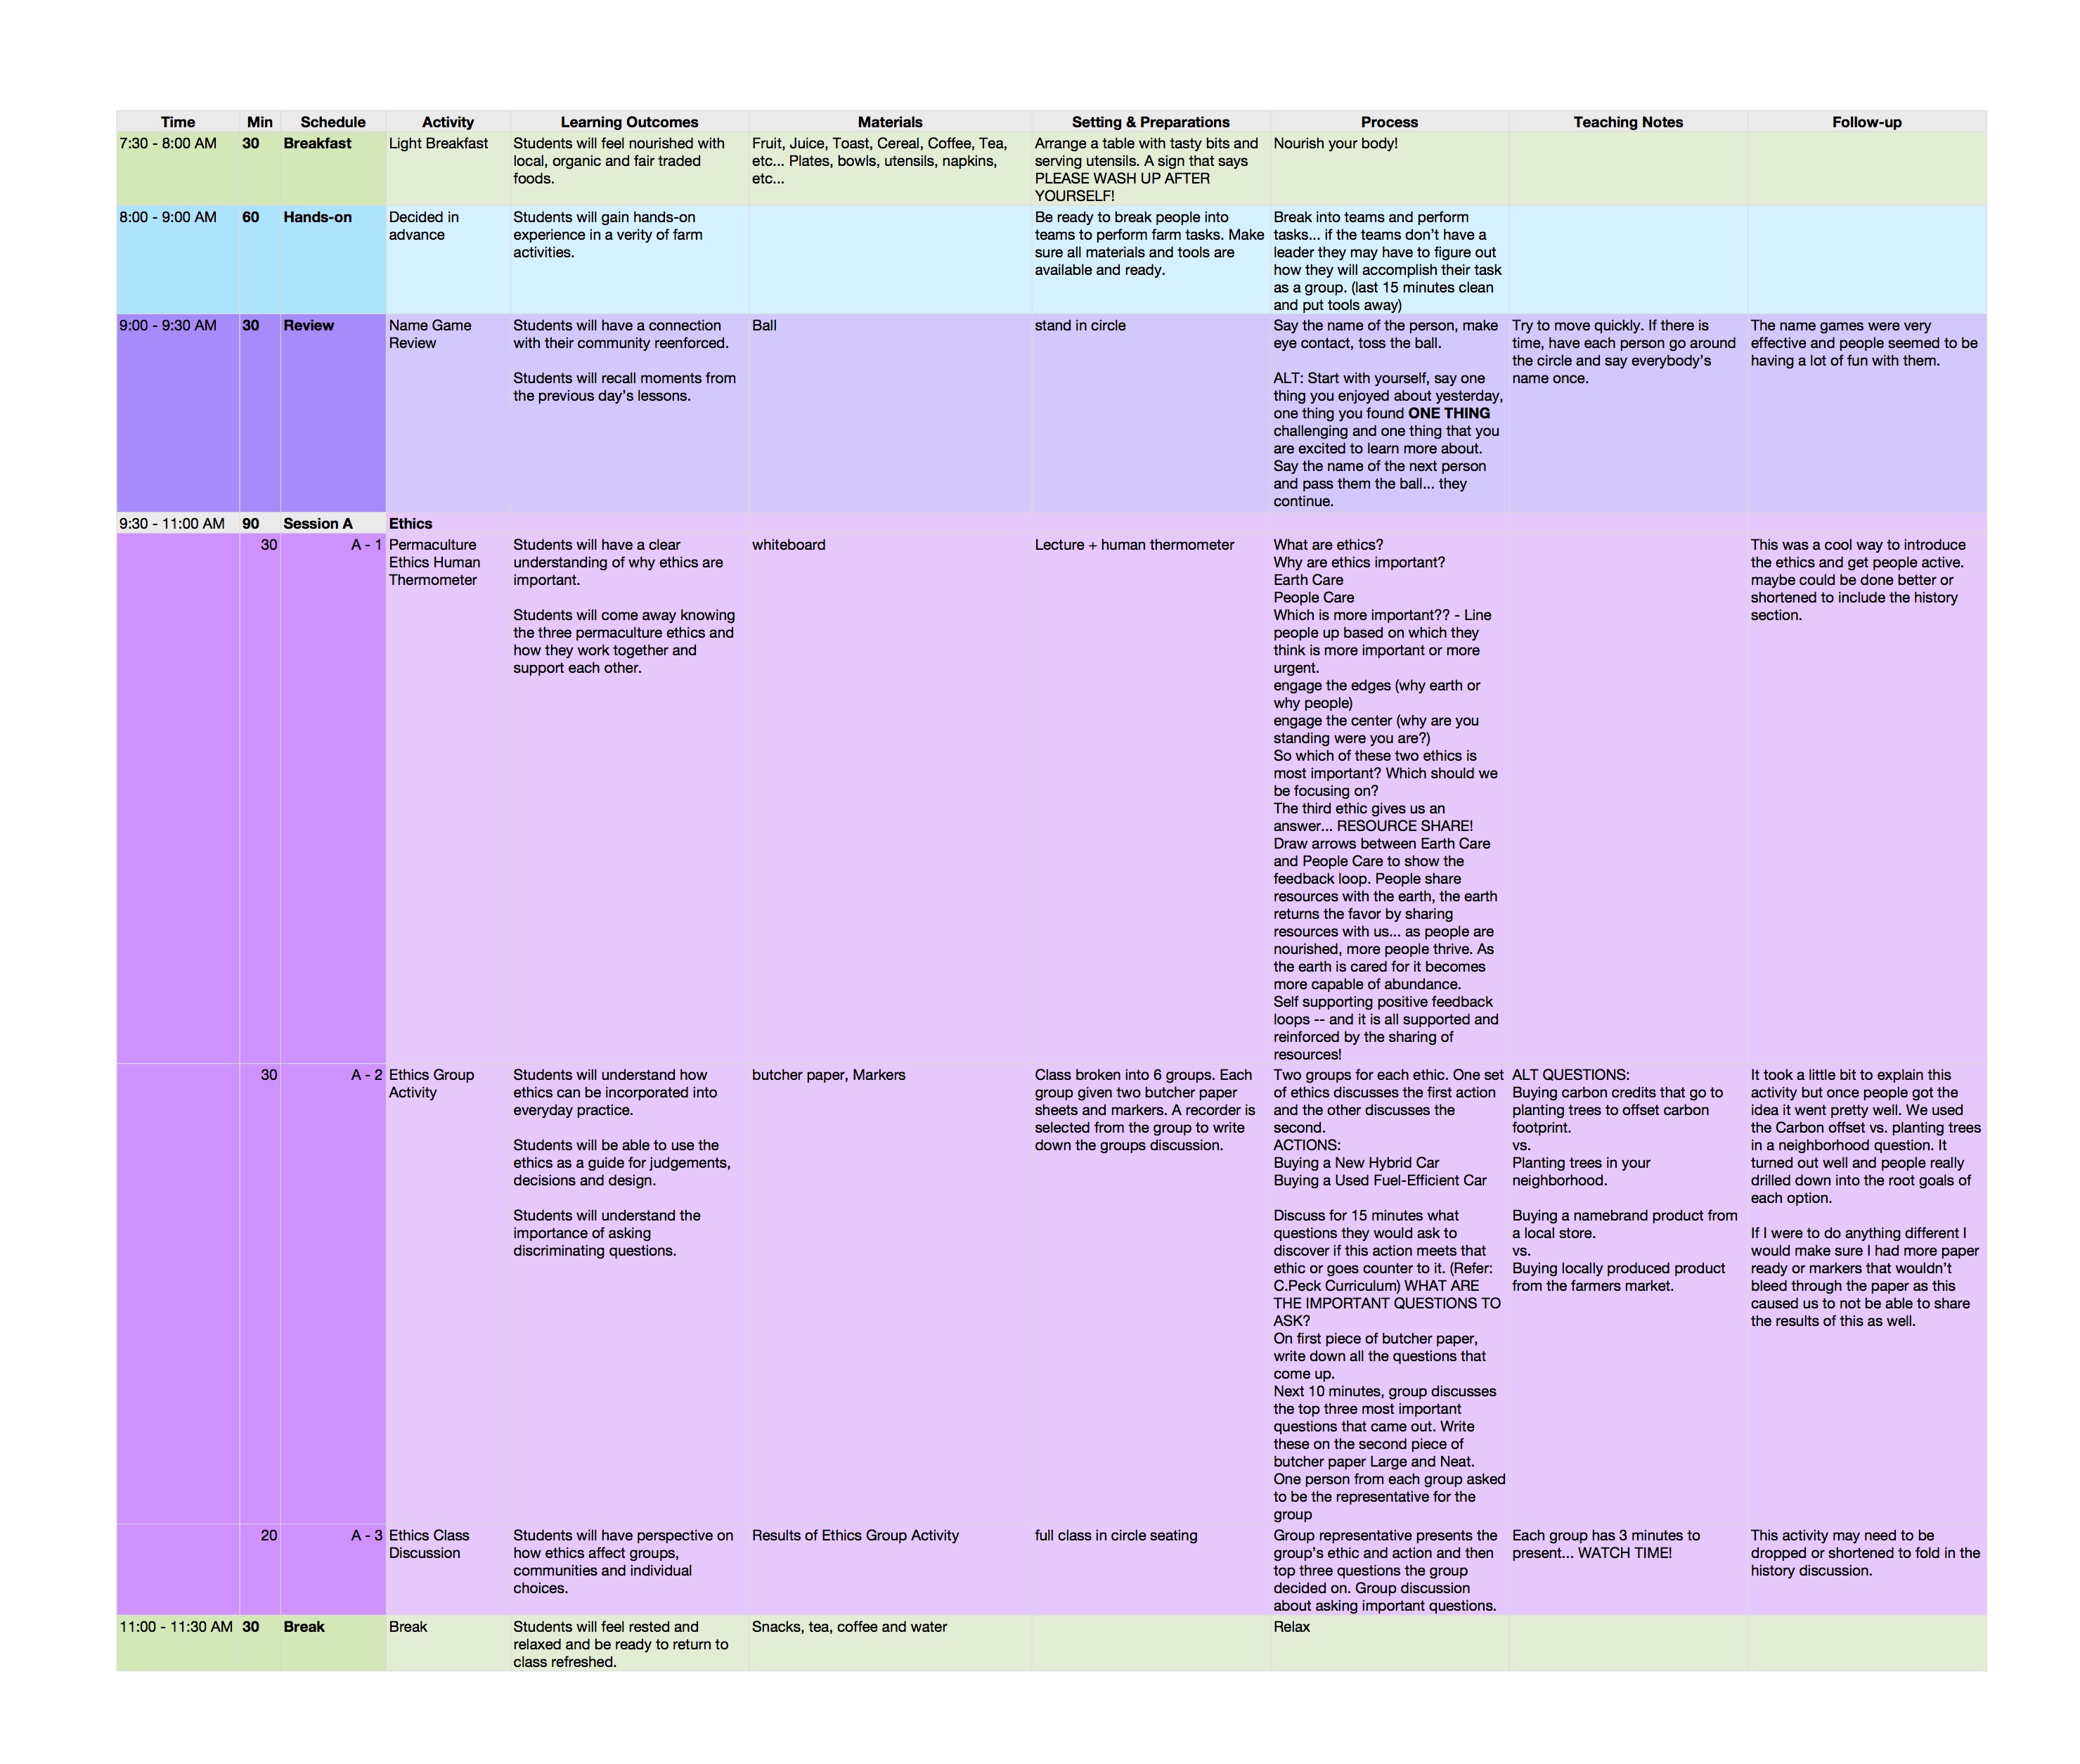
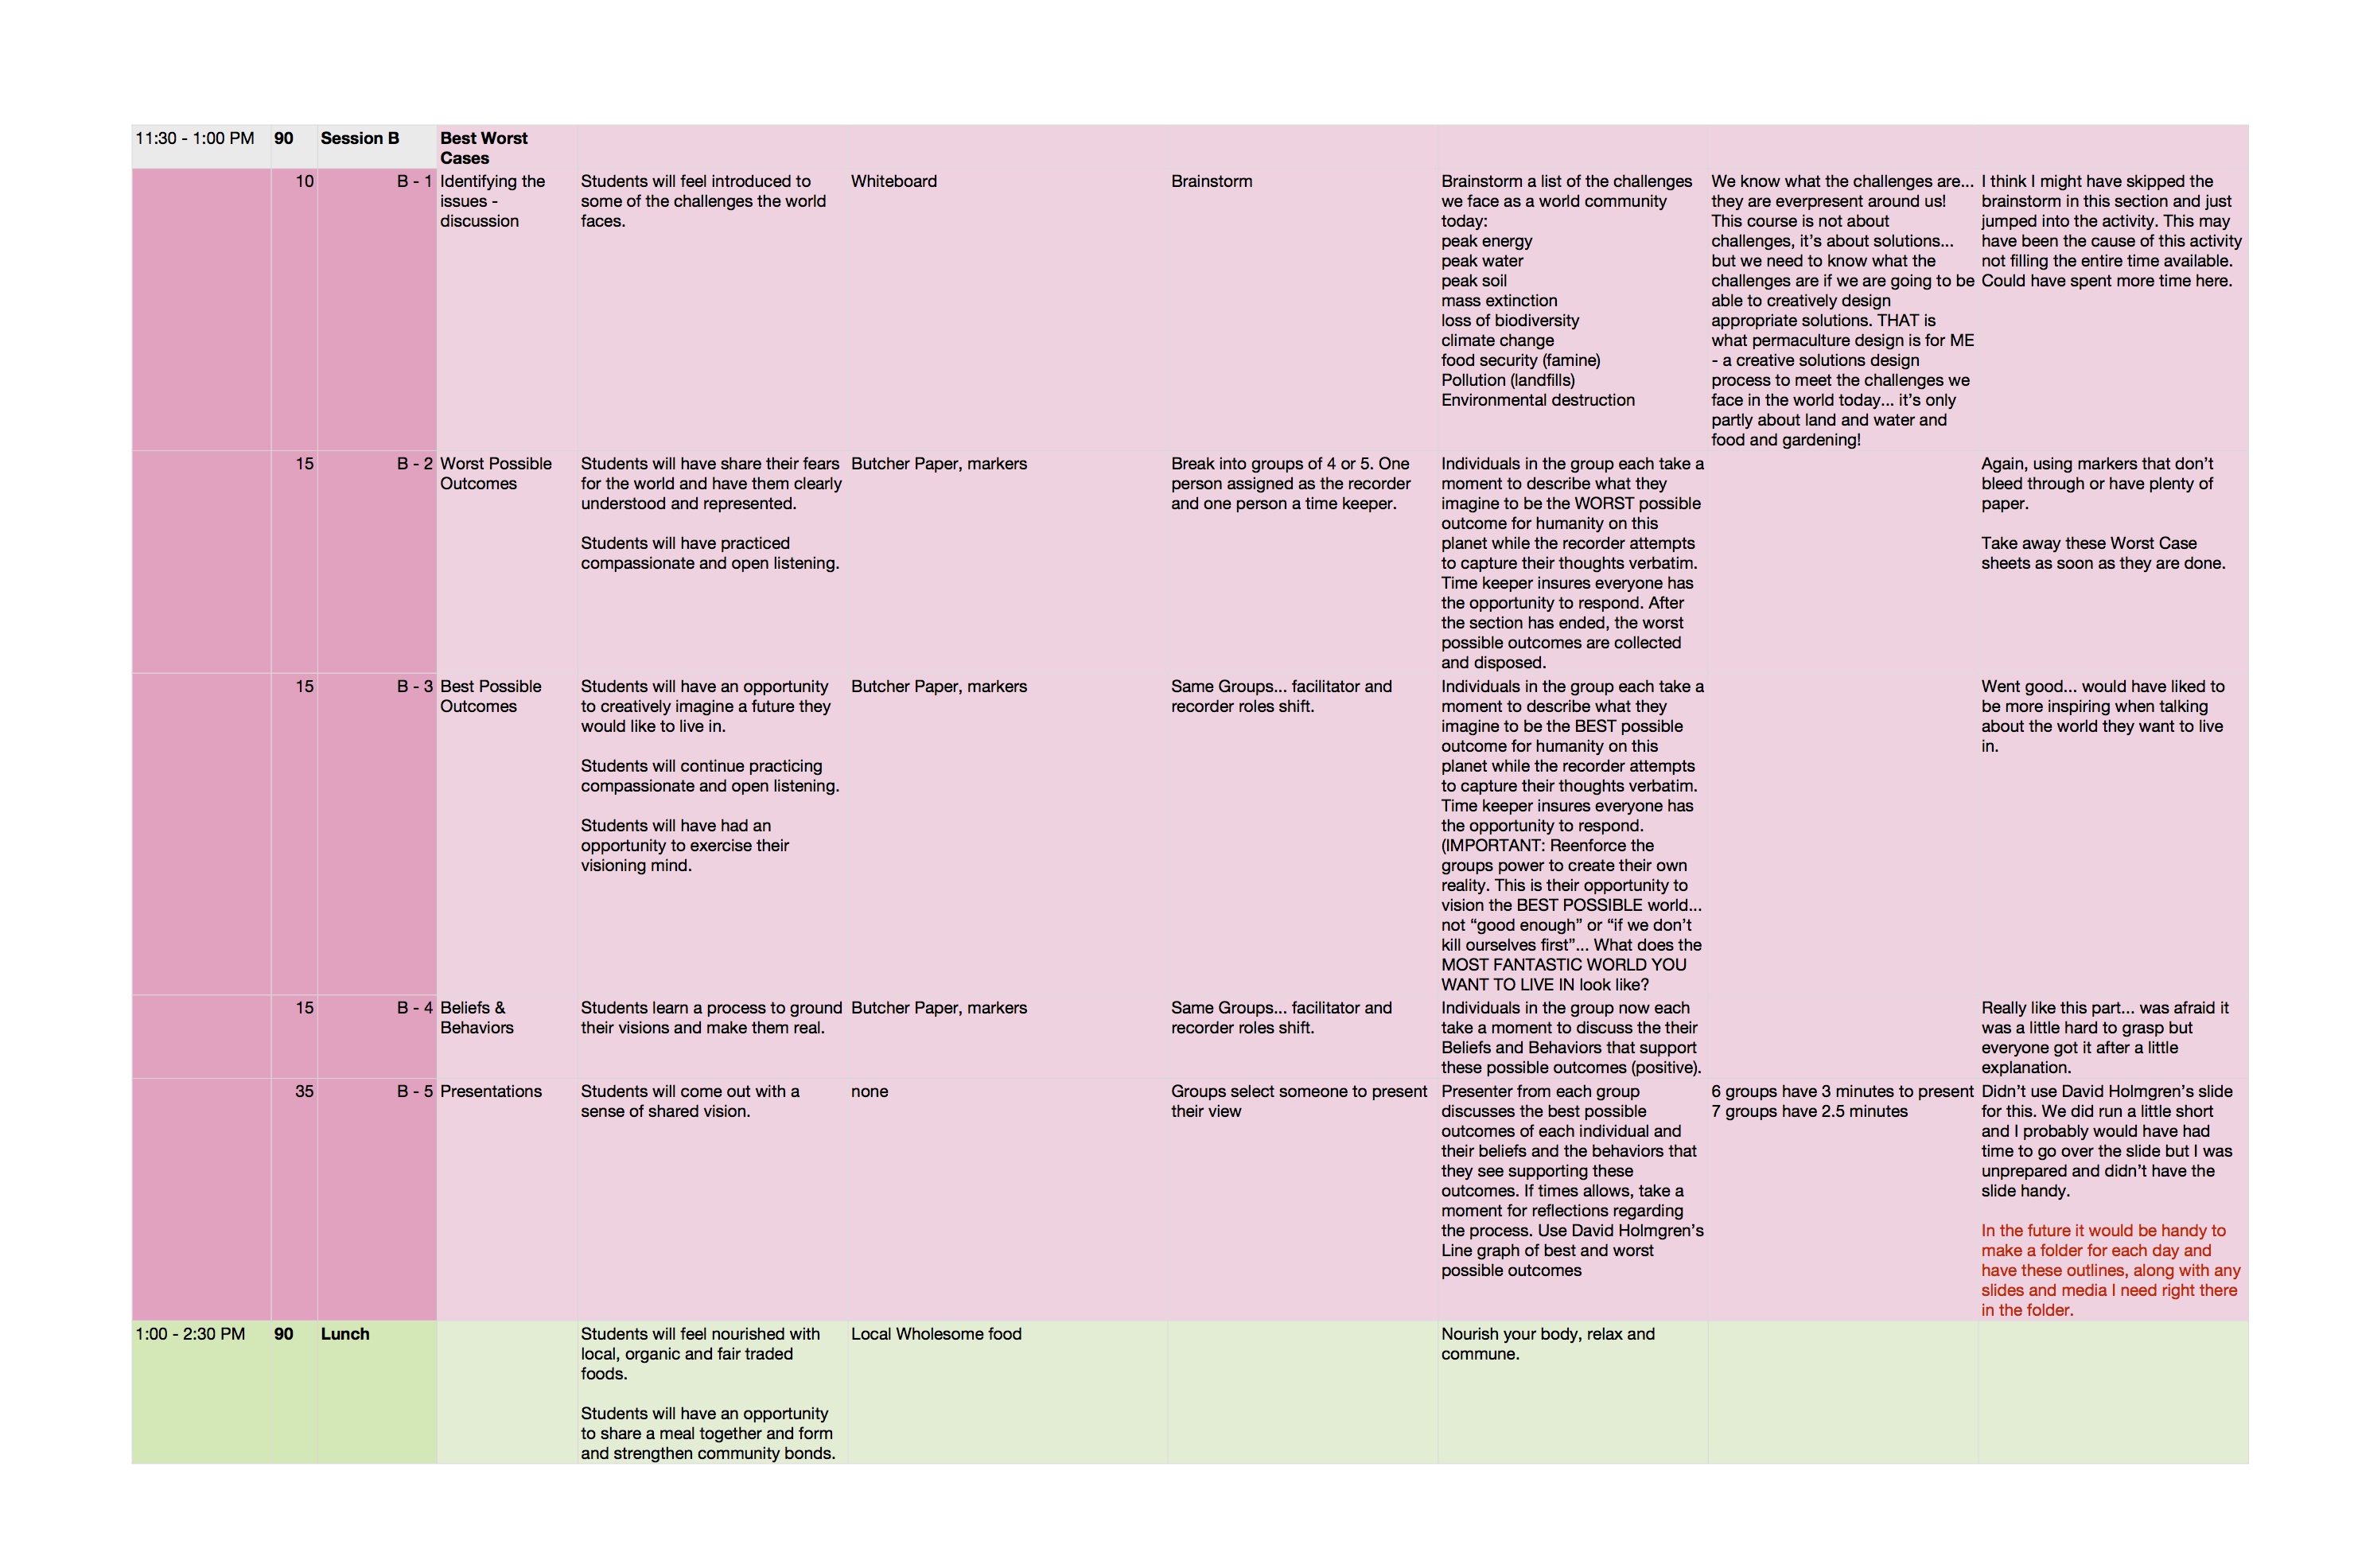
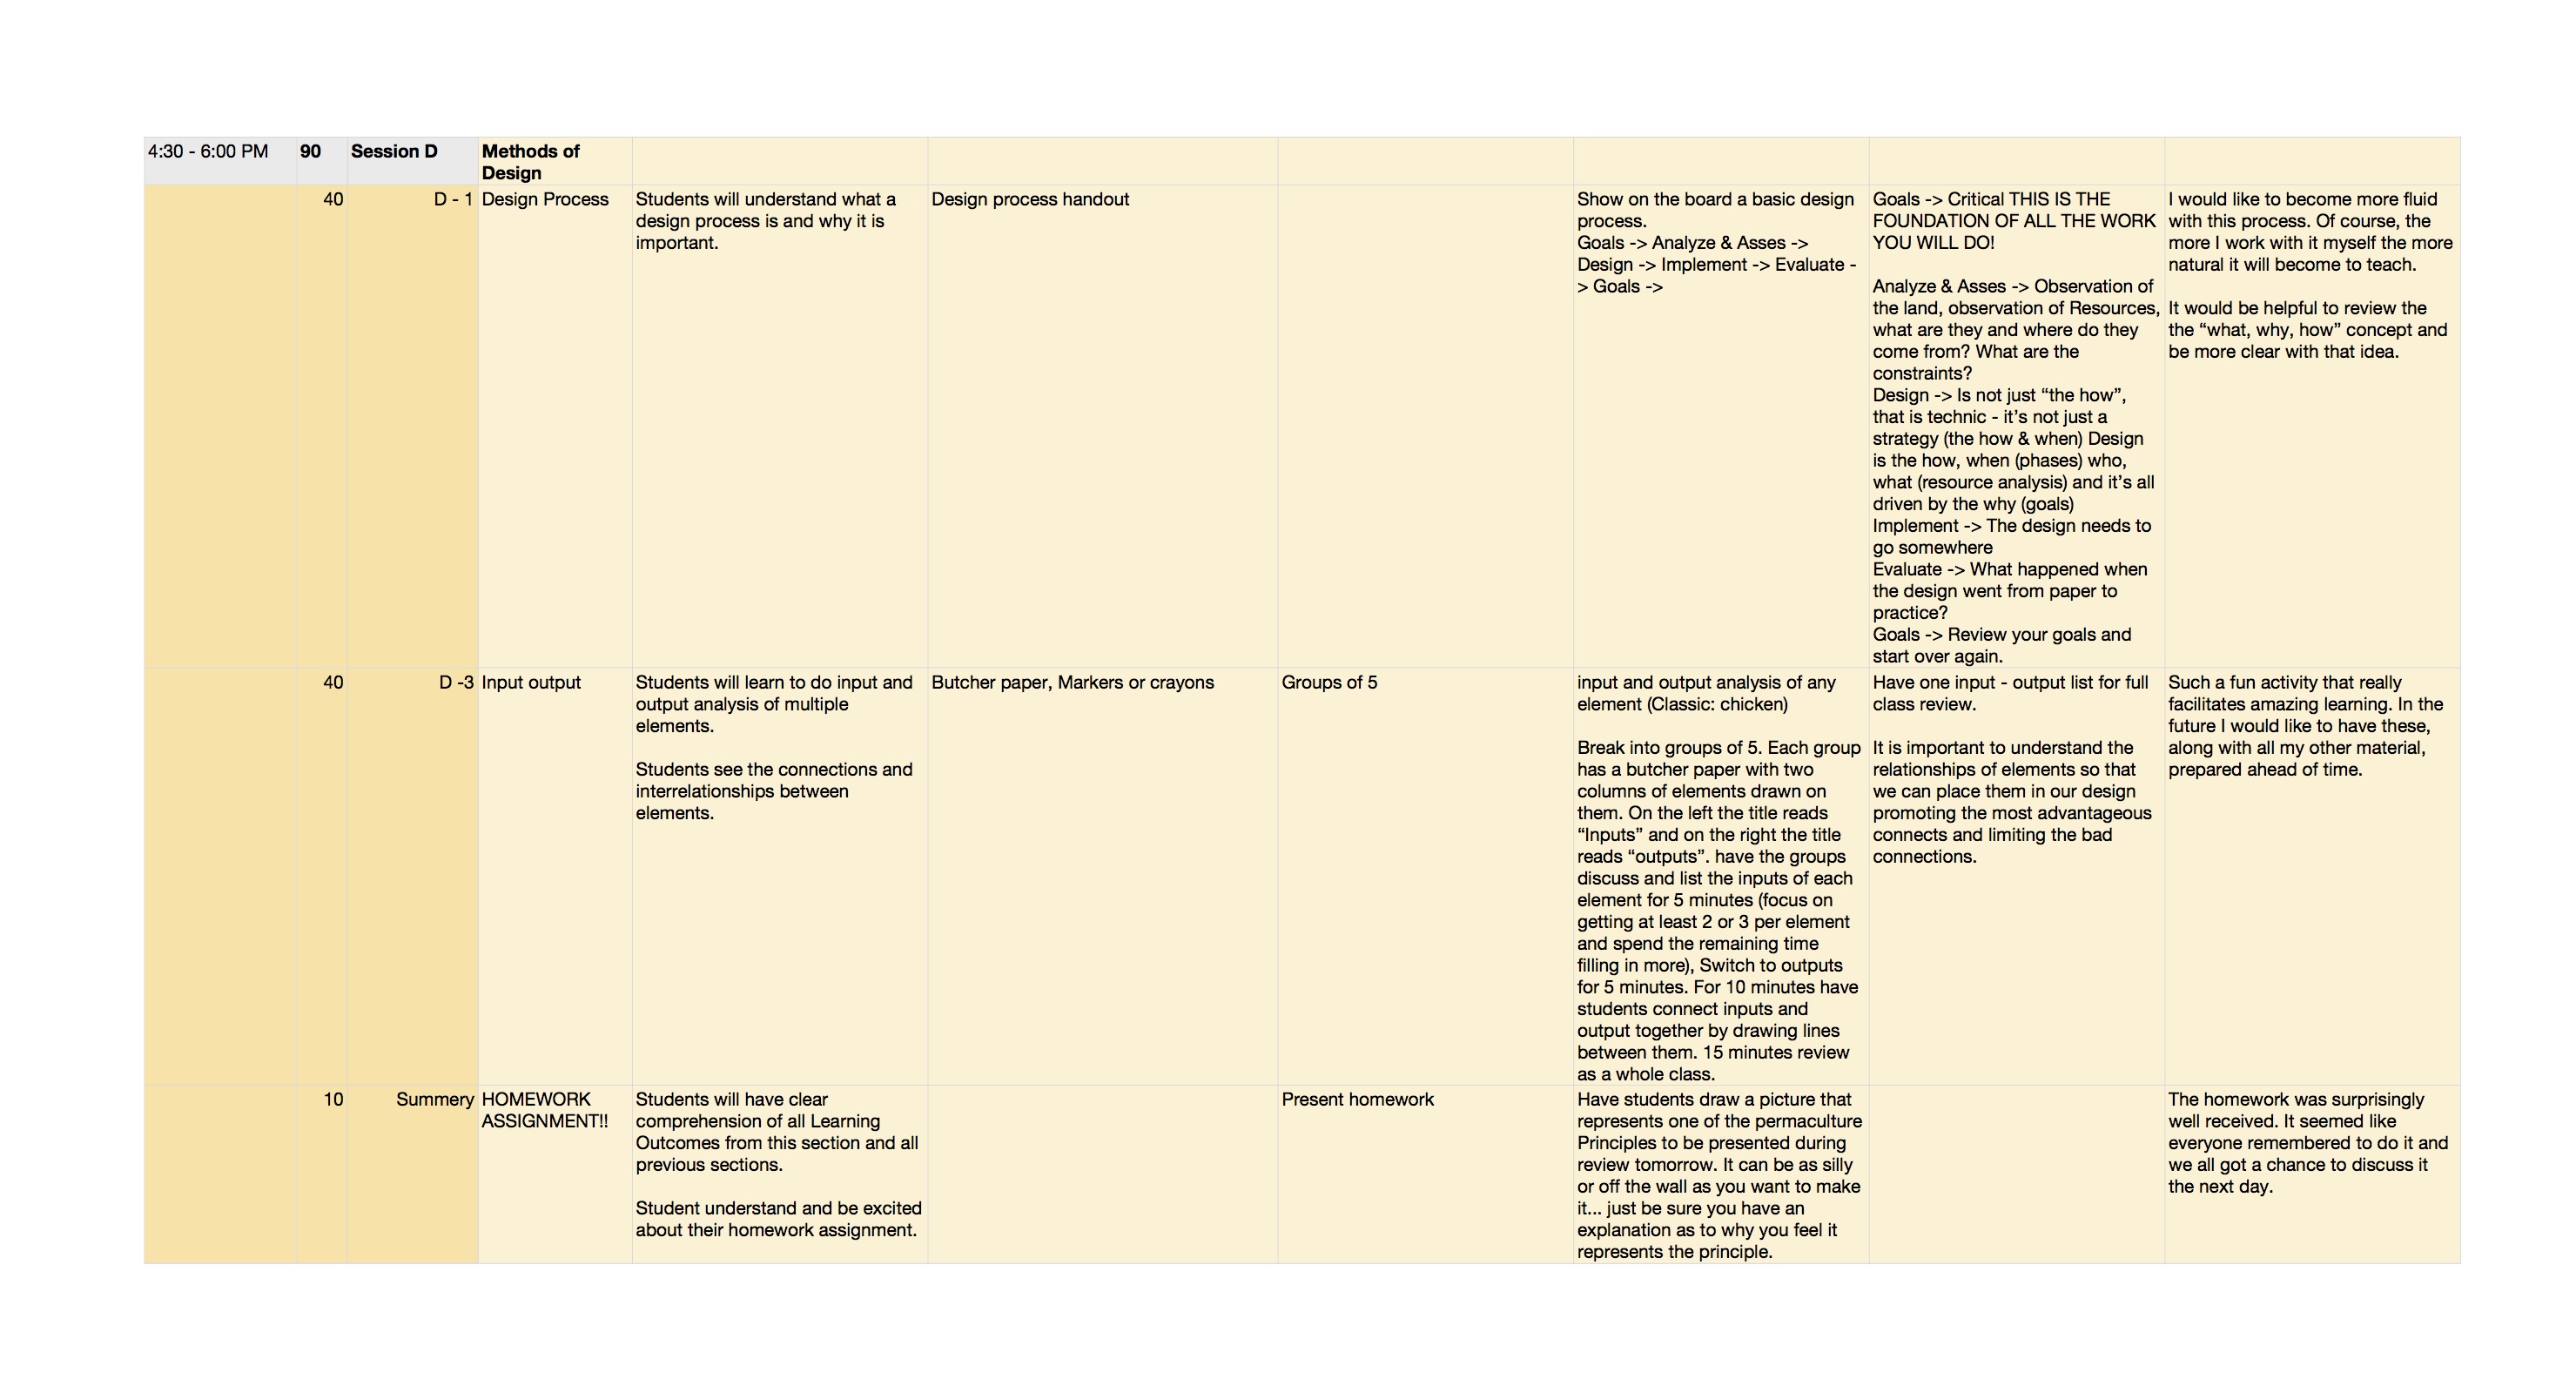
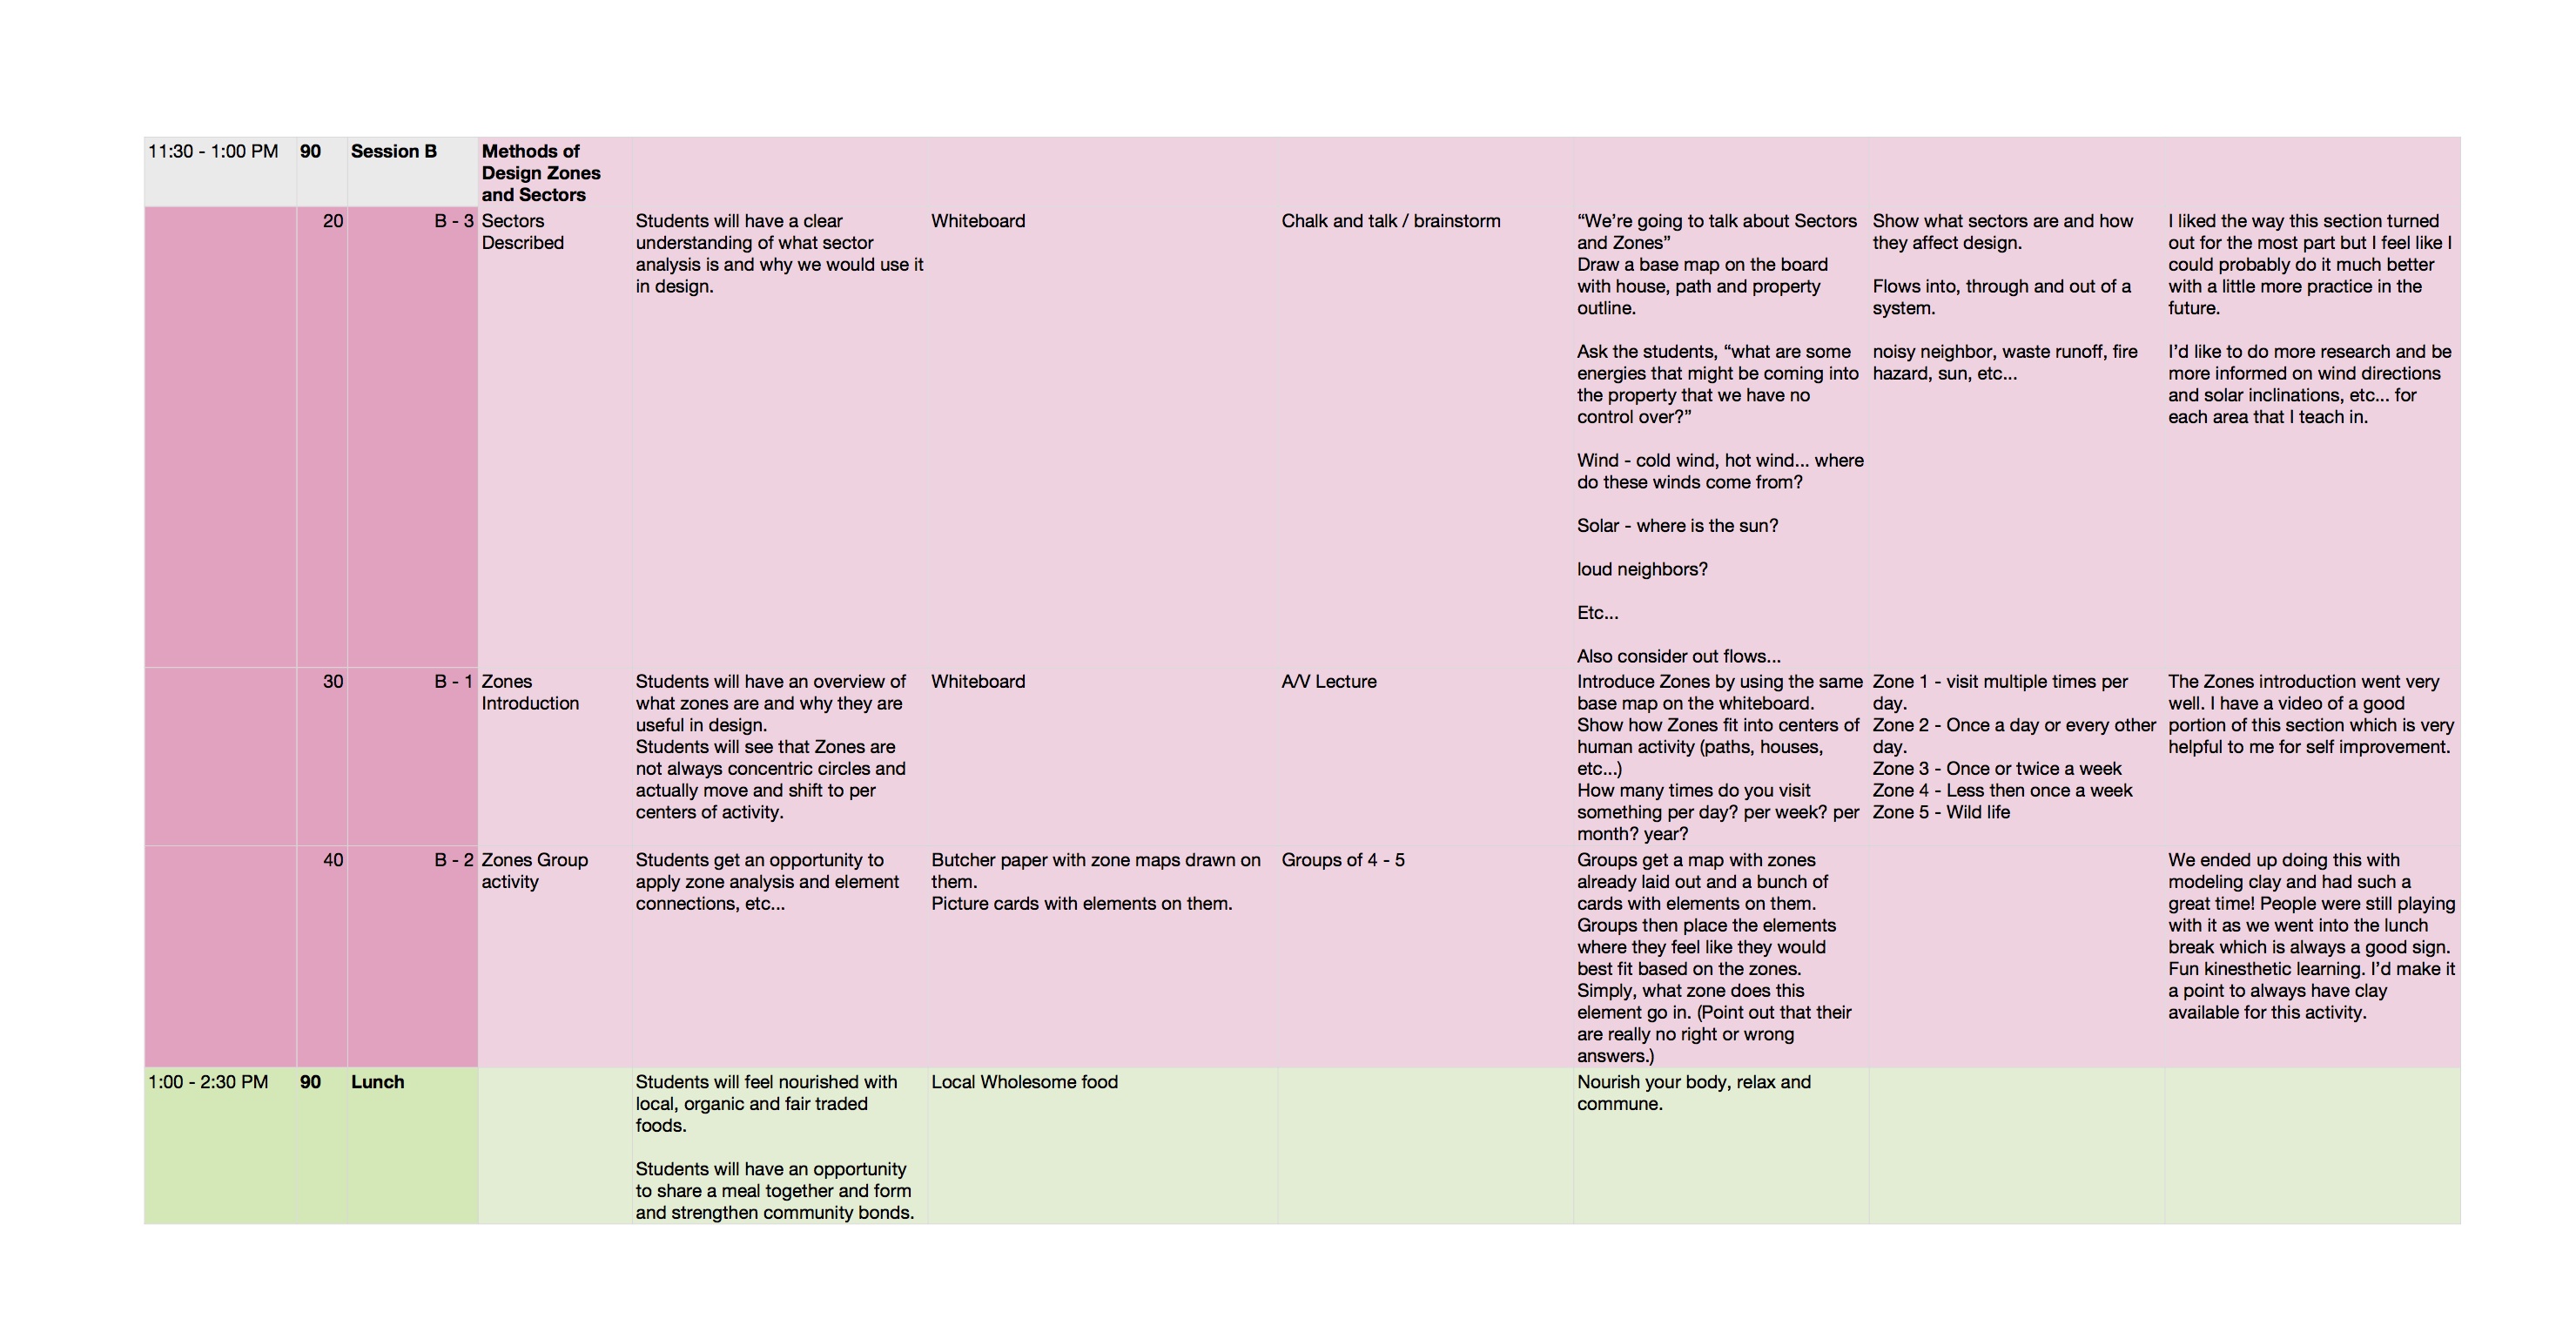
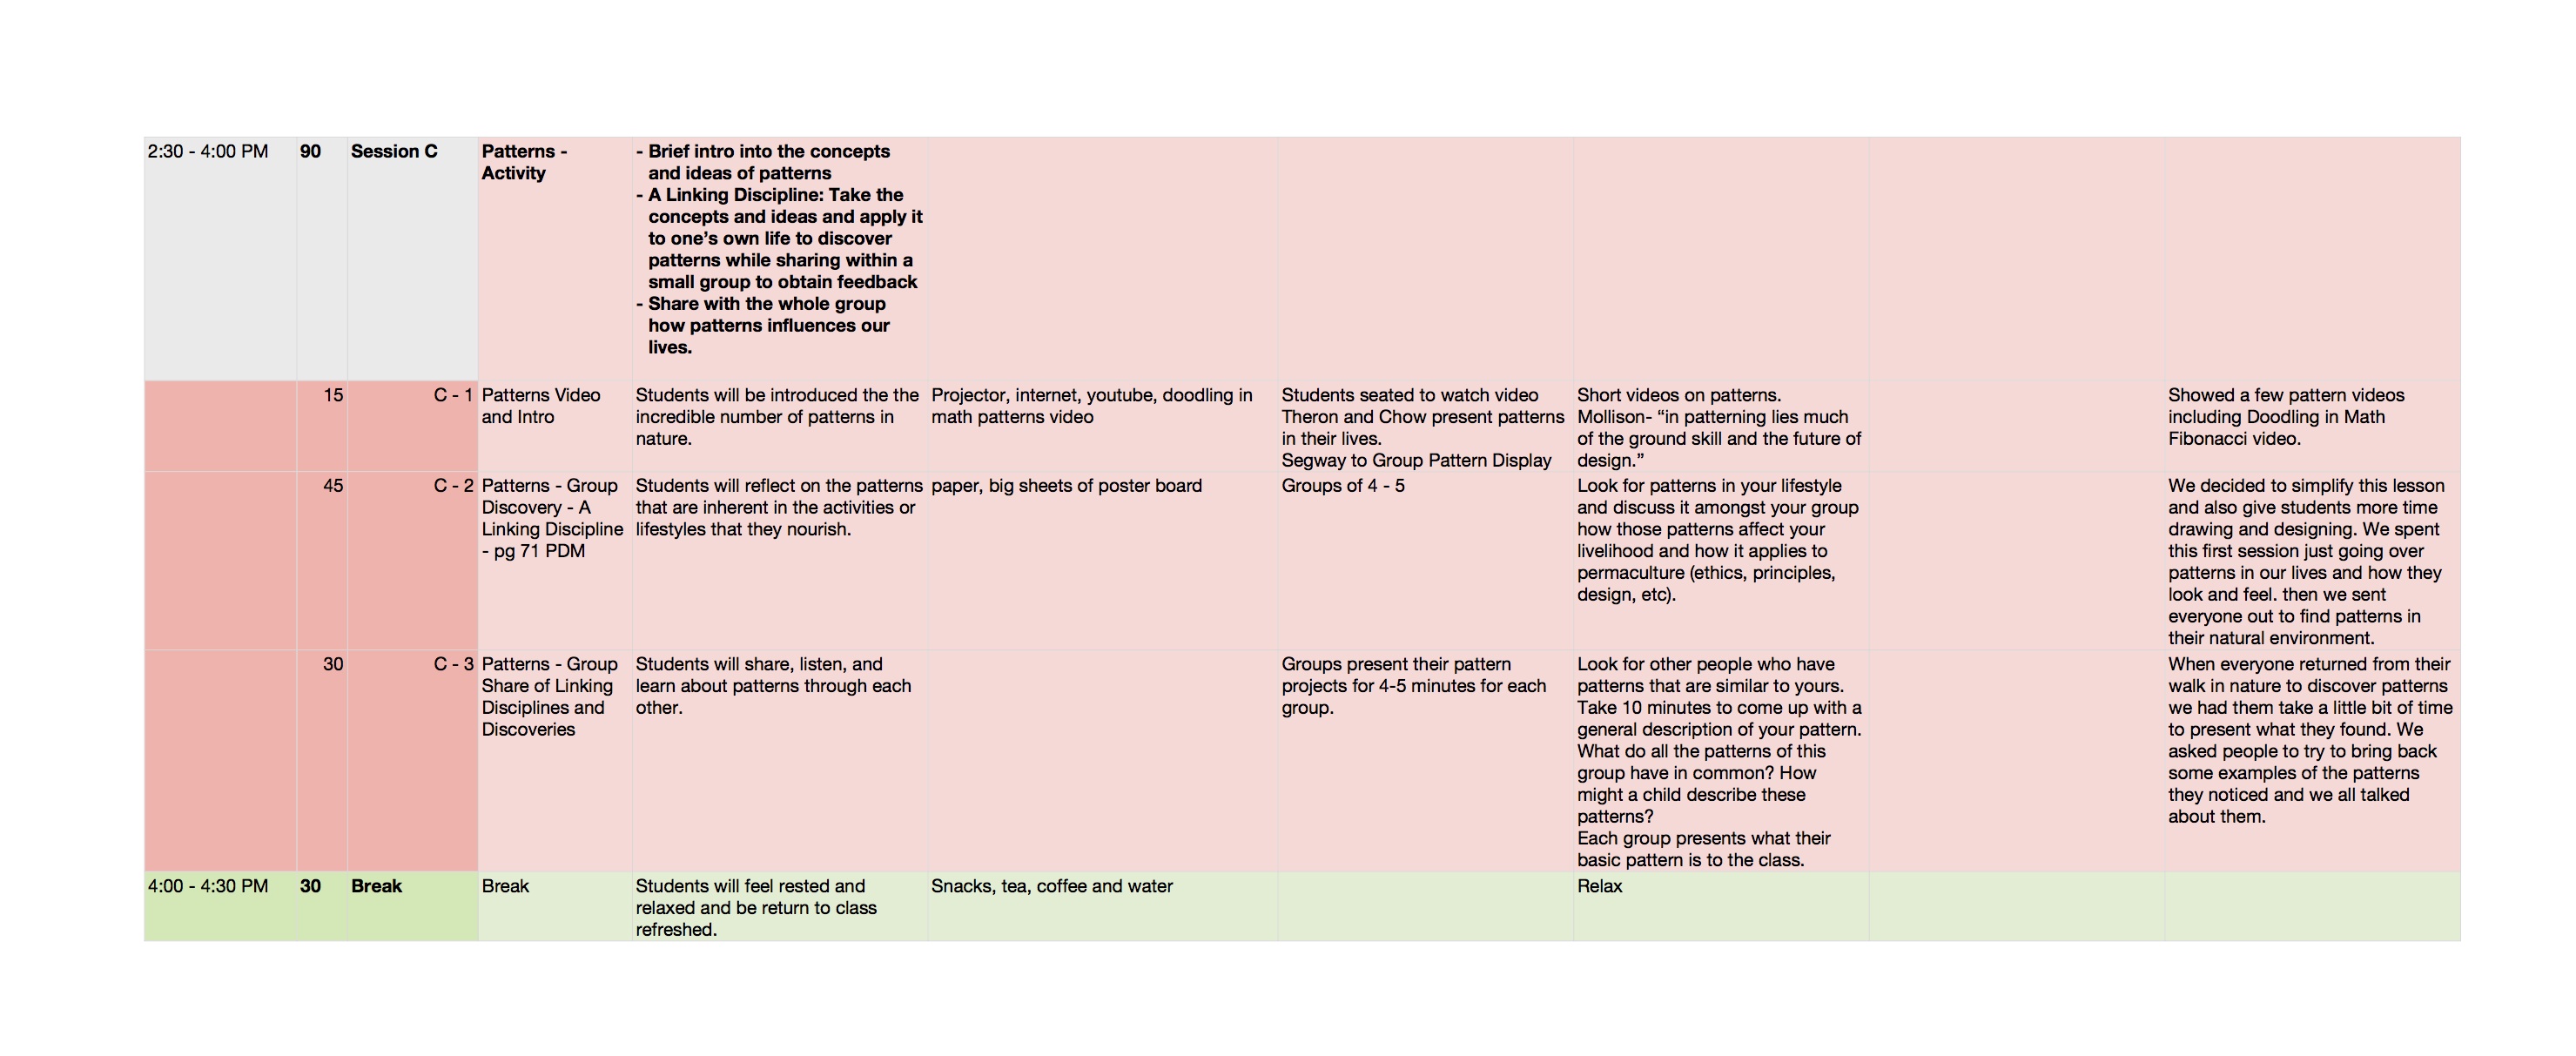
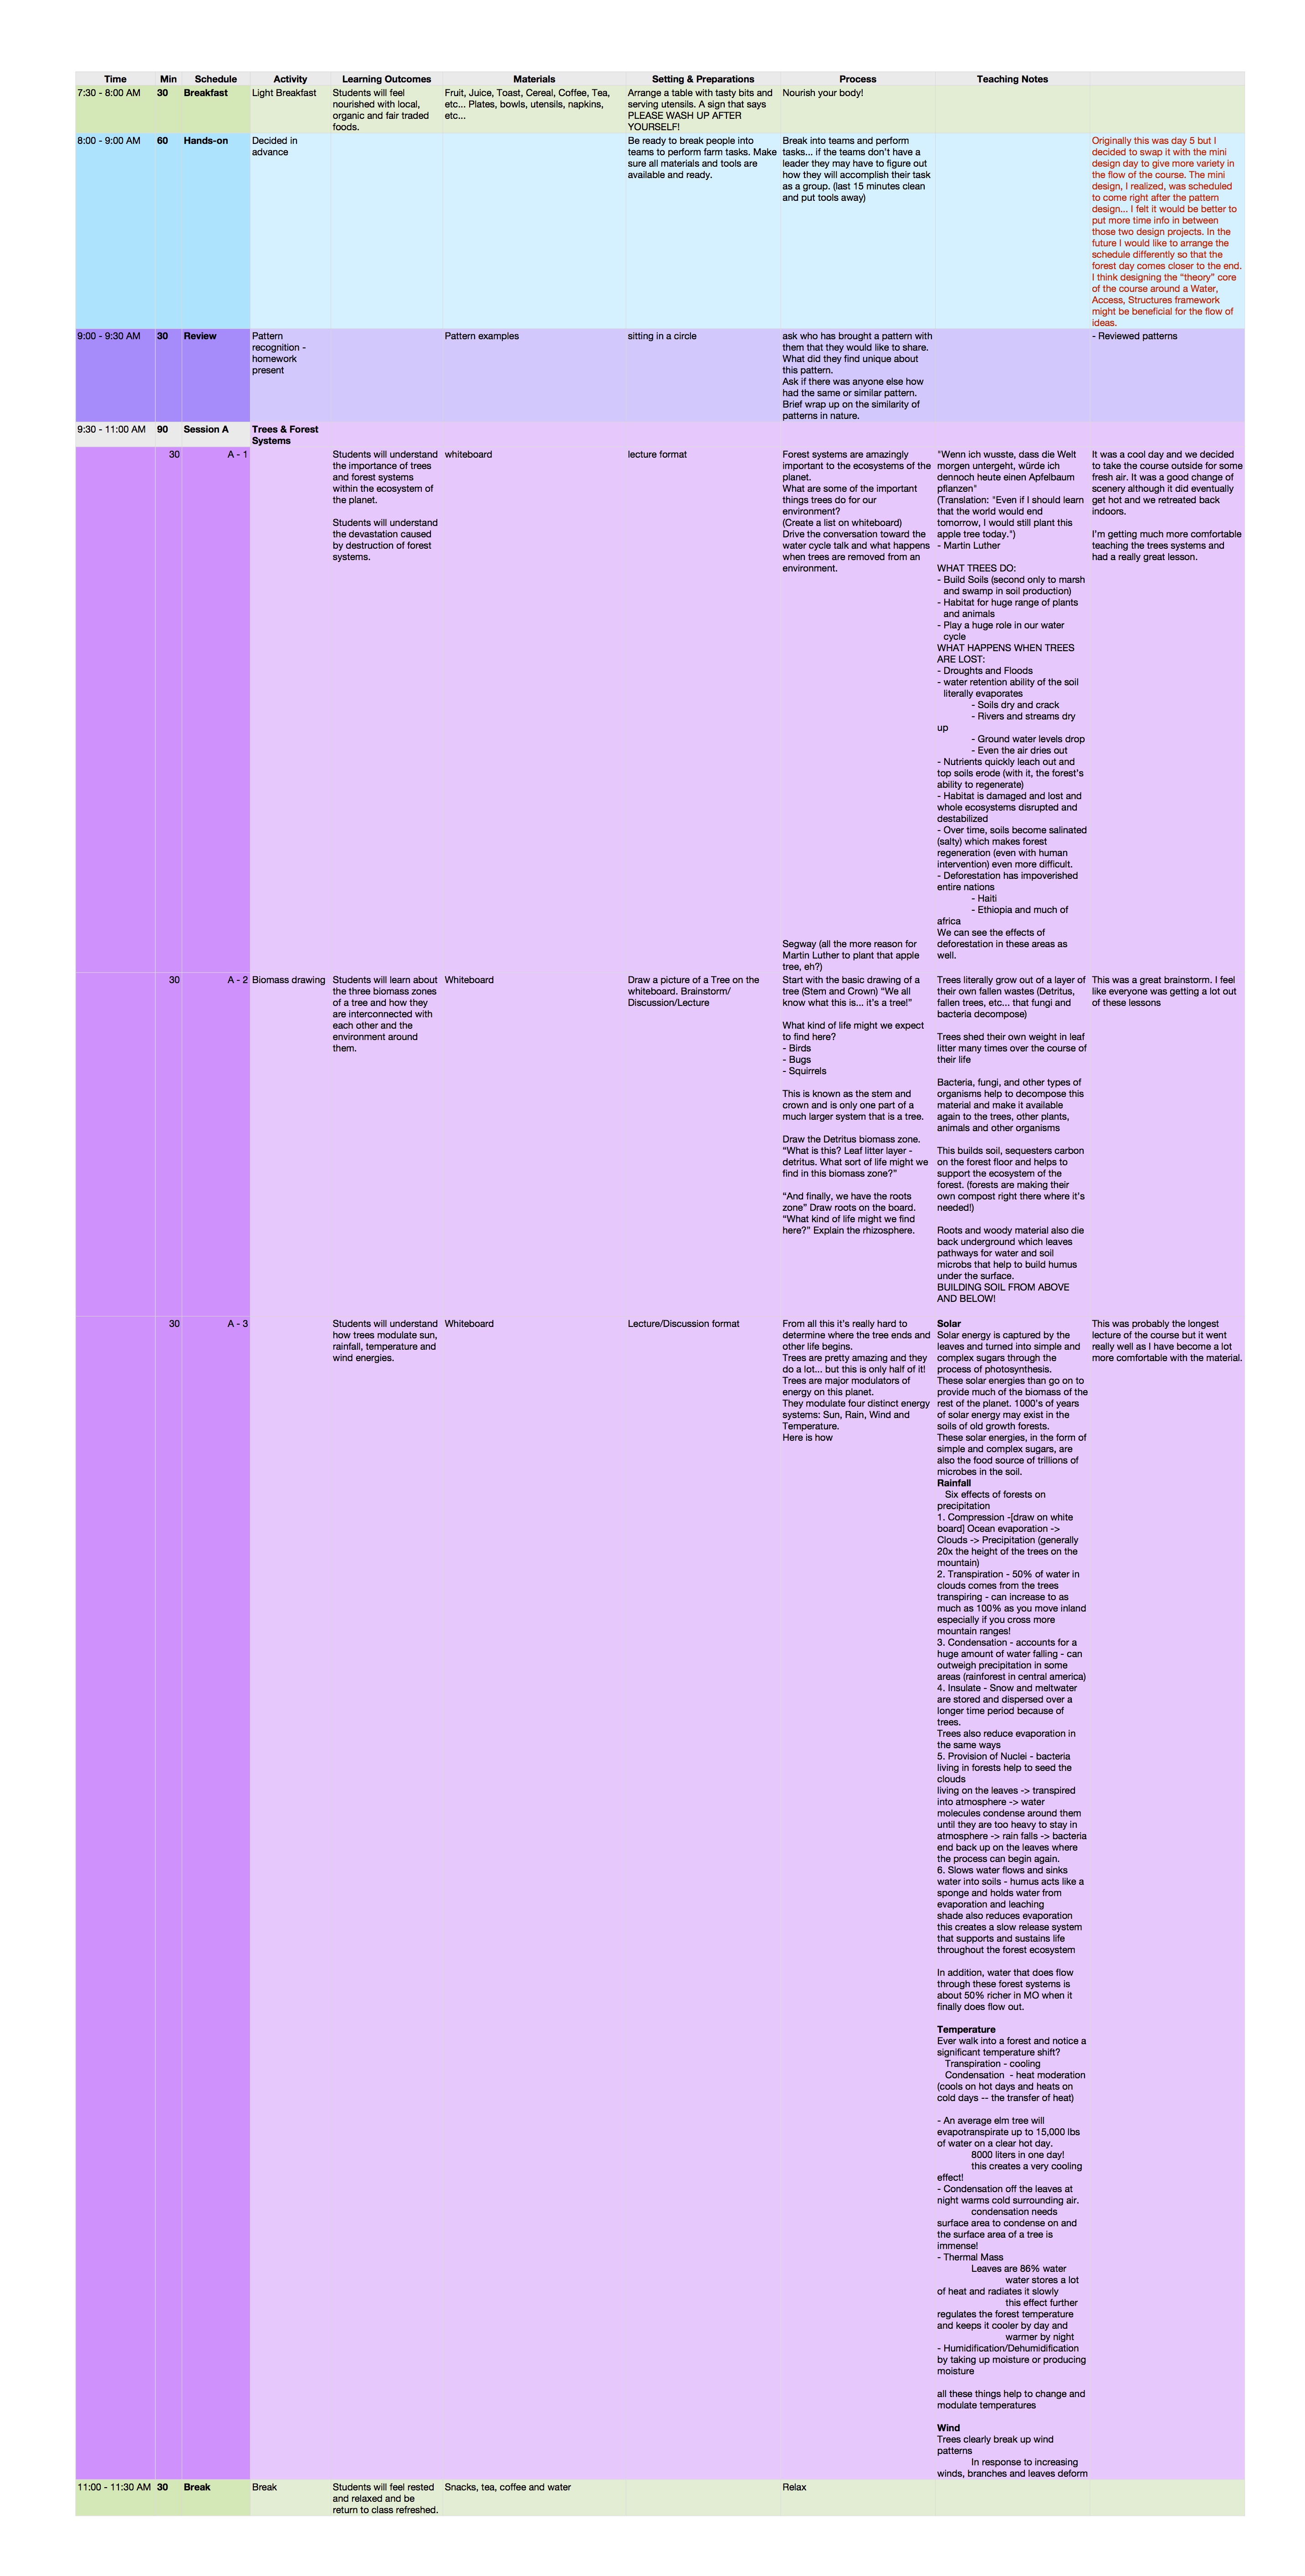
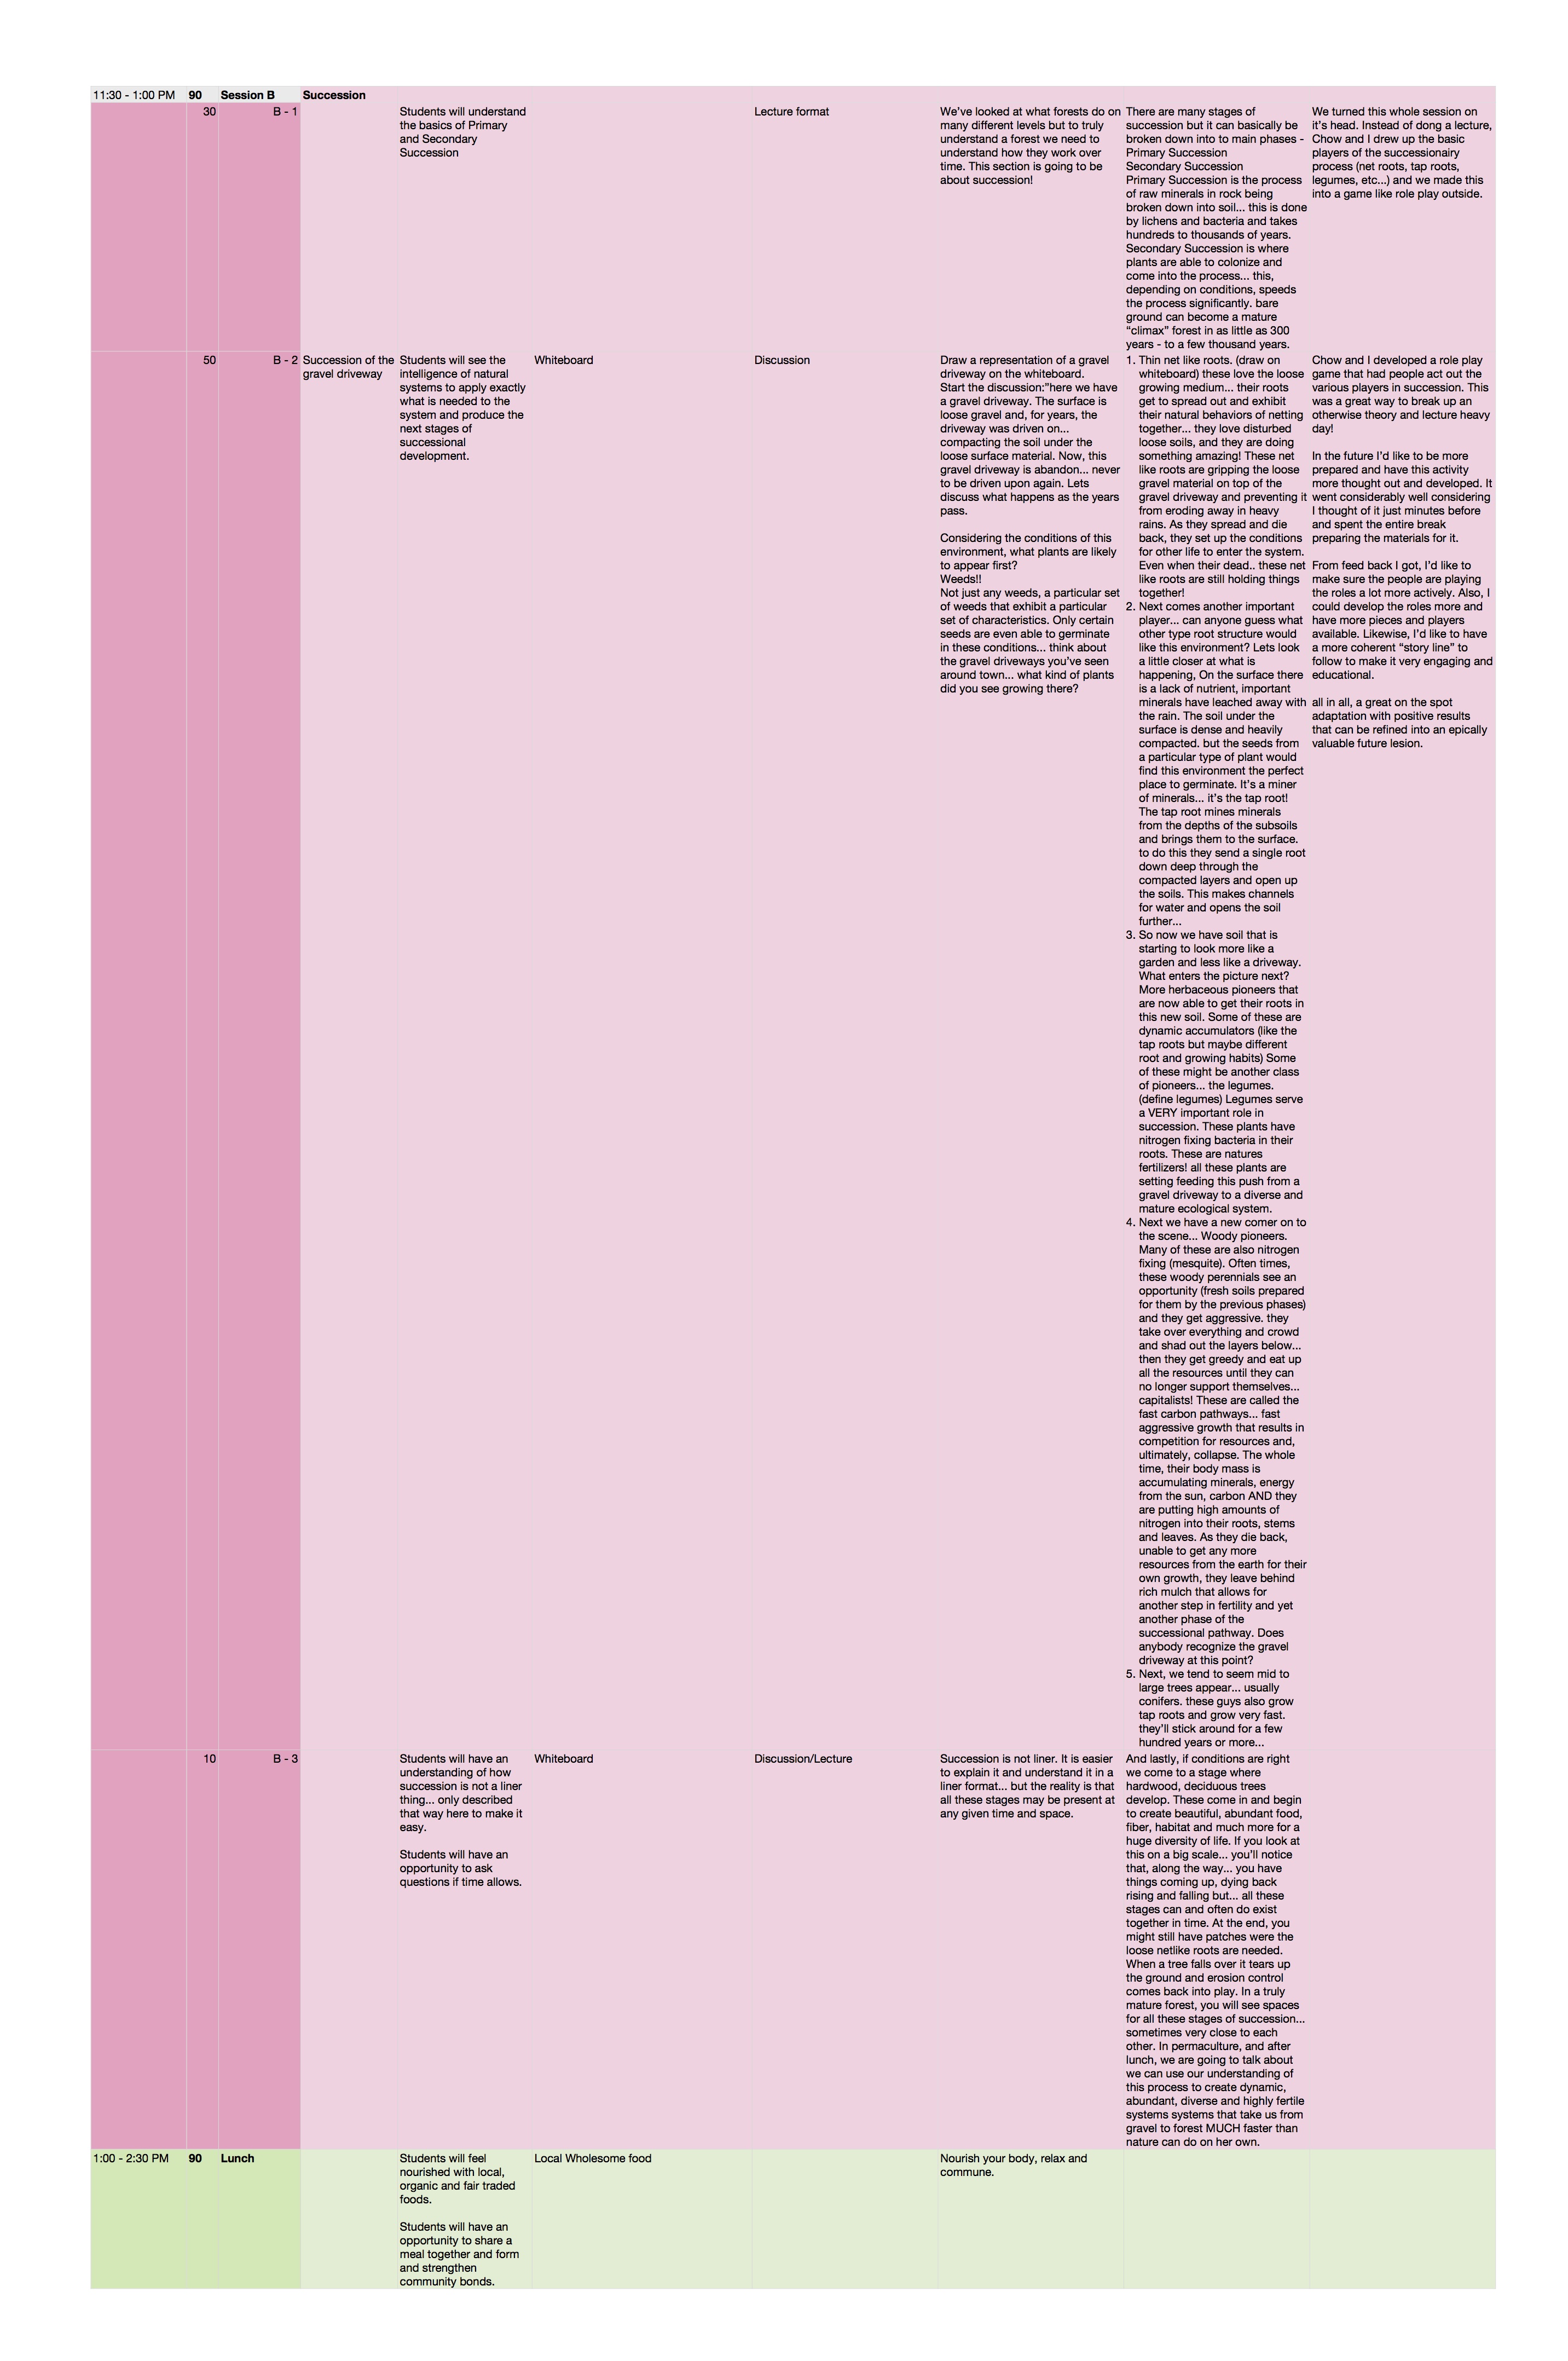
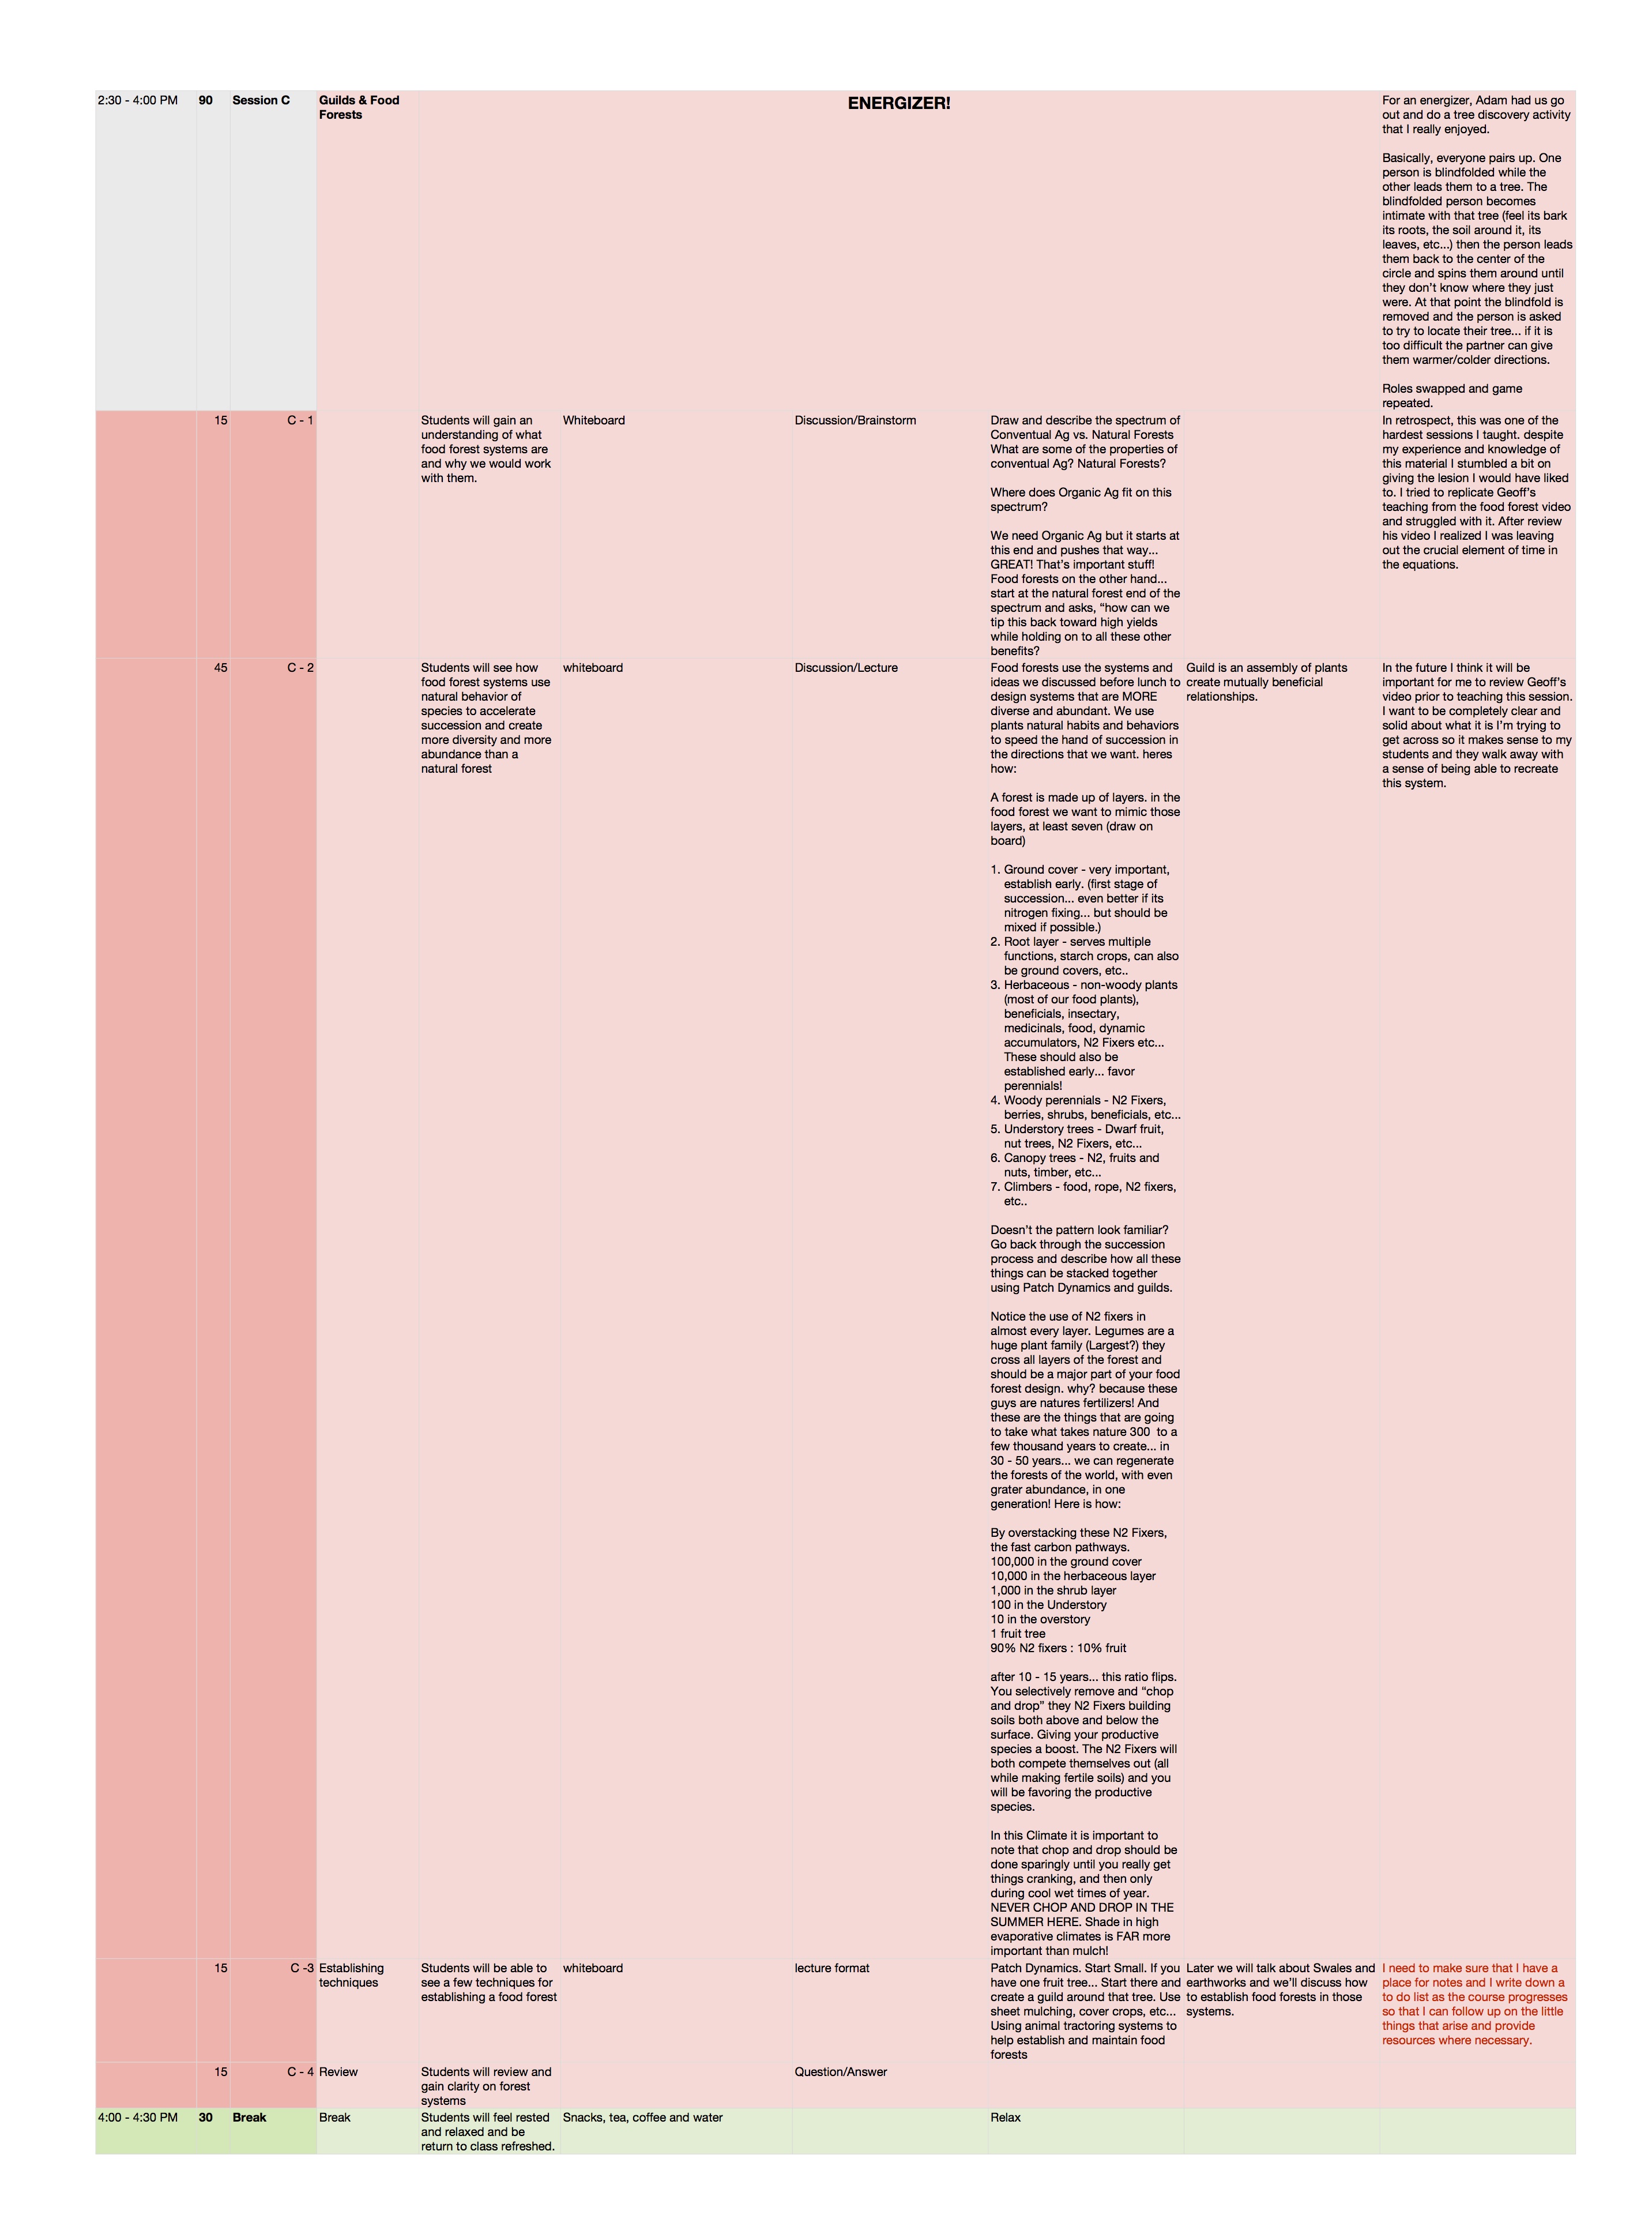
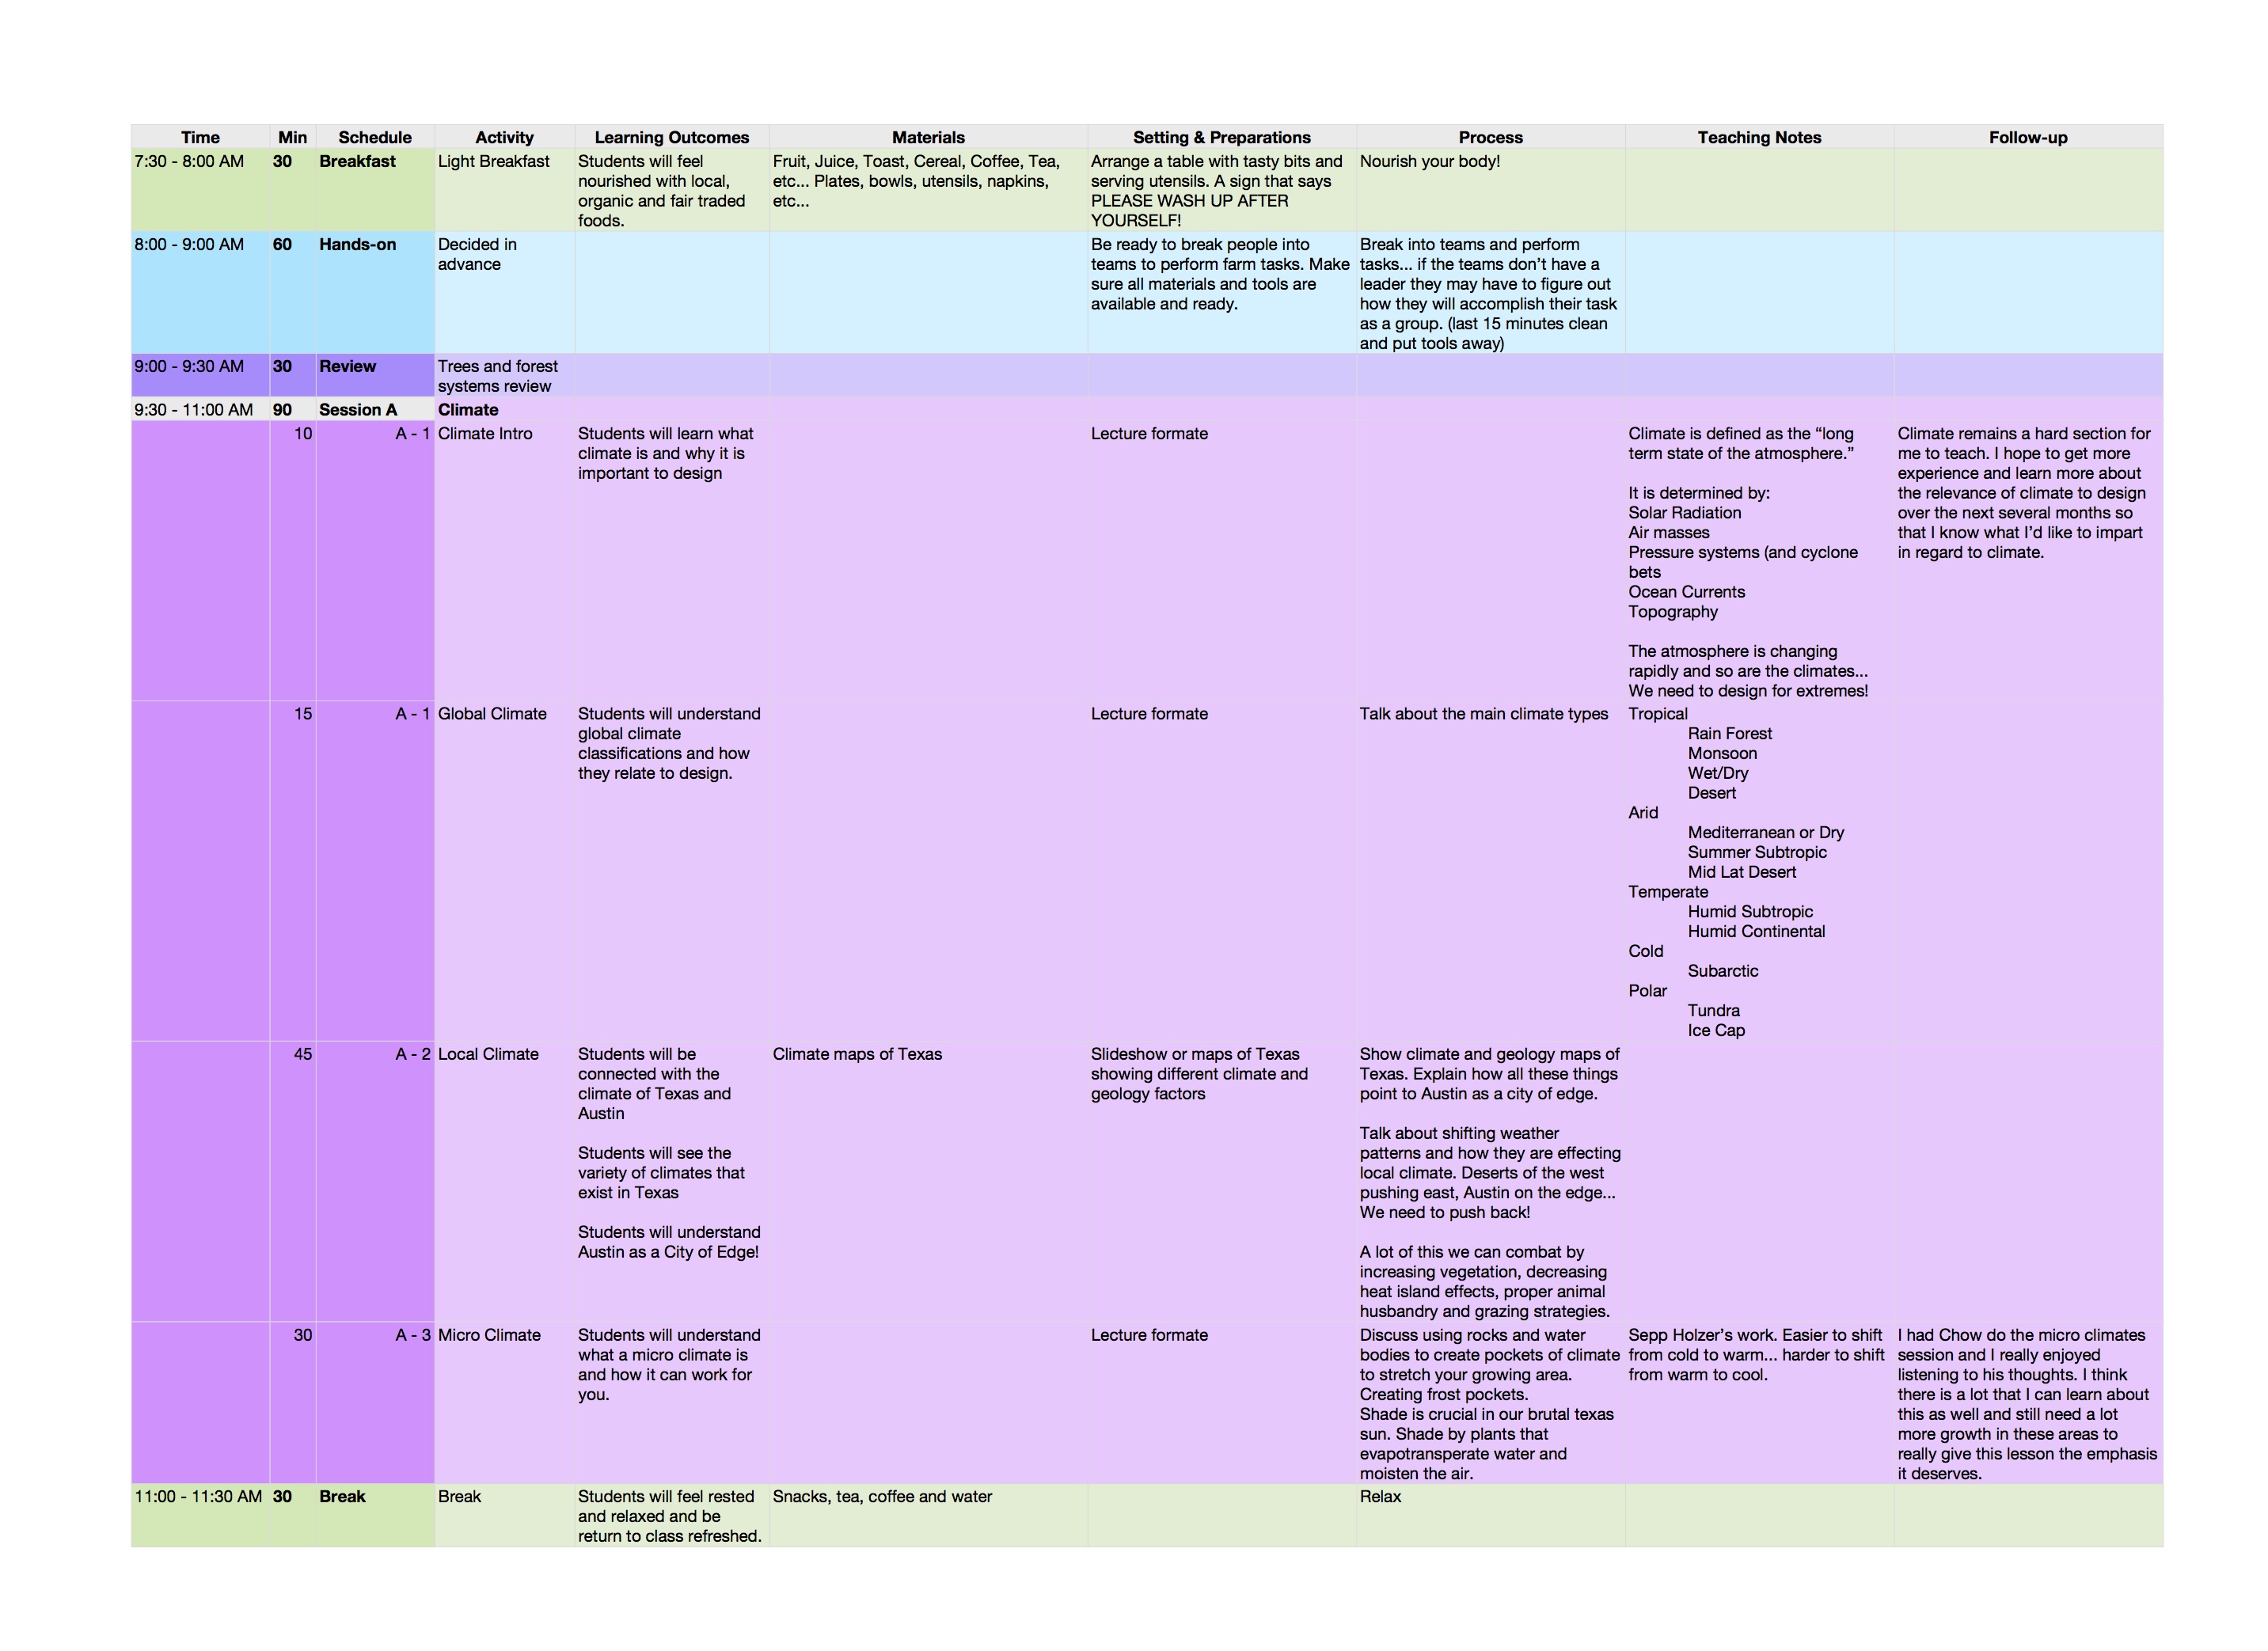
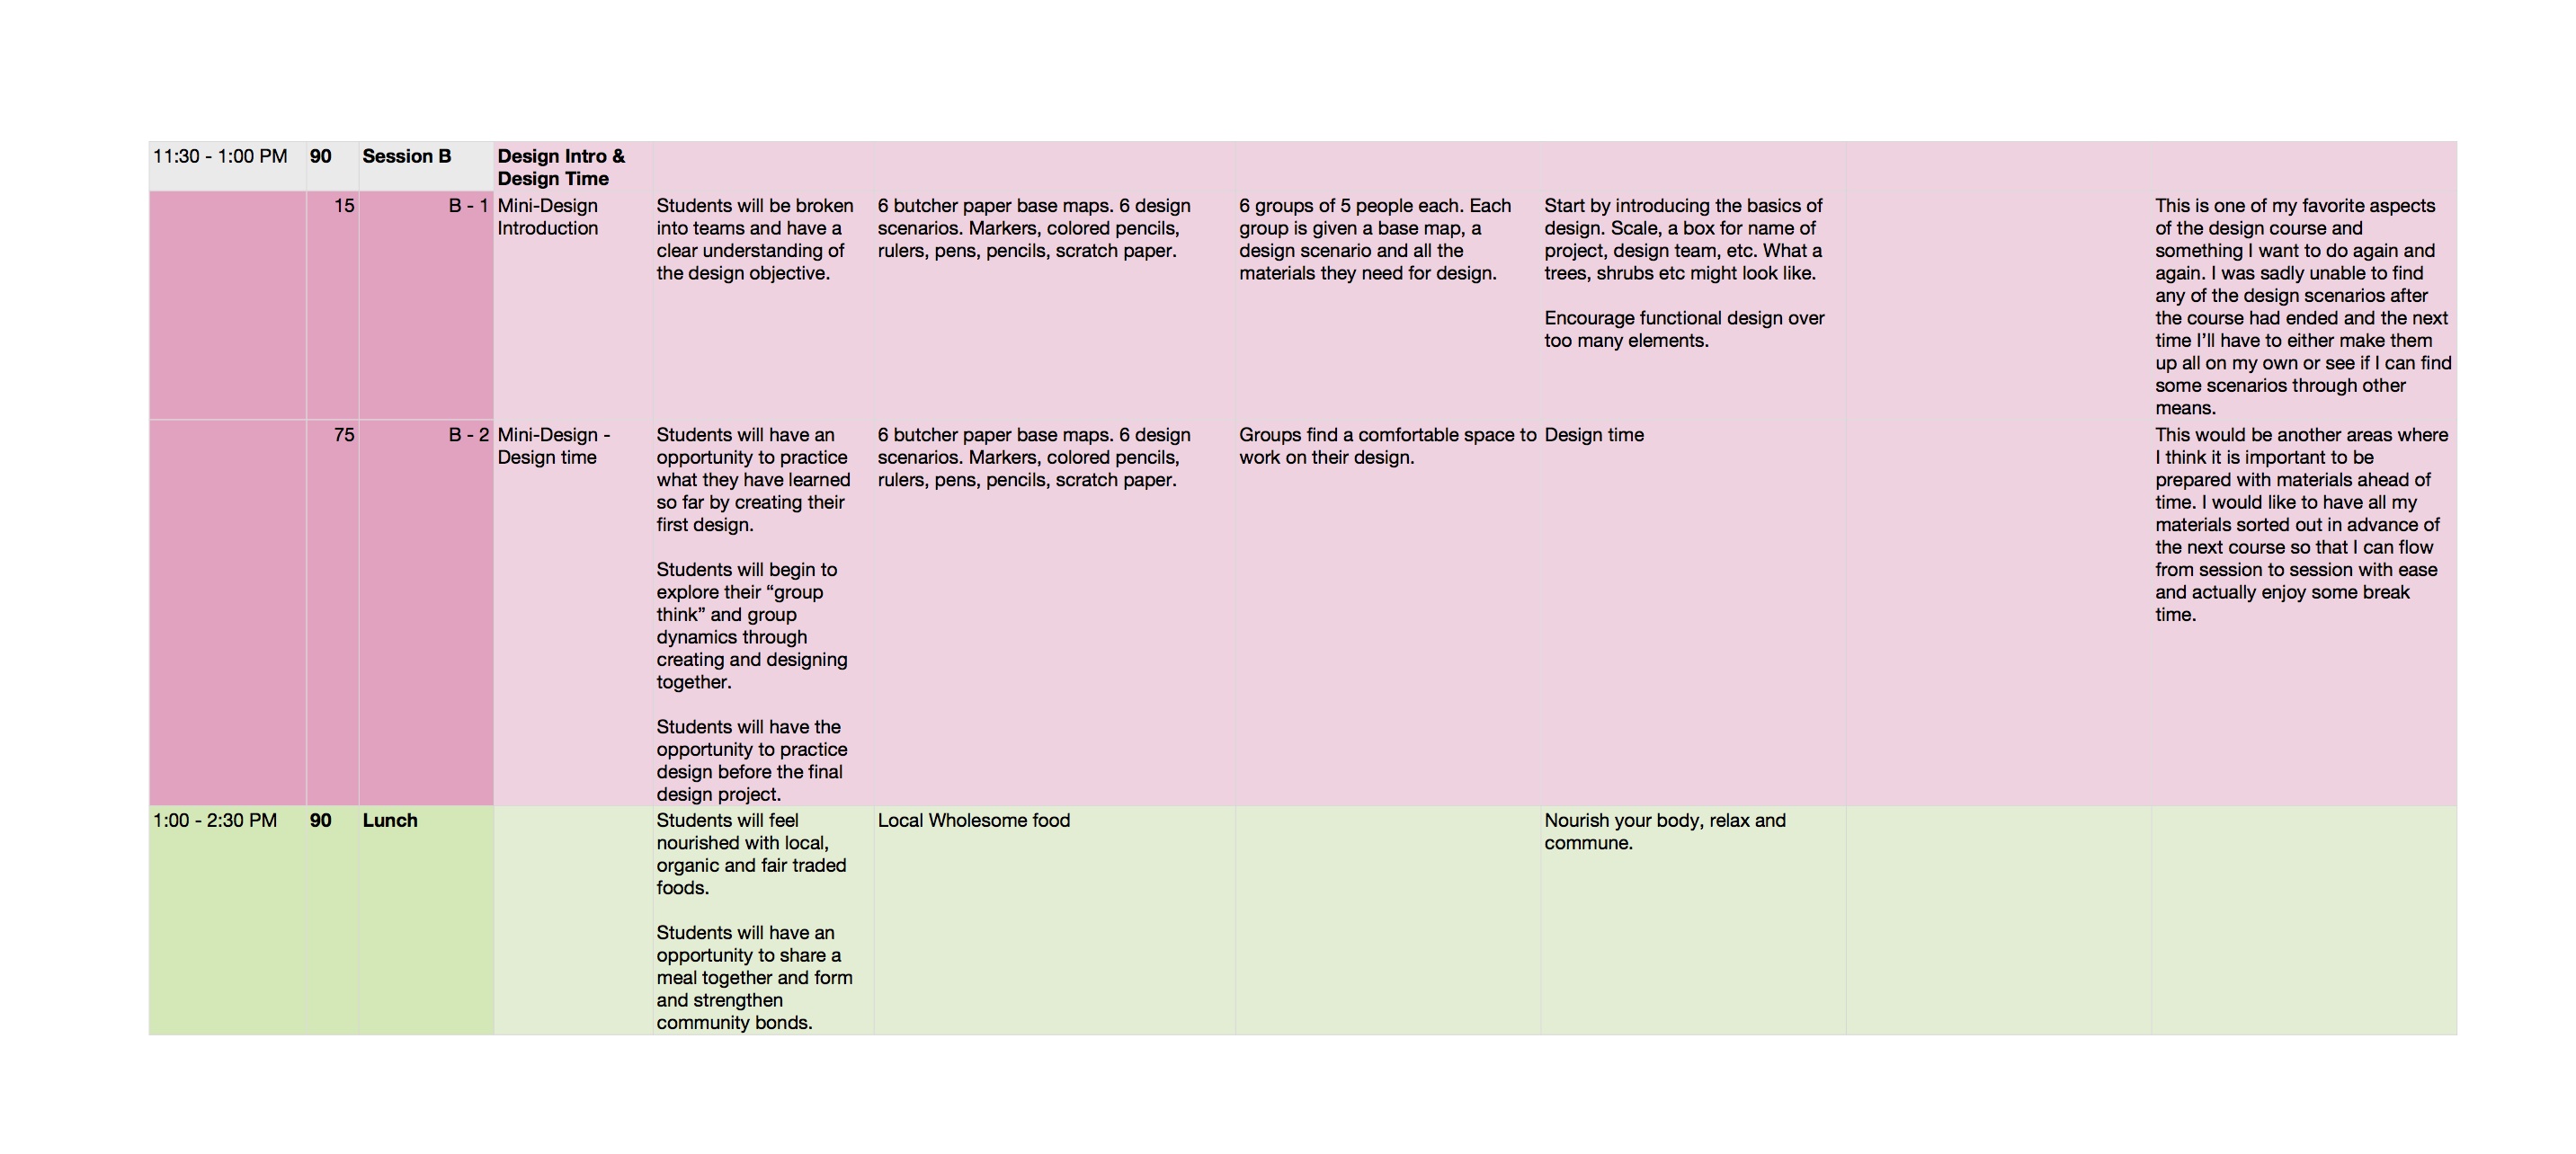
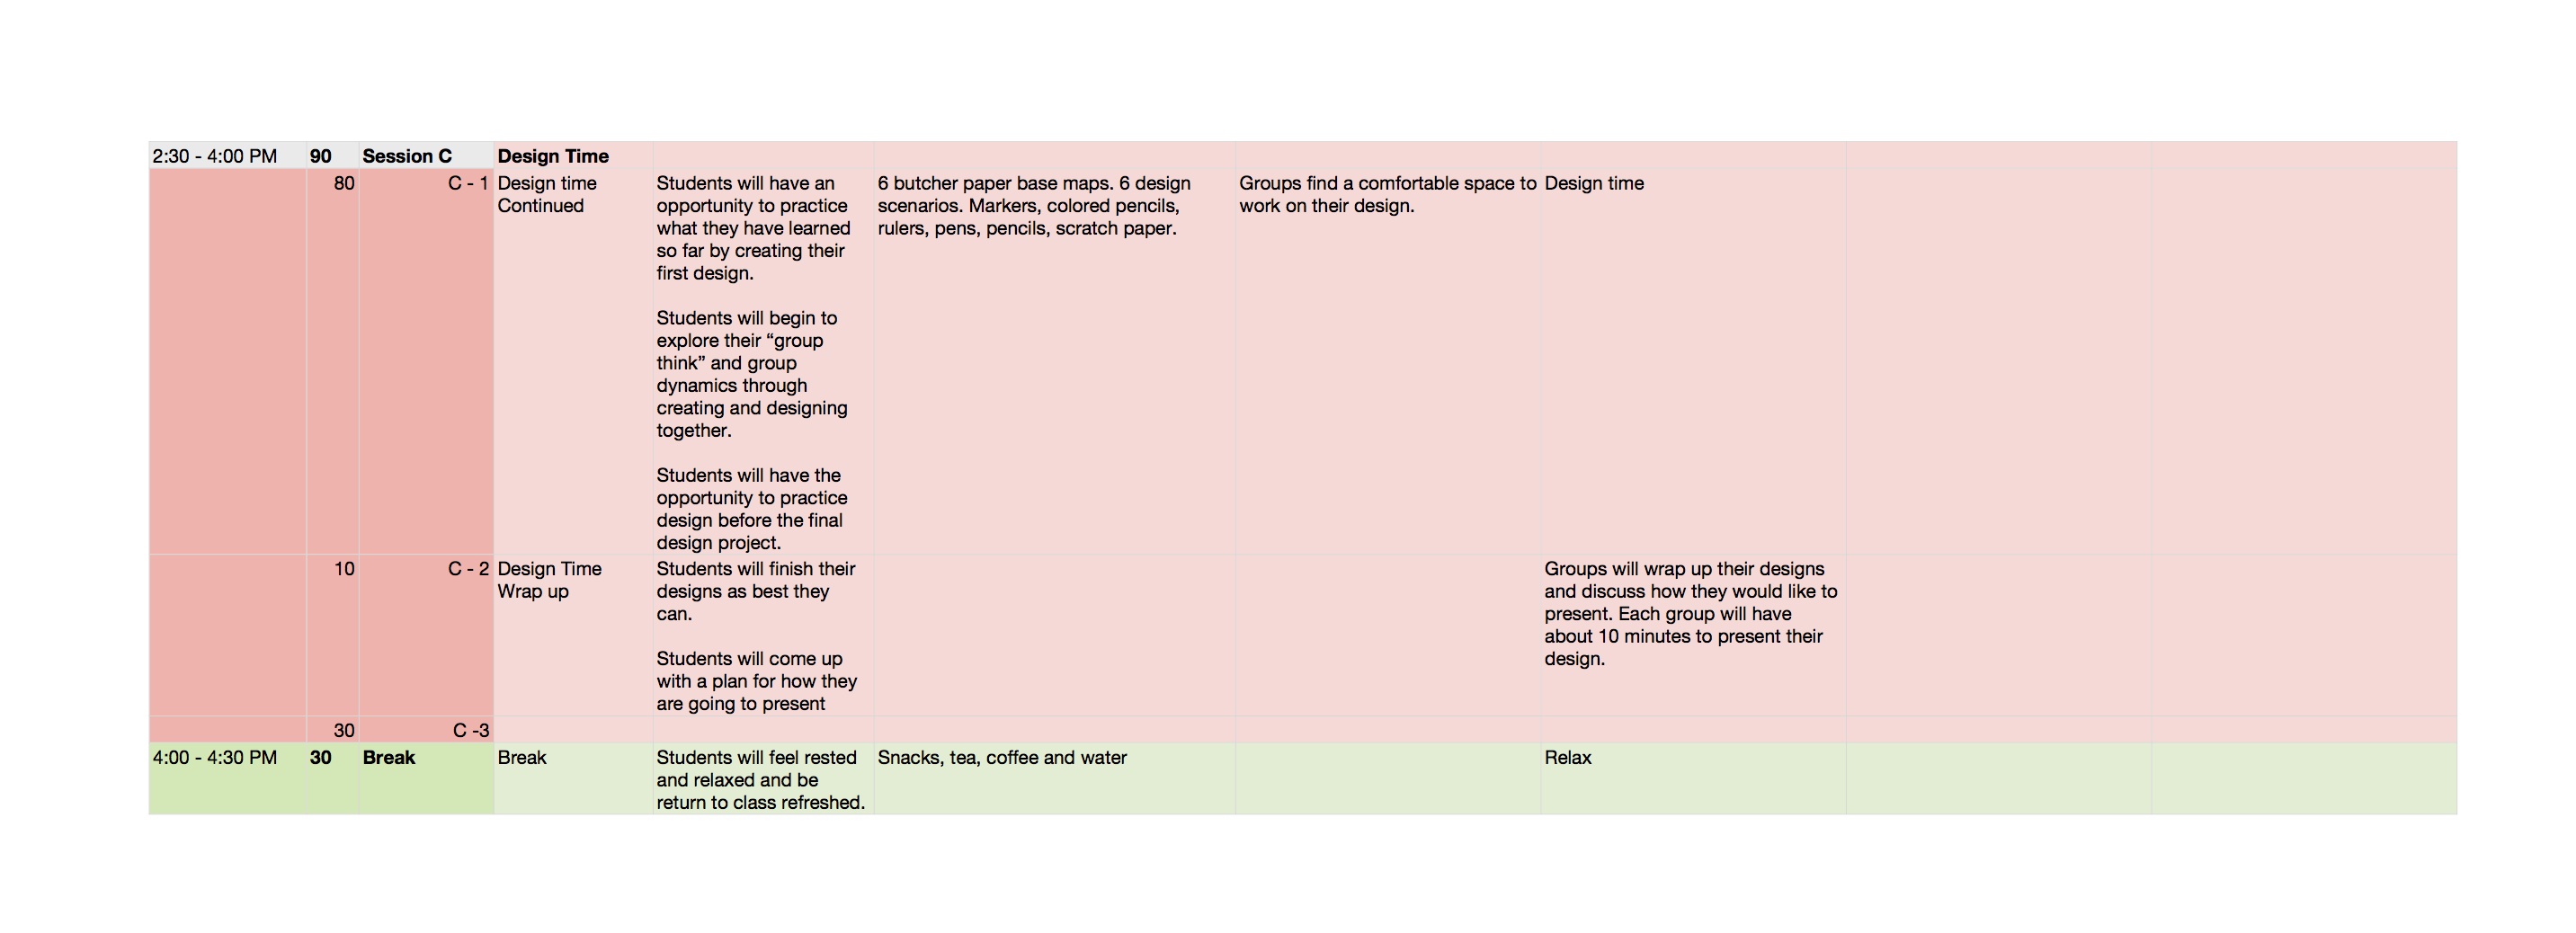
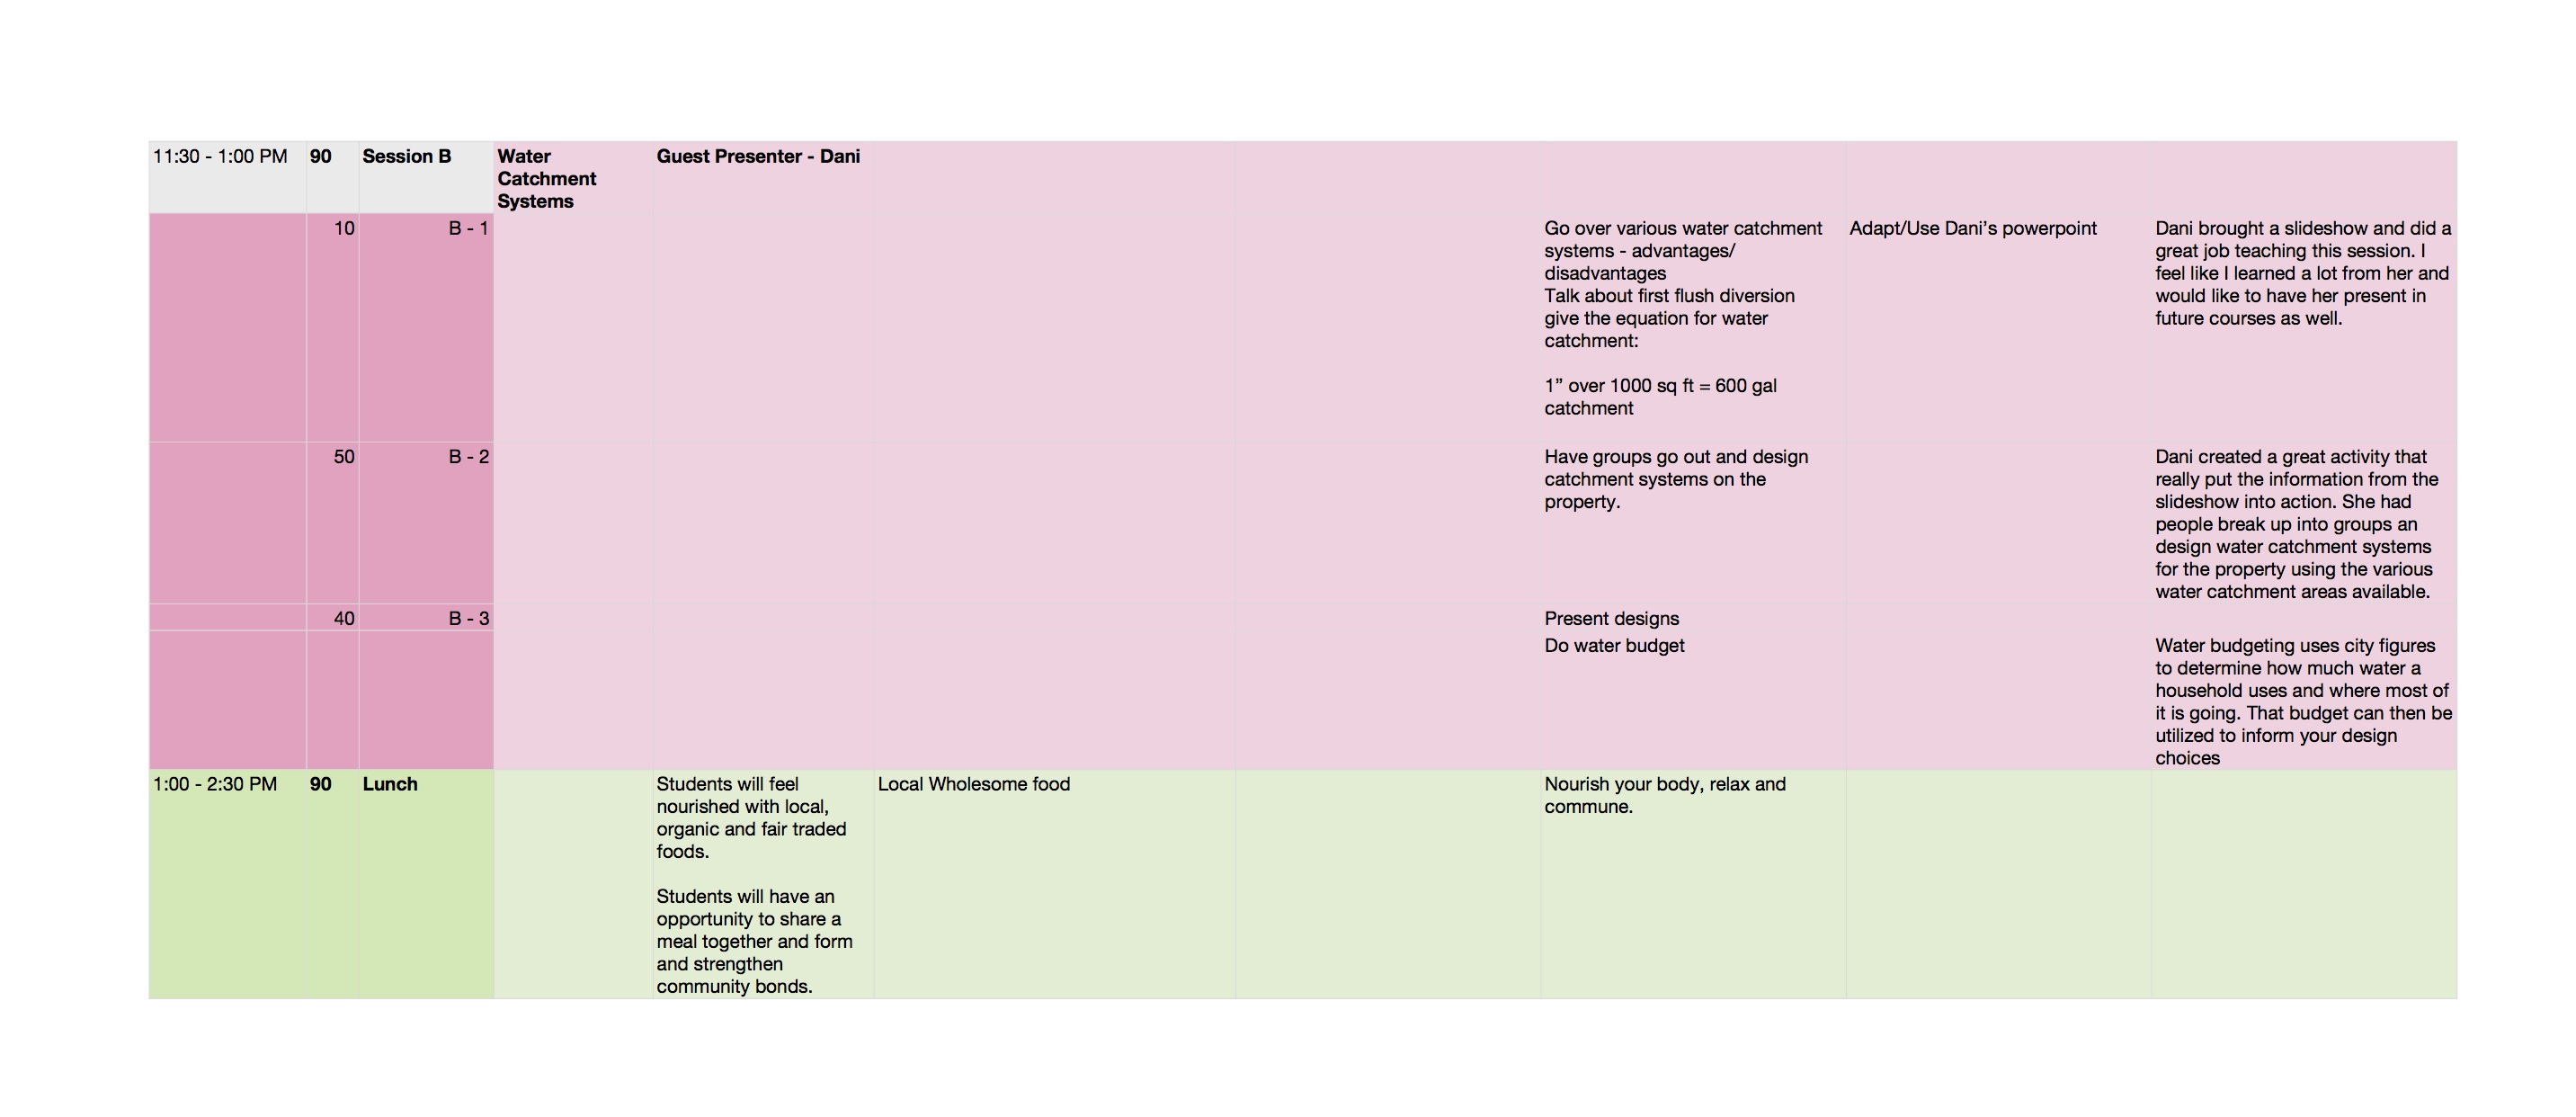
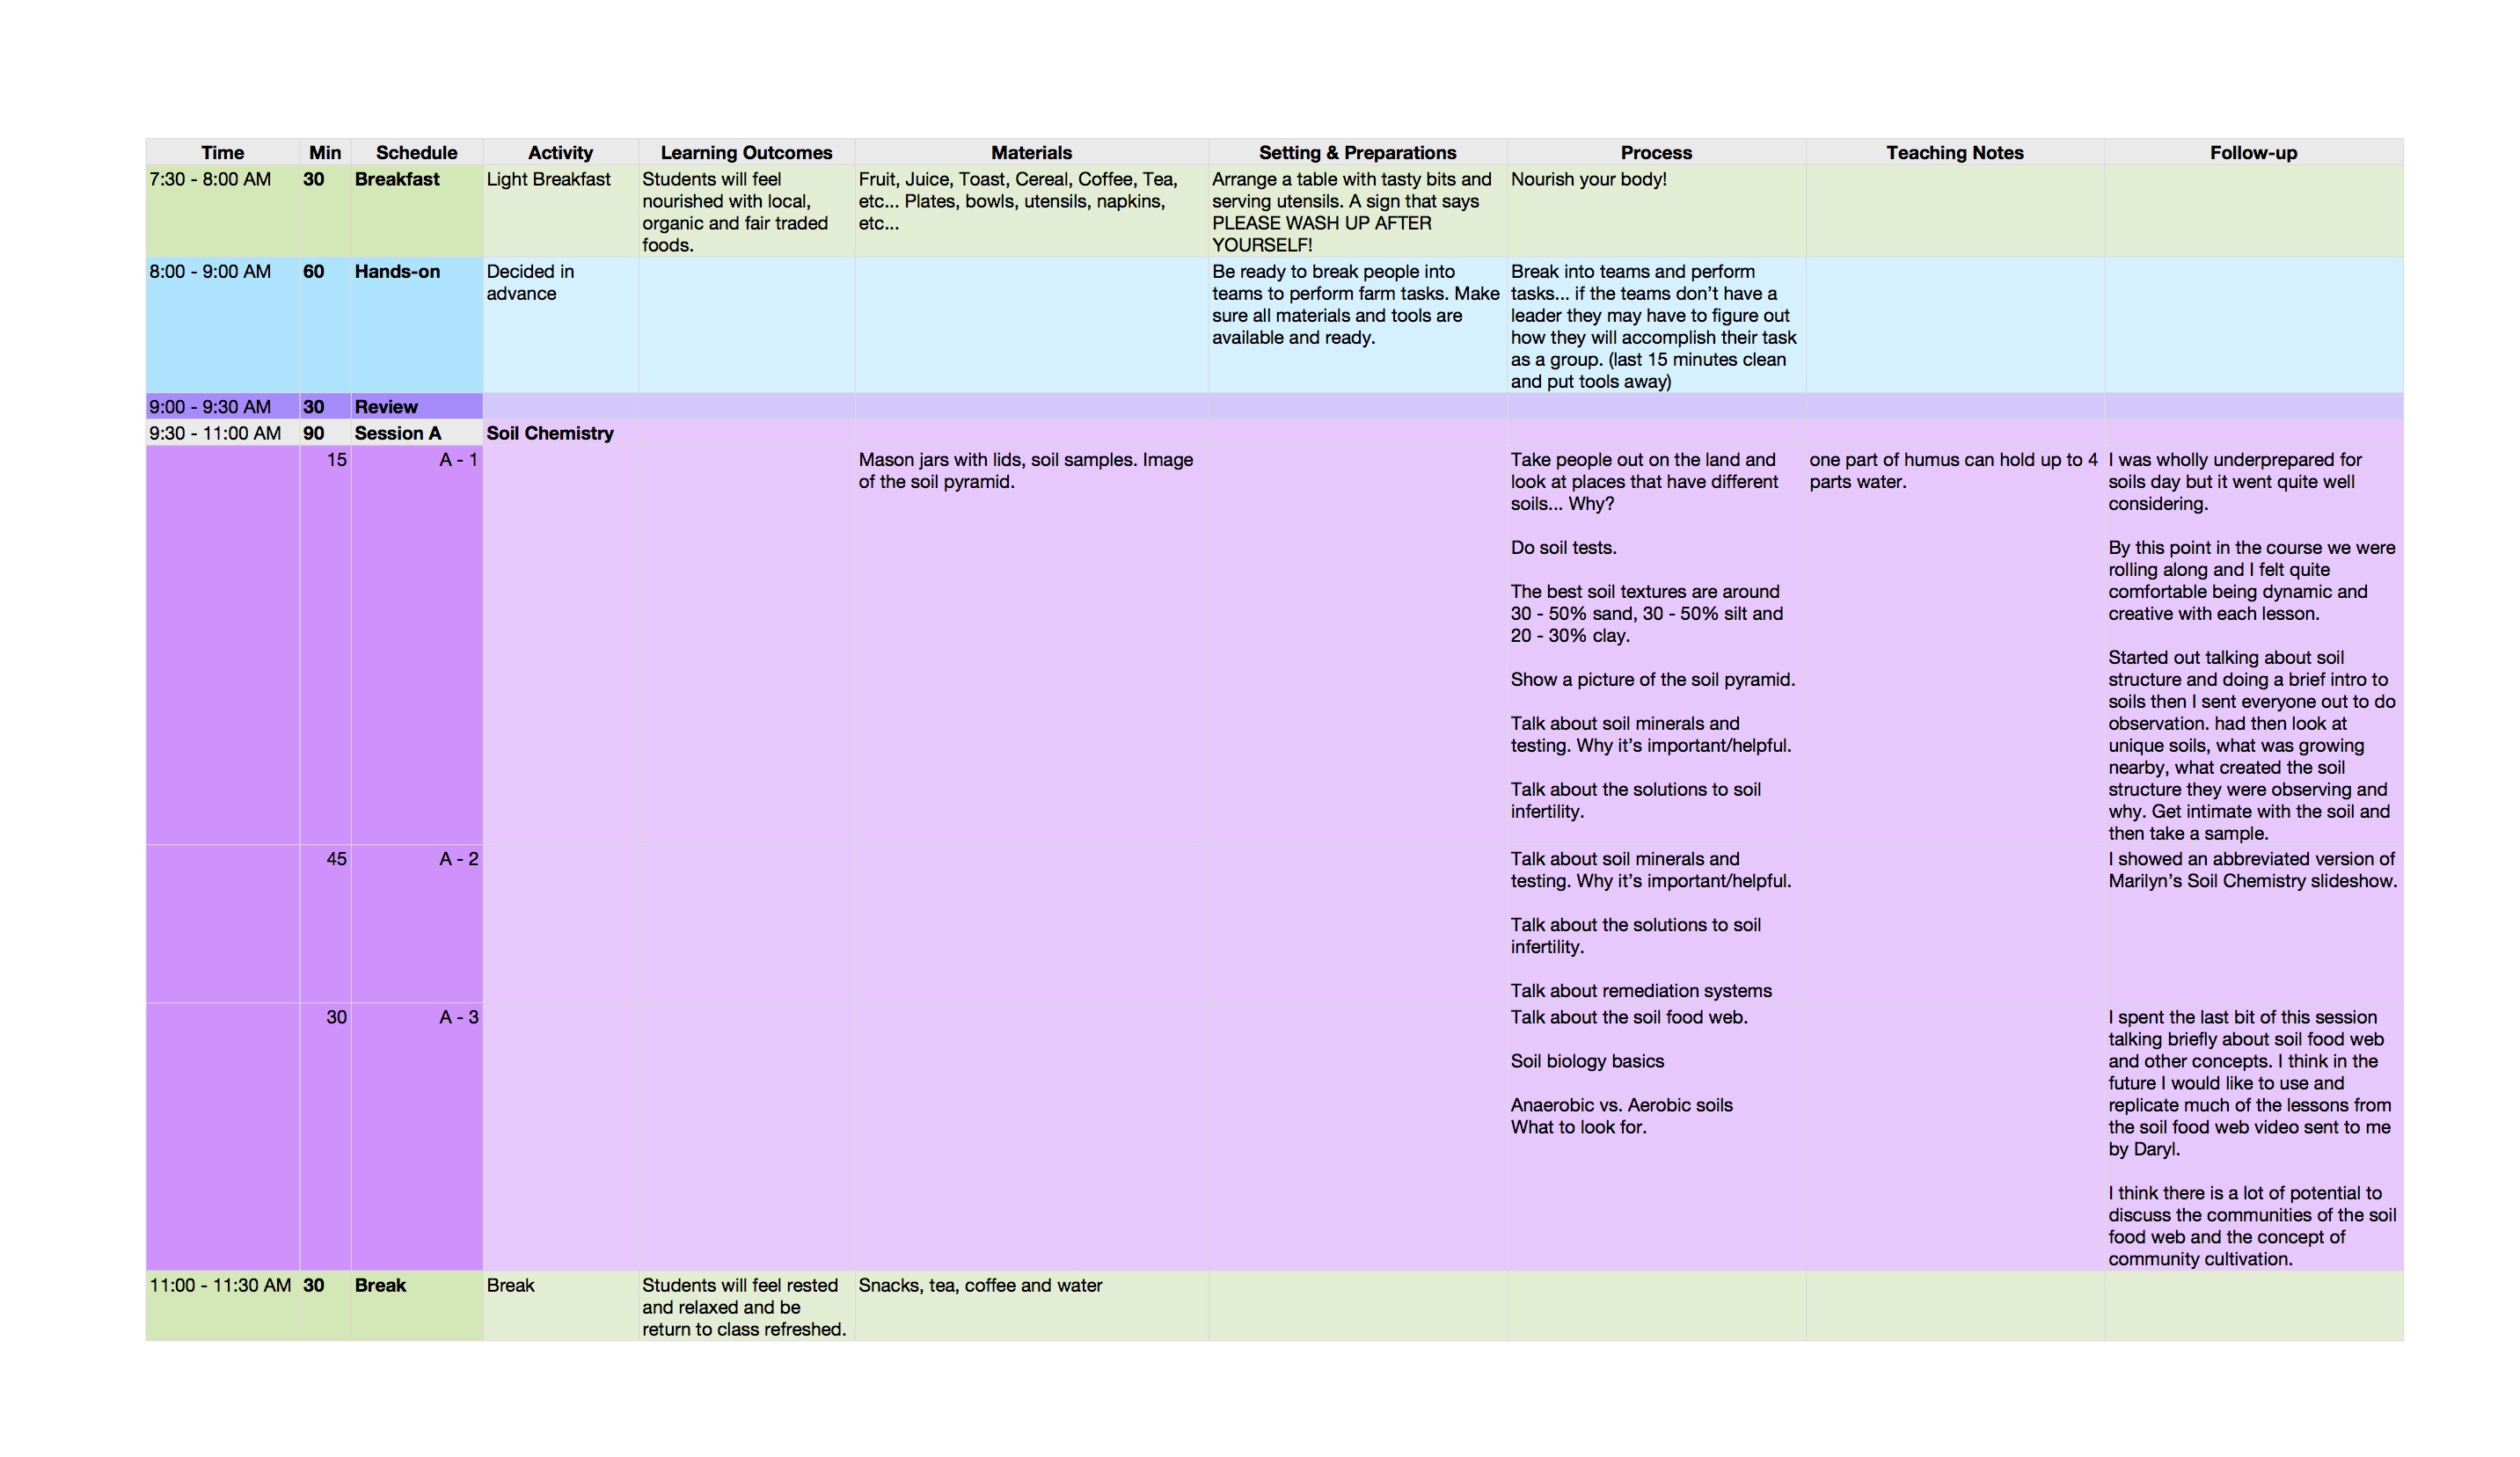
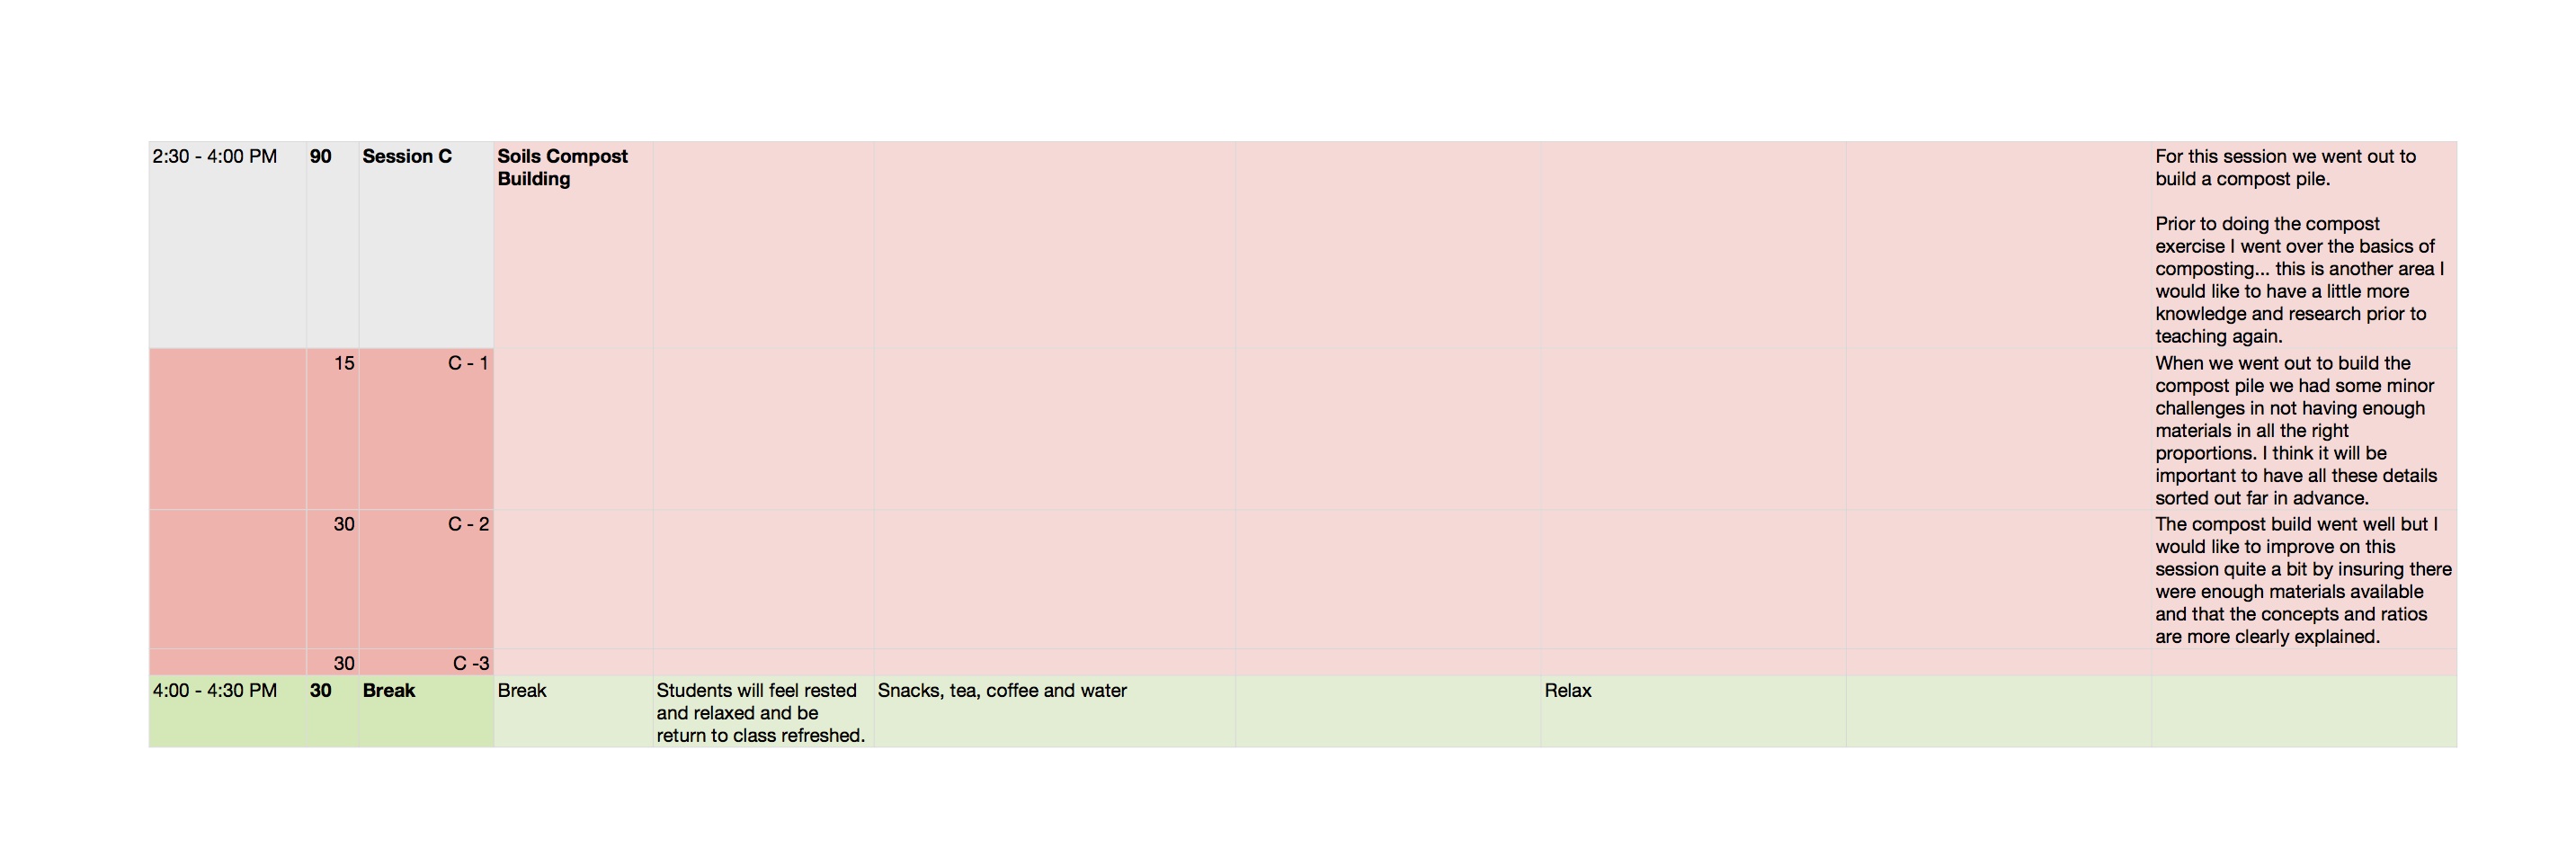
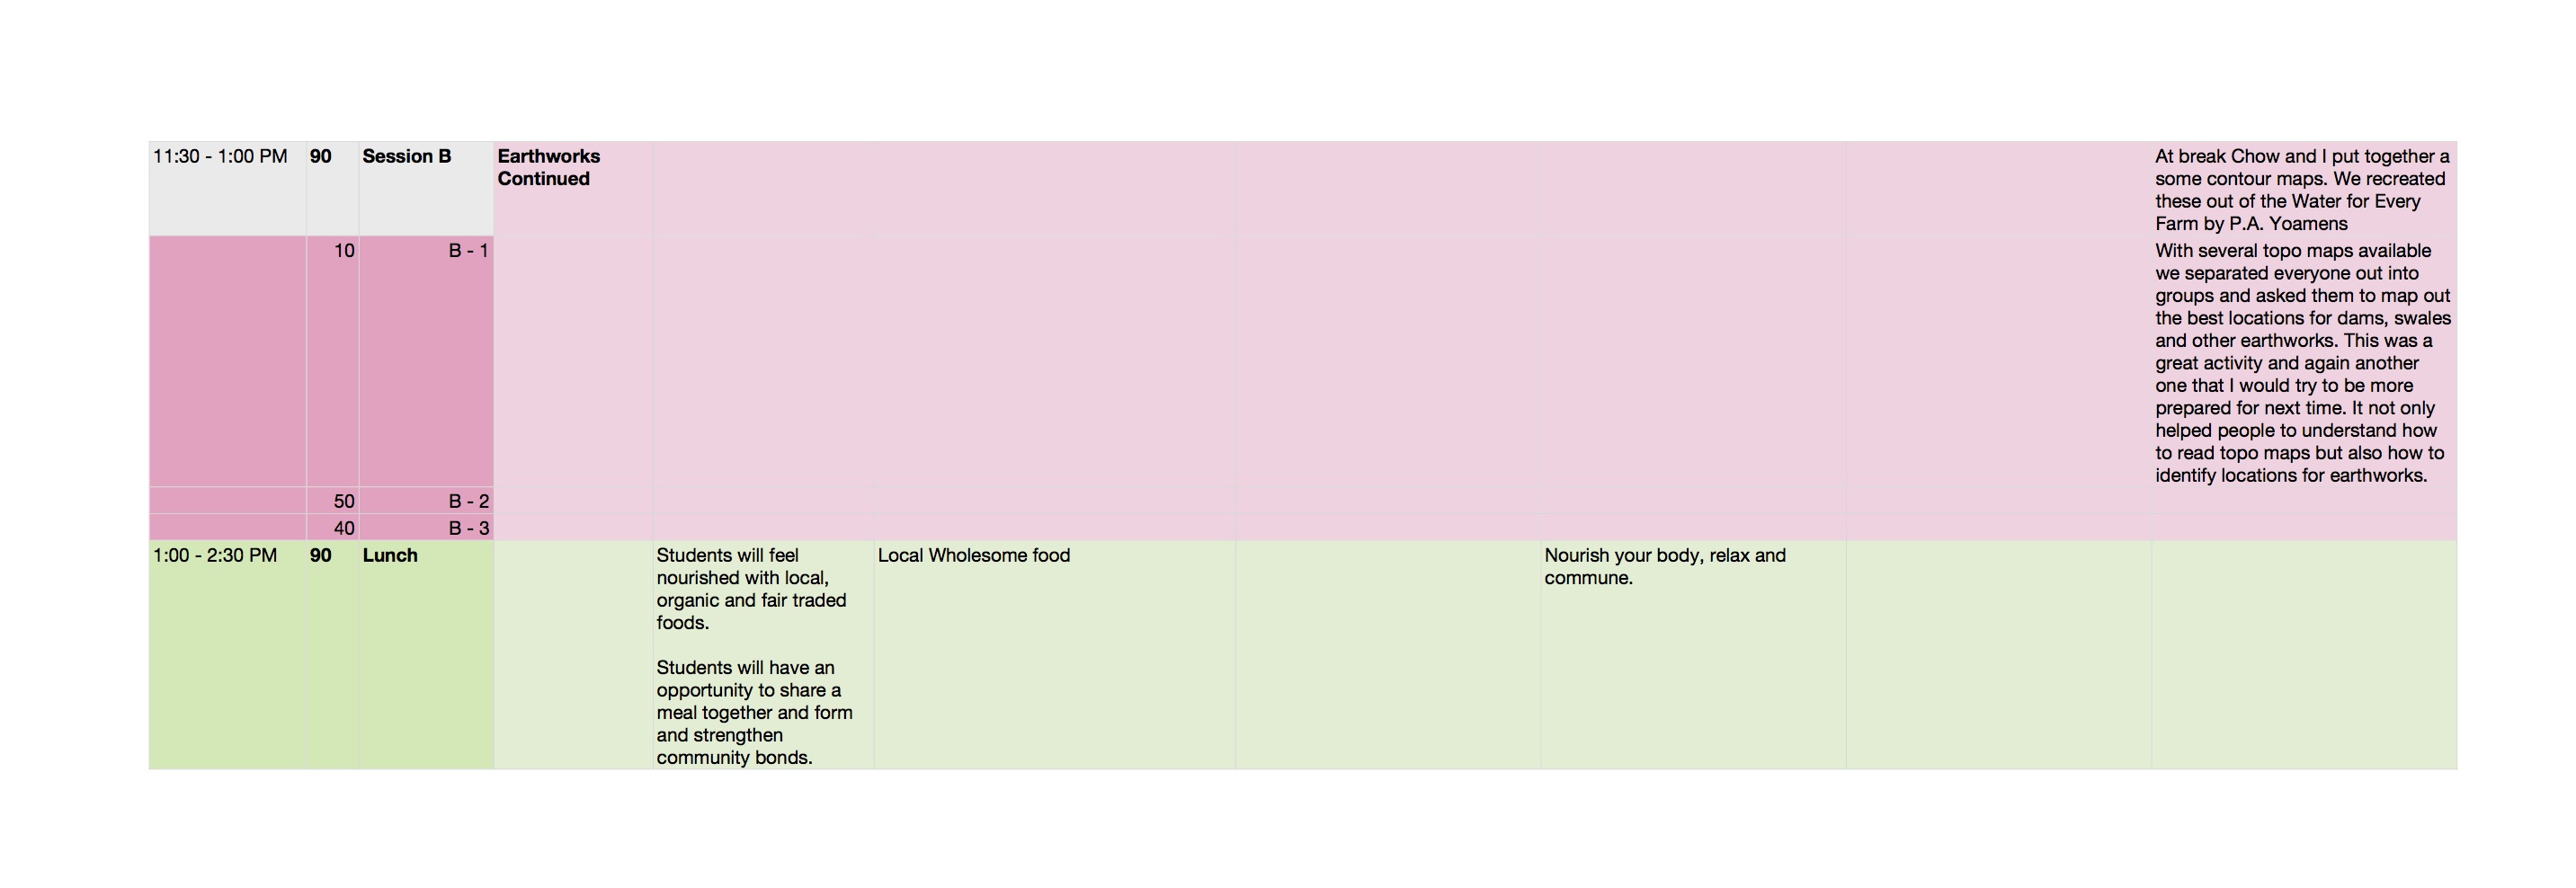
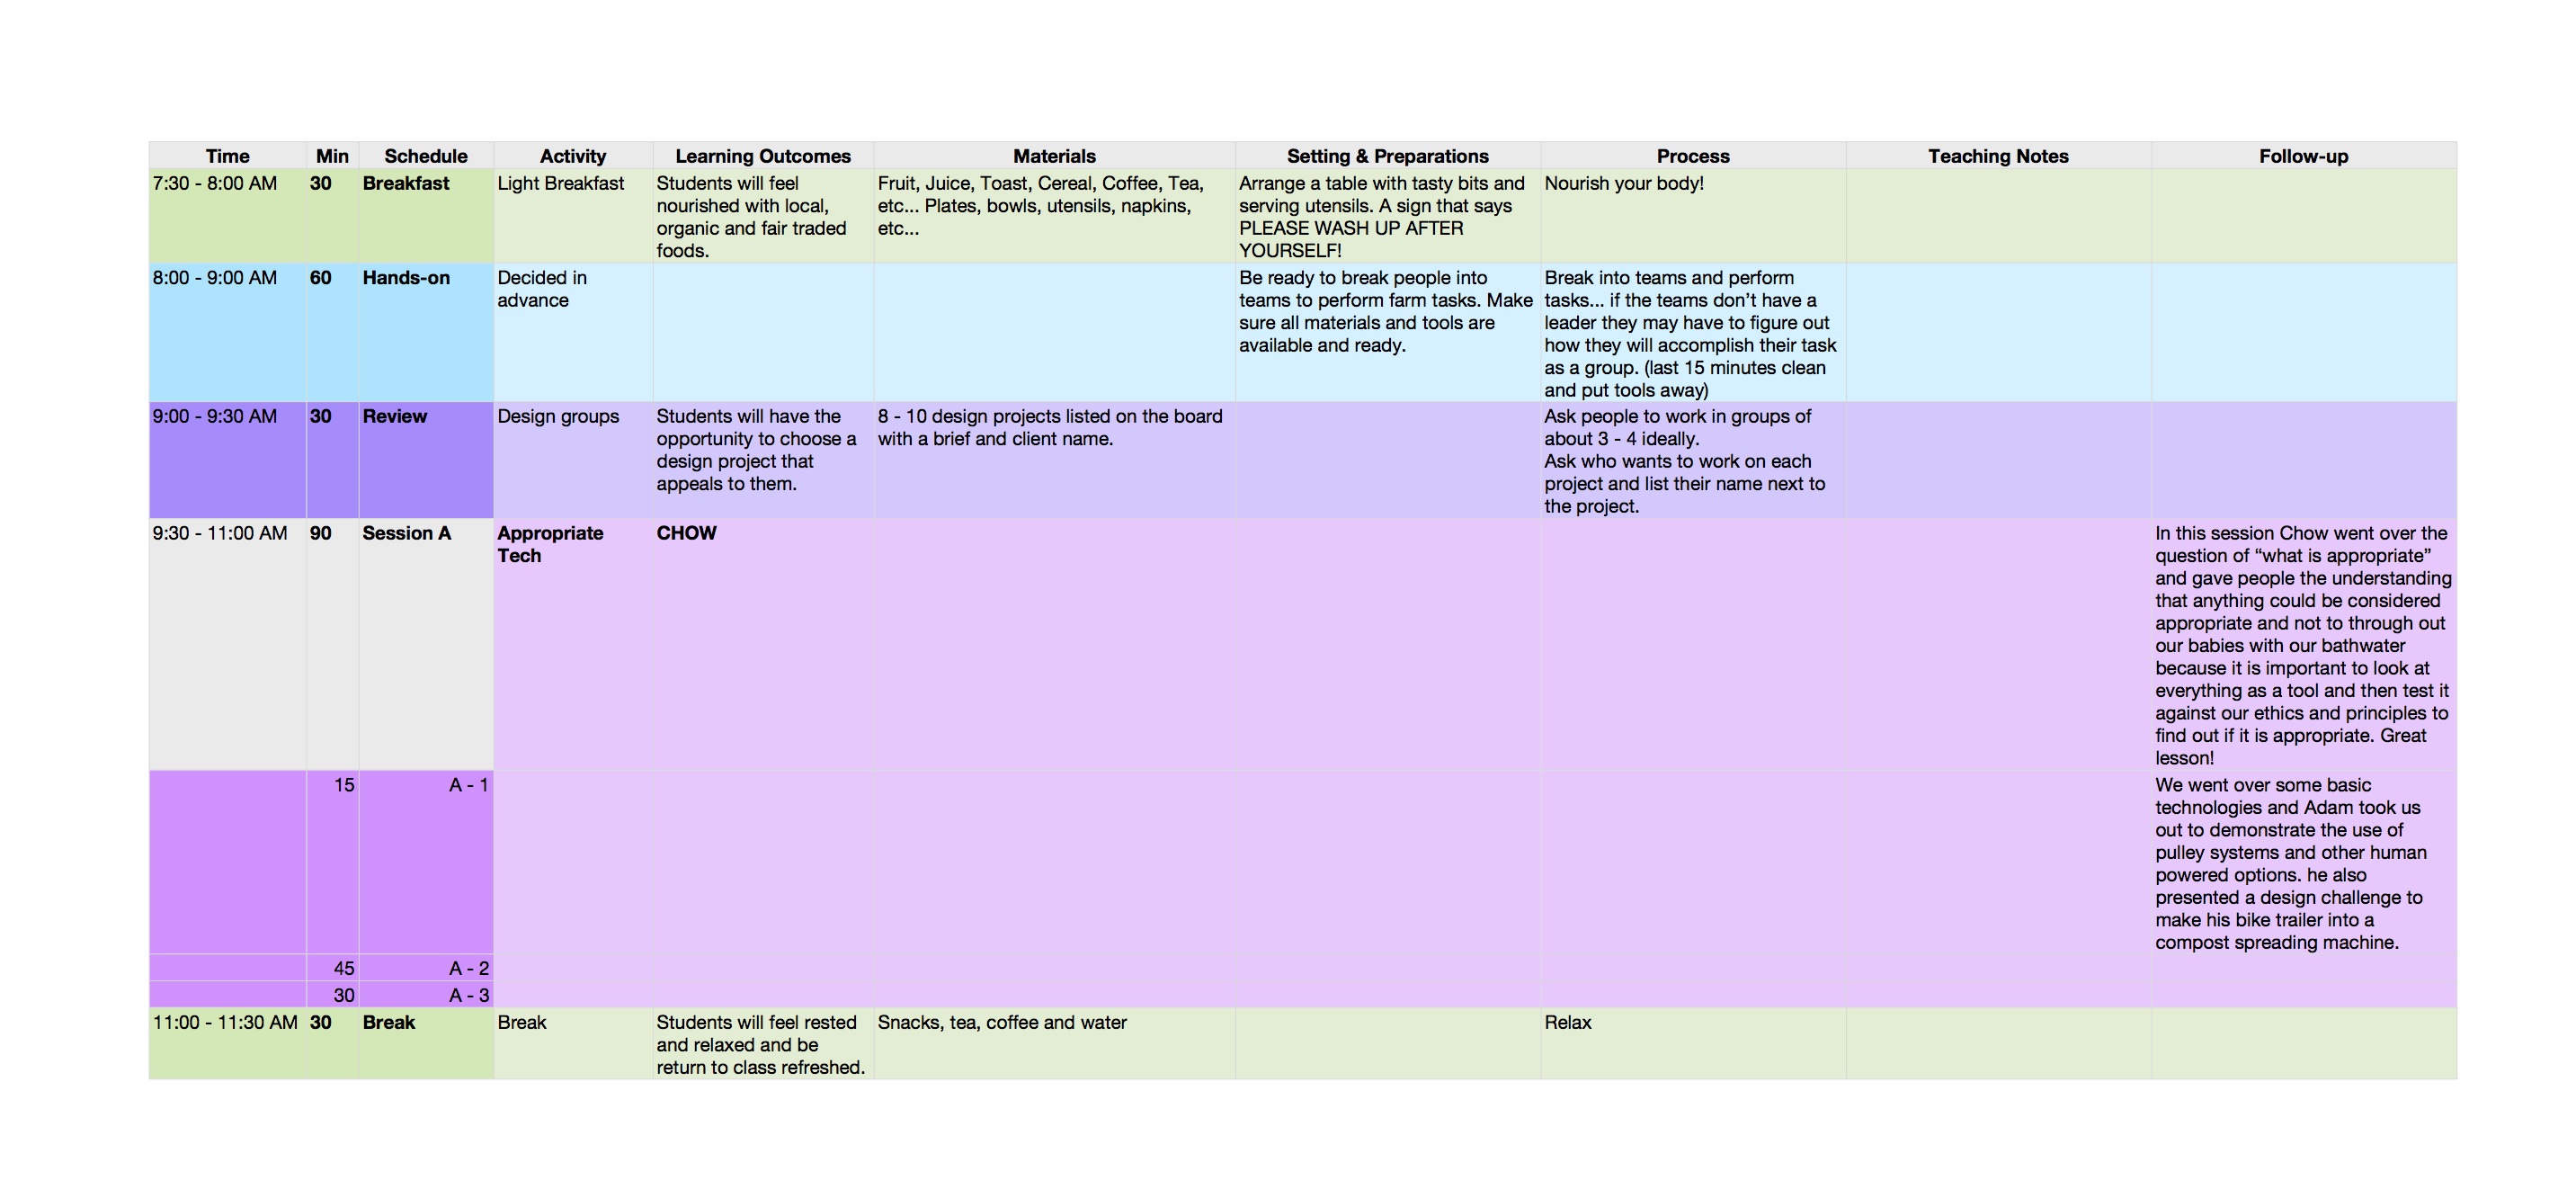
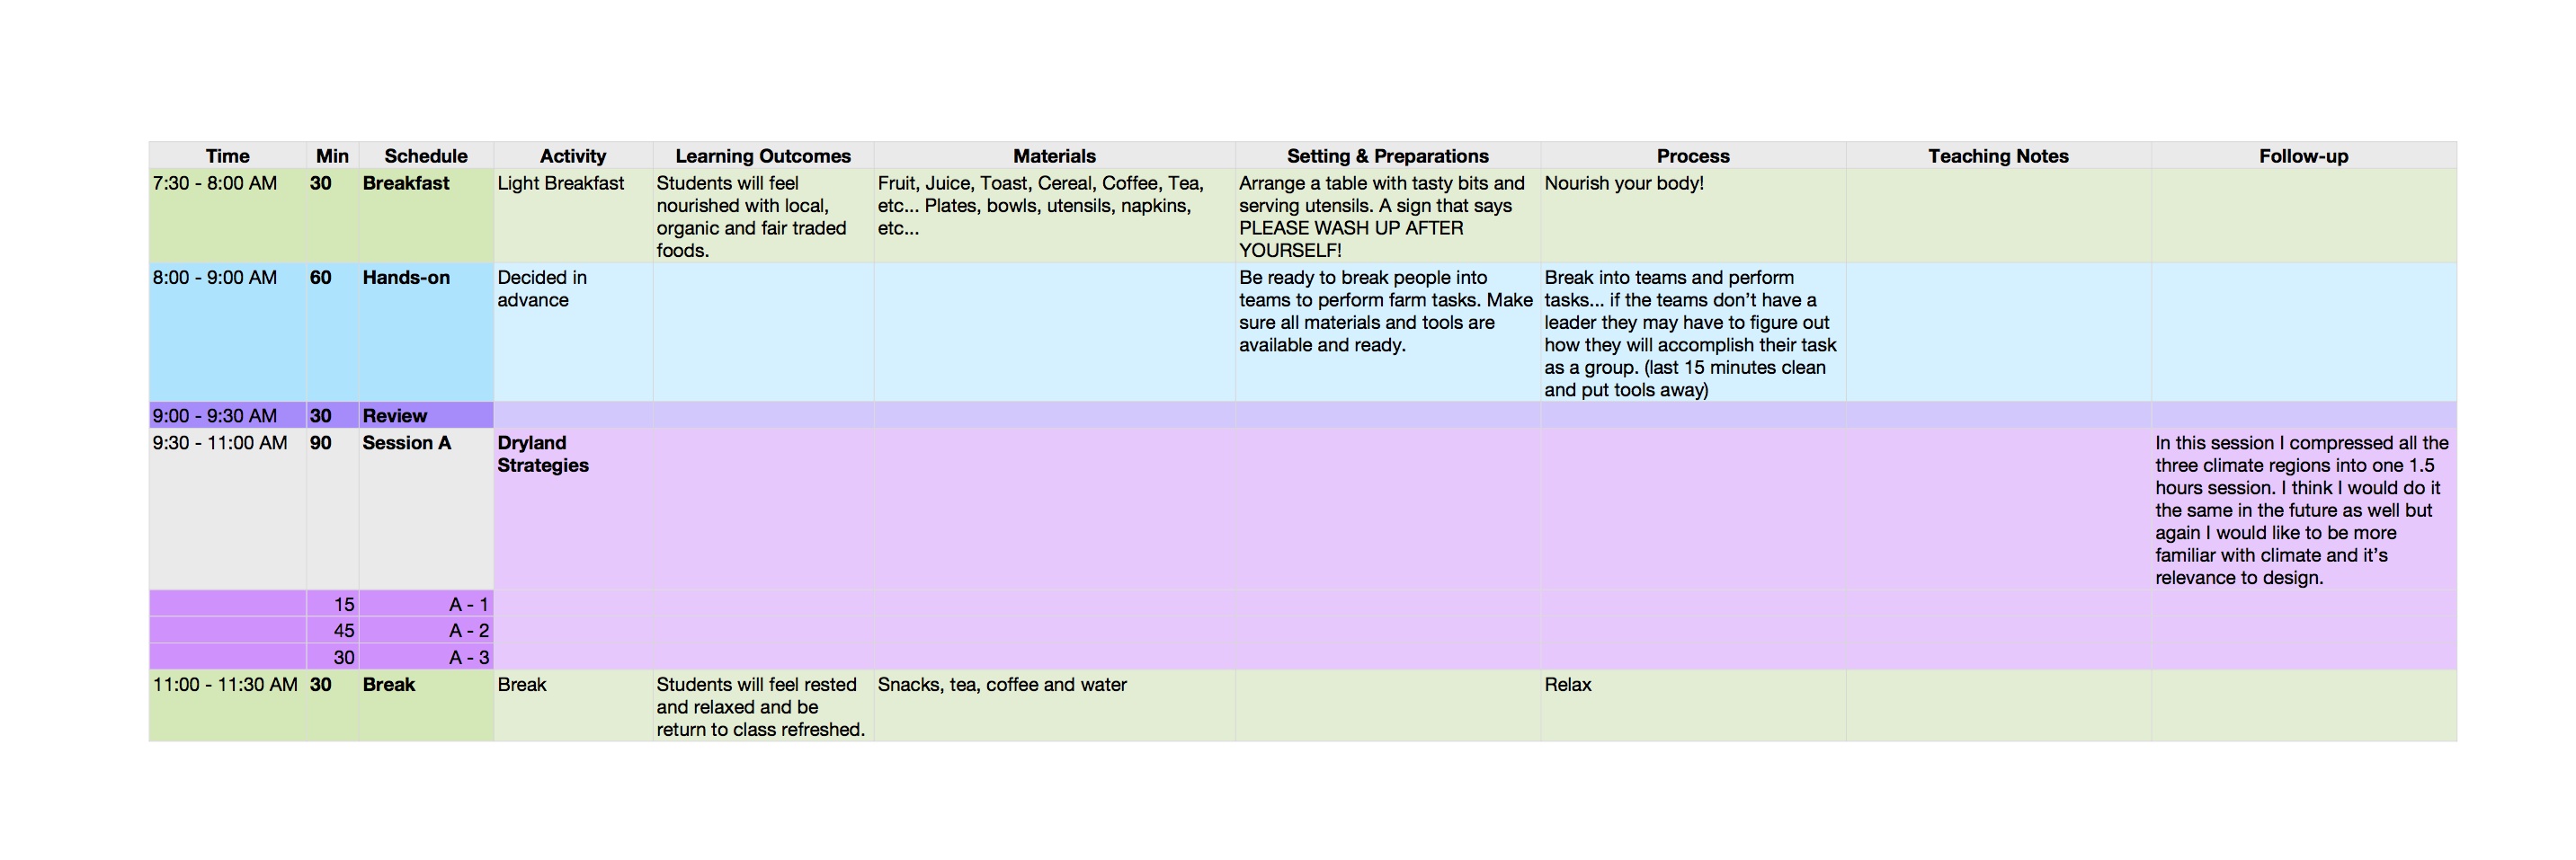
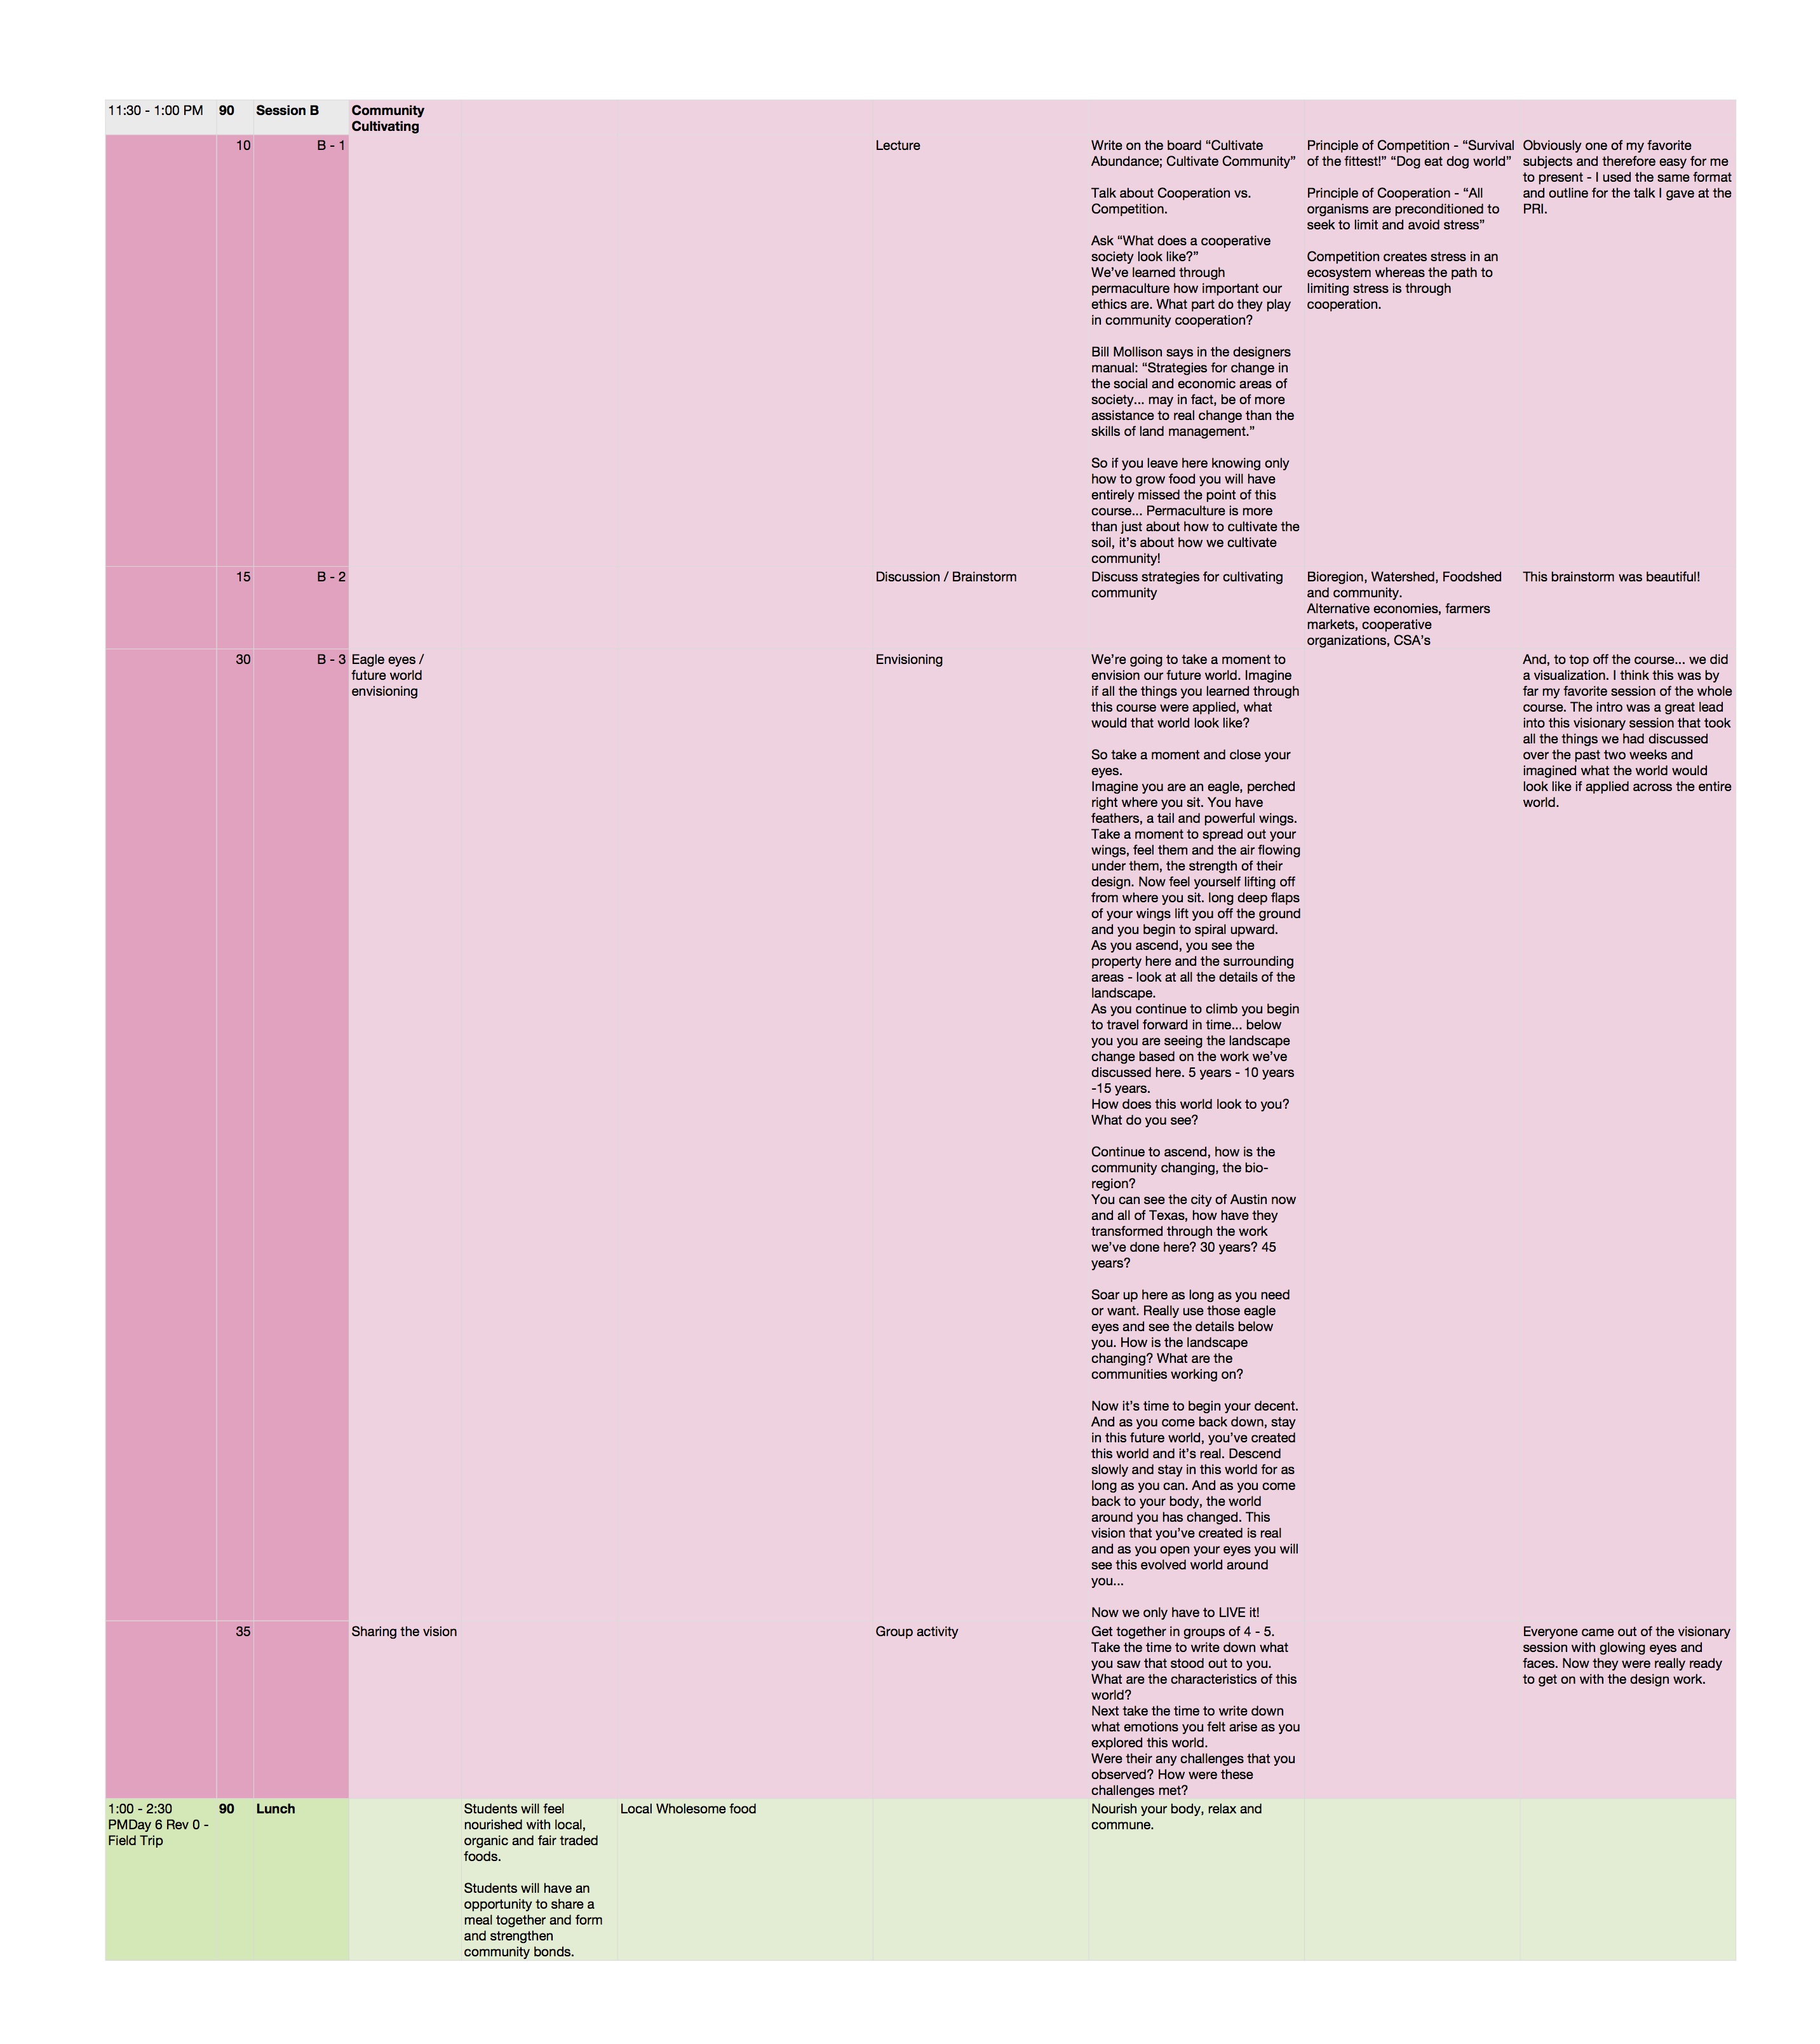
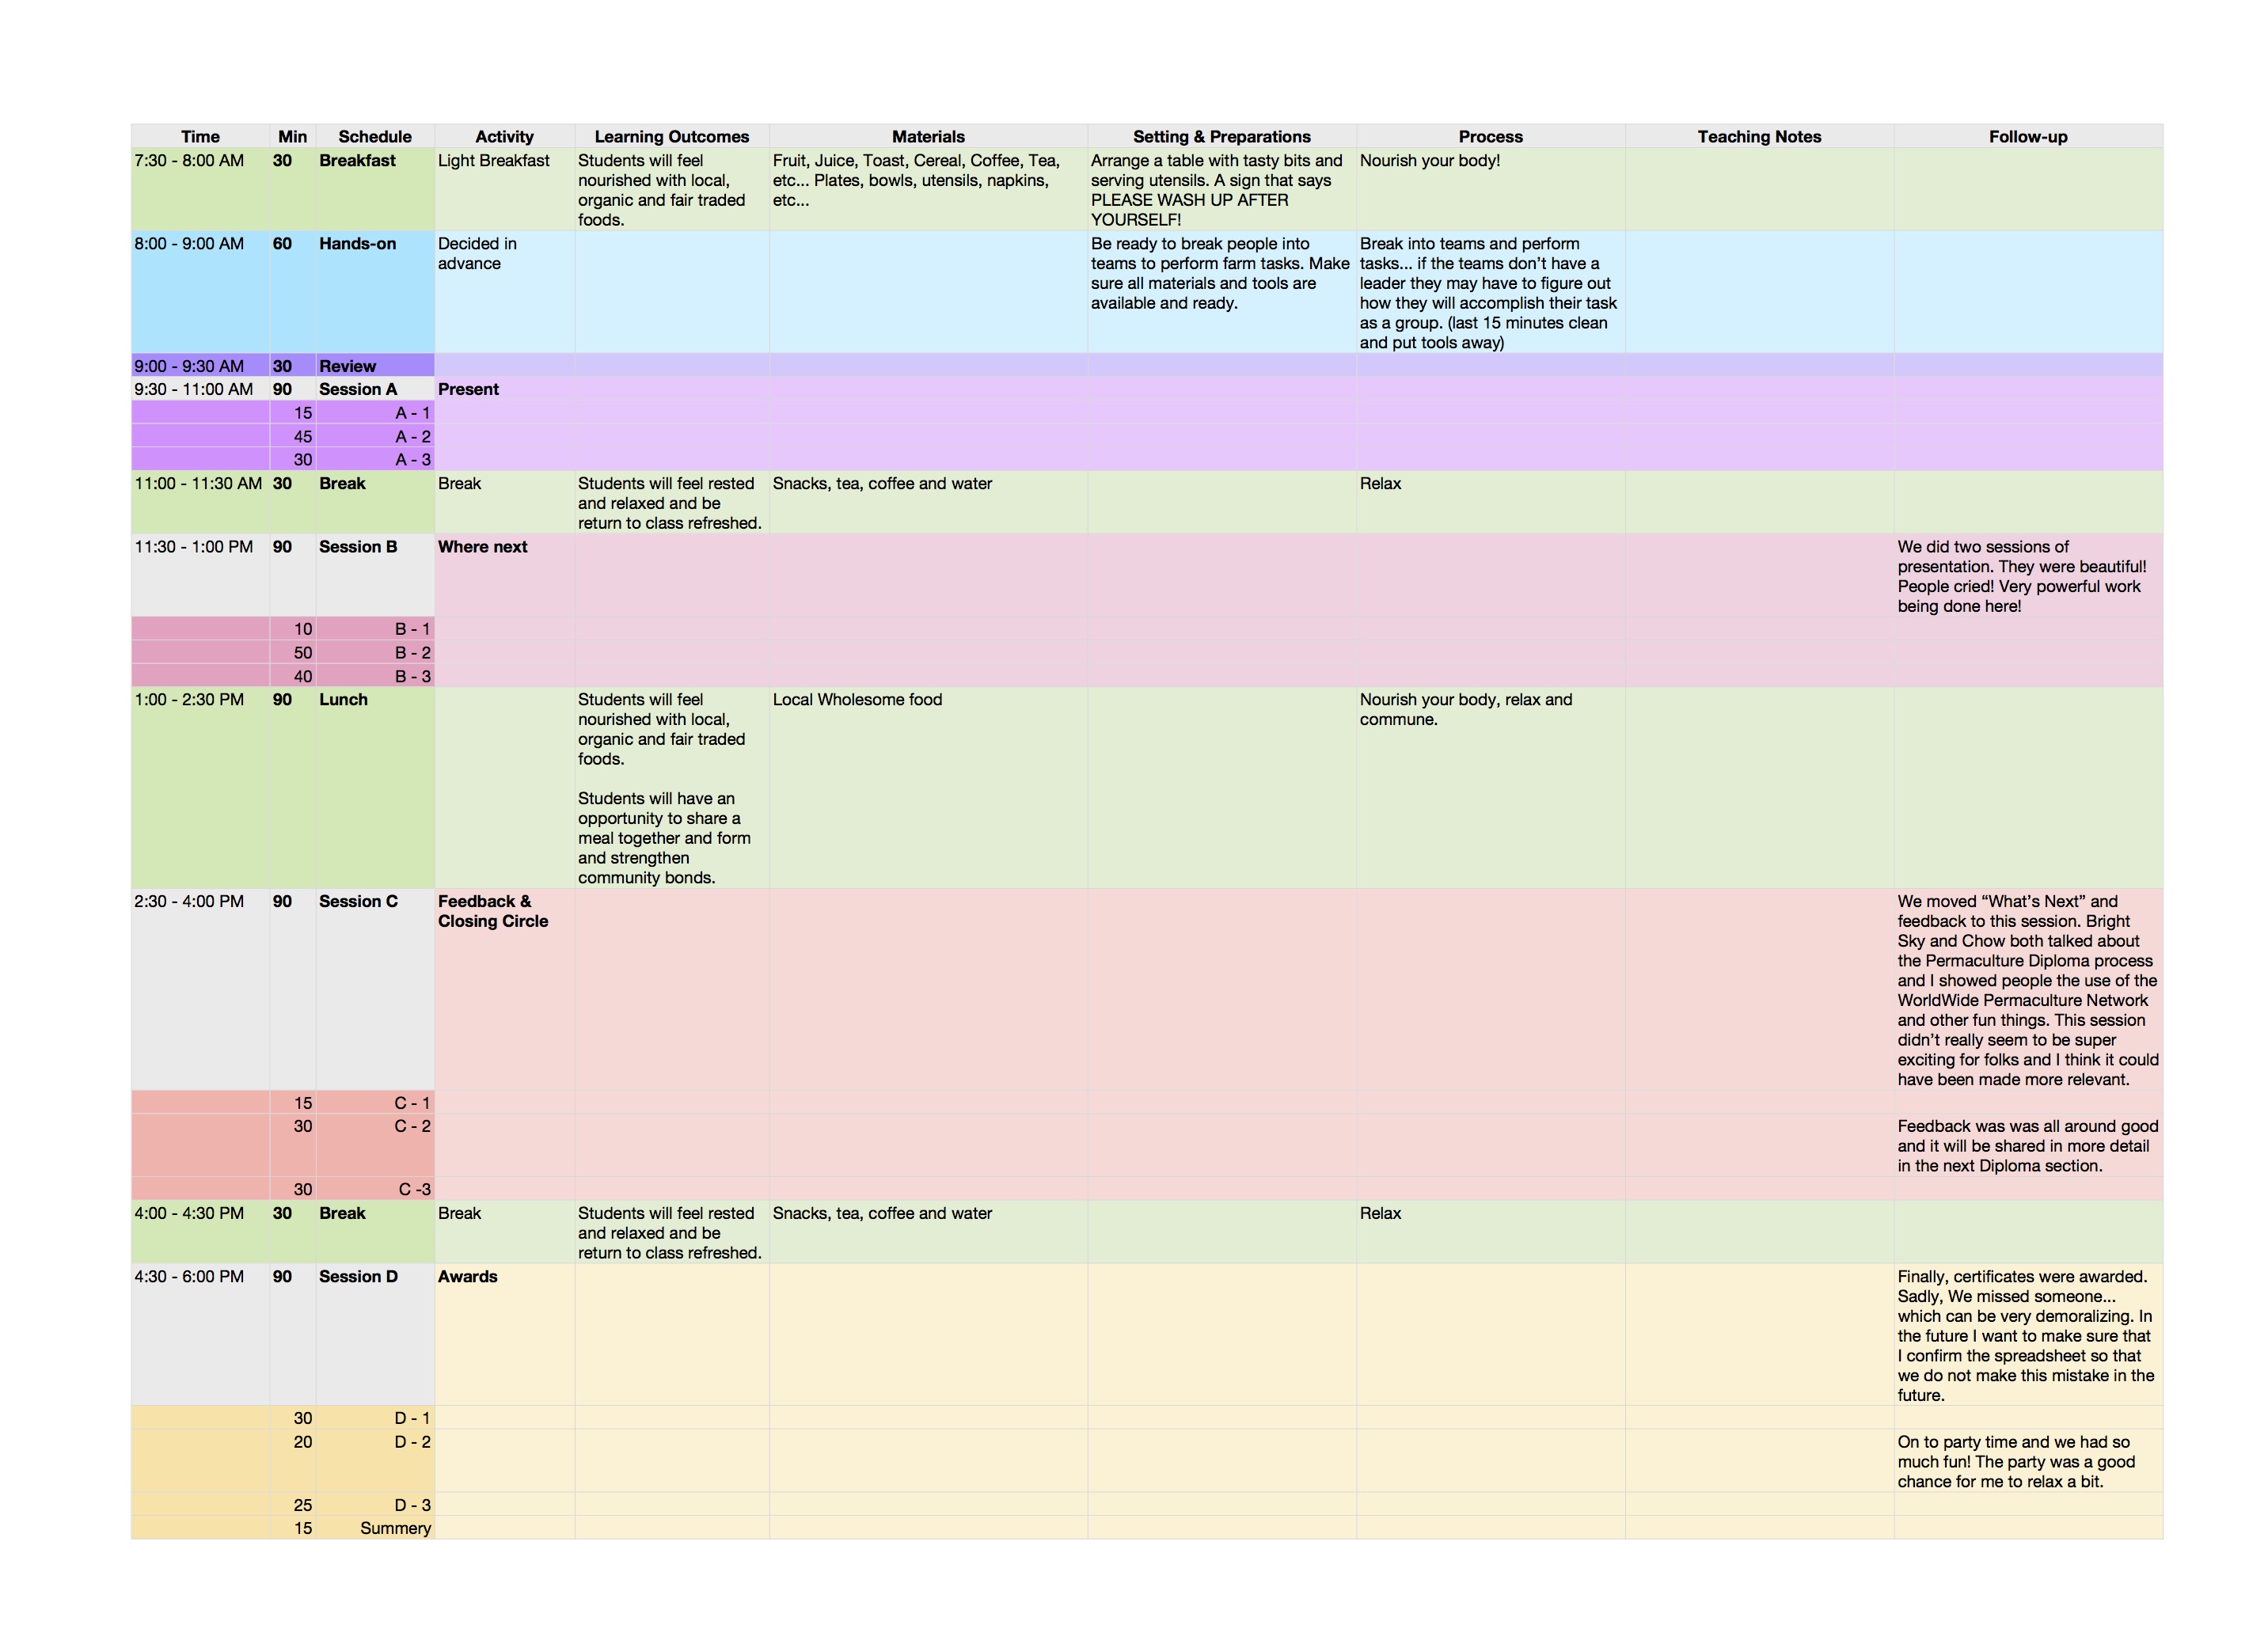
My follow-up notes can be found by clicking on the images of the course outline below. Some of this data is incomplete as well because I failed to do my followup writing during and directly after the course. This is one of the biggest lessons I learned from this course and one that I hope to correct in future courses.
Special thanks to Chowgene Koay and Daniel Woods for photography and video and all the guest speakers, teachers and course participants.
Permaculture Design Course
This video, filmed and edited by Chowgene Koay is a great summery of the course implementation. This video was posted along with my course follow-up article on the Permaculture Research Institute’s website.
Permaculture Design Course at Creation Flame from Chowgene Koay on Vimeo.
Day 1
7:30 – 11:30 am – Introductions
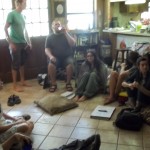
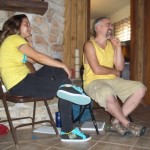
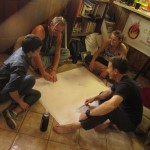
Everybody spent a little time introducing themselves and talking about what brought them to this thing called permaculture.
11:30 – 2:30 – goals
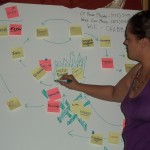
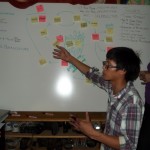
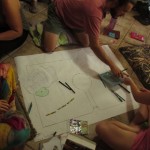
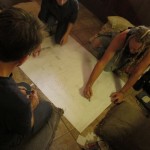
Erin begins to add graphics to the emerging image. The tinder of knowledge is fueling the flames of passion!
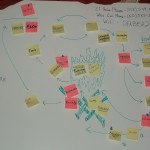
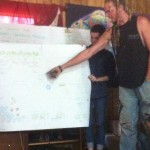
The groups intention has emerged into this amazing graphical representation of what we all hope to achieve from the course.
2:30 – 4:30 Creation Flame tour
4:30 – 6:00 History & PHILOSOPHY
Day 2
7:30 – 11:30 Ethics
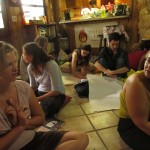
Testing decisions through an ethical framework is challenging and takes a lot of deep thought, careful consideration and thorough discussion.
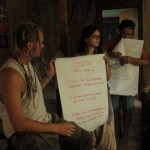
What questions would you ask when testing the work of tree planting against the Permaculture Ethic of Fair Share?
11:30 – 2:30 Best/Worst case SCENARIOS
2:30 – 4:30 Principles introduction
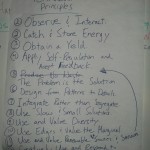
4:30 – 6:00 design methodology
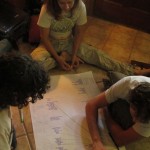
All things in nature are connected to one another. Finding ways to tie the inputs of one systems to the outputs of another is good design.
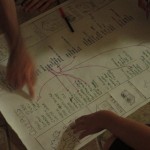
Connecting the inputs and outputs for a better understanding of how things can be arranged in design.
Day 3
7:30 – 11:30 Principles Continued
11:30 – 2:30 Zones & Sectors
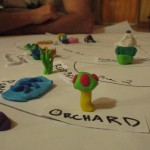
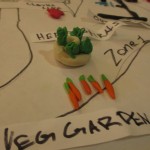
Using modeling clay to represent the placement of various elements based on a Zones and Sectors analysis.
2:30 – 4:30 Patterns introduction
4:30 – 6:00 Patterns continued
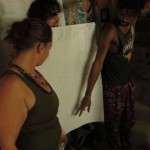
The worlds largest herb spiral! A new ‘twist’ on the herb spiral design, this group decided we should be able to walk through our herb spiral.
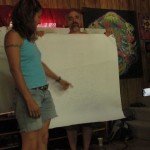
This team combined ripples in a pond with the iron cross to form a functional water efficient garden.
Day 4
7:30 – 11:30 Trees and Forest Systems
11:30 – 2:30 ecological Succession
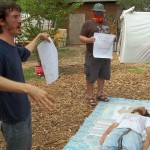
The first steps of succession are the introduction of plants to hold the soils together and mine minerals deep underground.
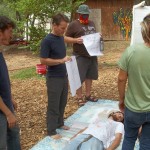
As diversity increases what used to be a gravel driveway starts to look more like a forest ecosystem.
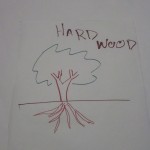
As the Hardwoods begin to populate an ecosystem it can be said that the ecosystem has reached what is considered a climax.
2:30 – 4:30 Orchards & food forests
4:30 – 6:00 Animal Systems
Day 5
7:30 – 11:30 Climate
11:30 – 2:30 Mini-Design Challenge Intro
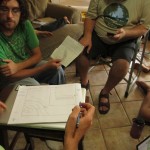
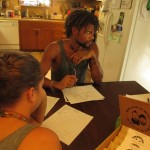
Designers brainstorm the best design given the skills they’ve learned, the goals and their limiting factors.
2:30 – 4:30 Mini-Design Challenge Cont
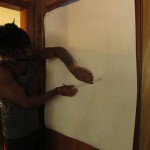
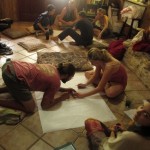
Permaculture design is a mix of art and science. It’s very important that we exercise both of those skills in the design course.
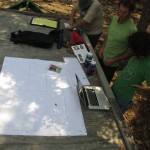
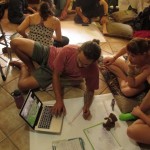
This group chose a creative strategy of making scale models of the elements they wanted then moving them around until they found the right placement.
4:30 – 6:00 Mini-Design challenge presentations
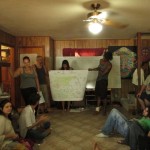
The scenarios were made to be as realistic as possible with meeting the clients goals being the highest priority.
Day 6
7:30 – 6:00 Site tours day
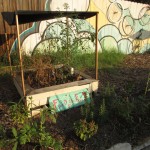
Food is Free Project is best known for their easy to install wicking beds made from recycled materials.
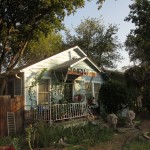
There is a lot more to the Food is Free Project than just wicking beds… The vortex is home to chickens, aquaponics, composts and community gardens!

The folks at the Food is Free Project were kind enough to loan us Bessie, the Food is Free Bus, for a fun day of site tours!
Day Off
Day 7
7:30 – 11:30 Water on this planet
11:30 – 2:30 Water Catchment Systems
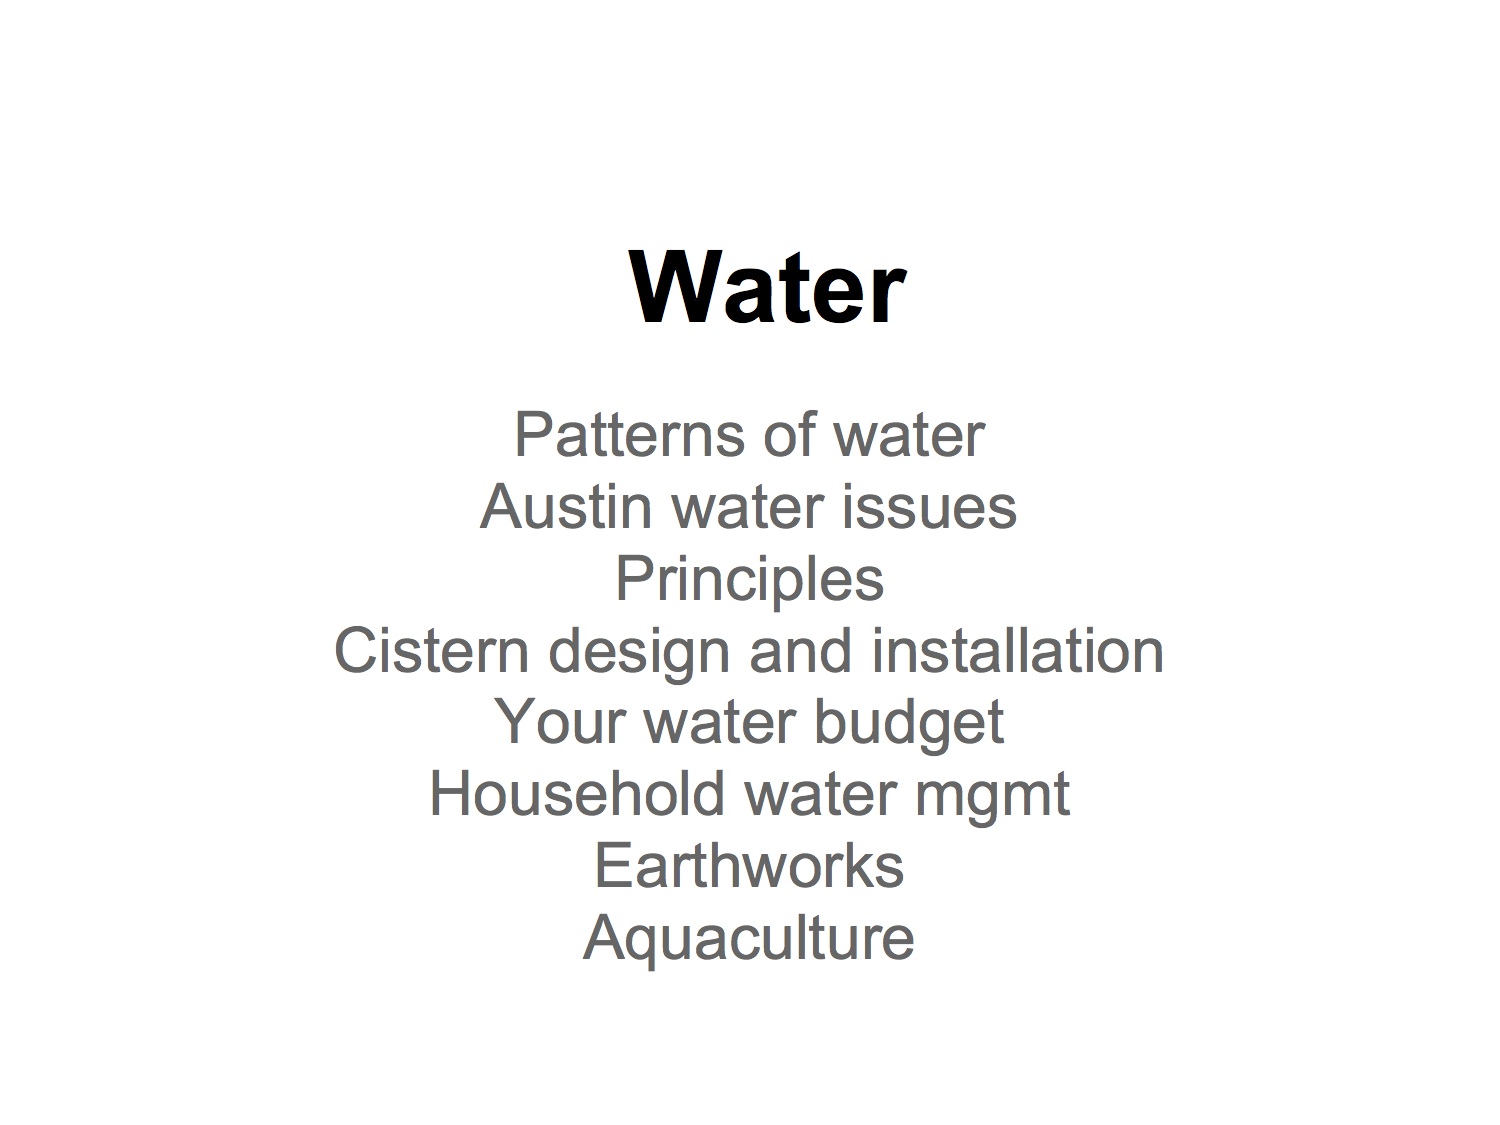
Click on the image to see the full powerpoint Dani used to give her lecture on permaculture water systems
2:30 – 4:30 Water in the landscape
4:30 – 6:00 Aquaculture
Day 8
7:30 – 11:30 Soil Chemistry
11:30 – 2:30 Soil Biology
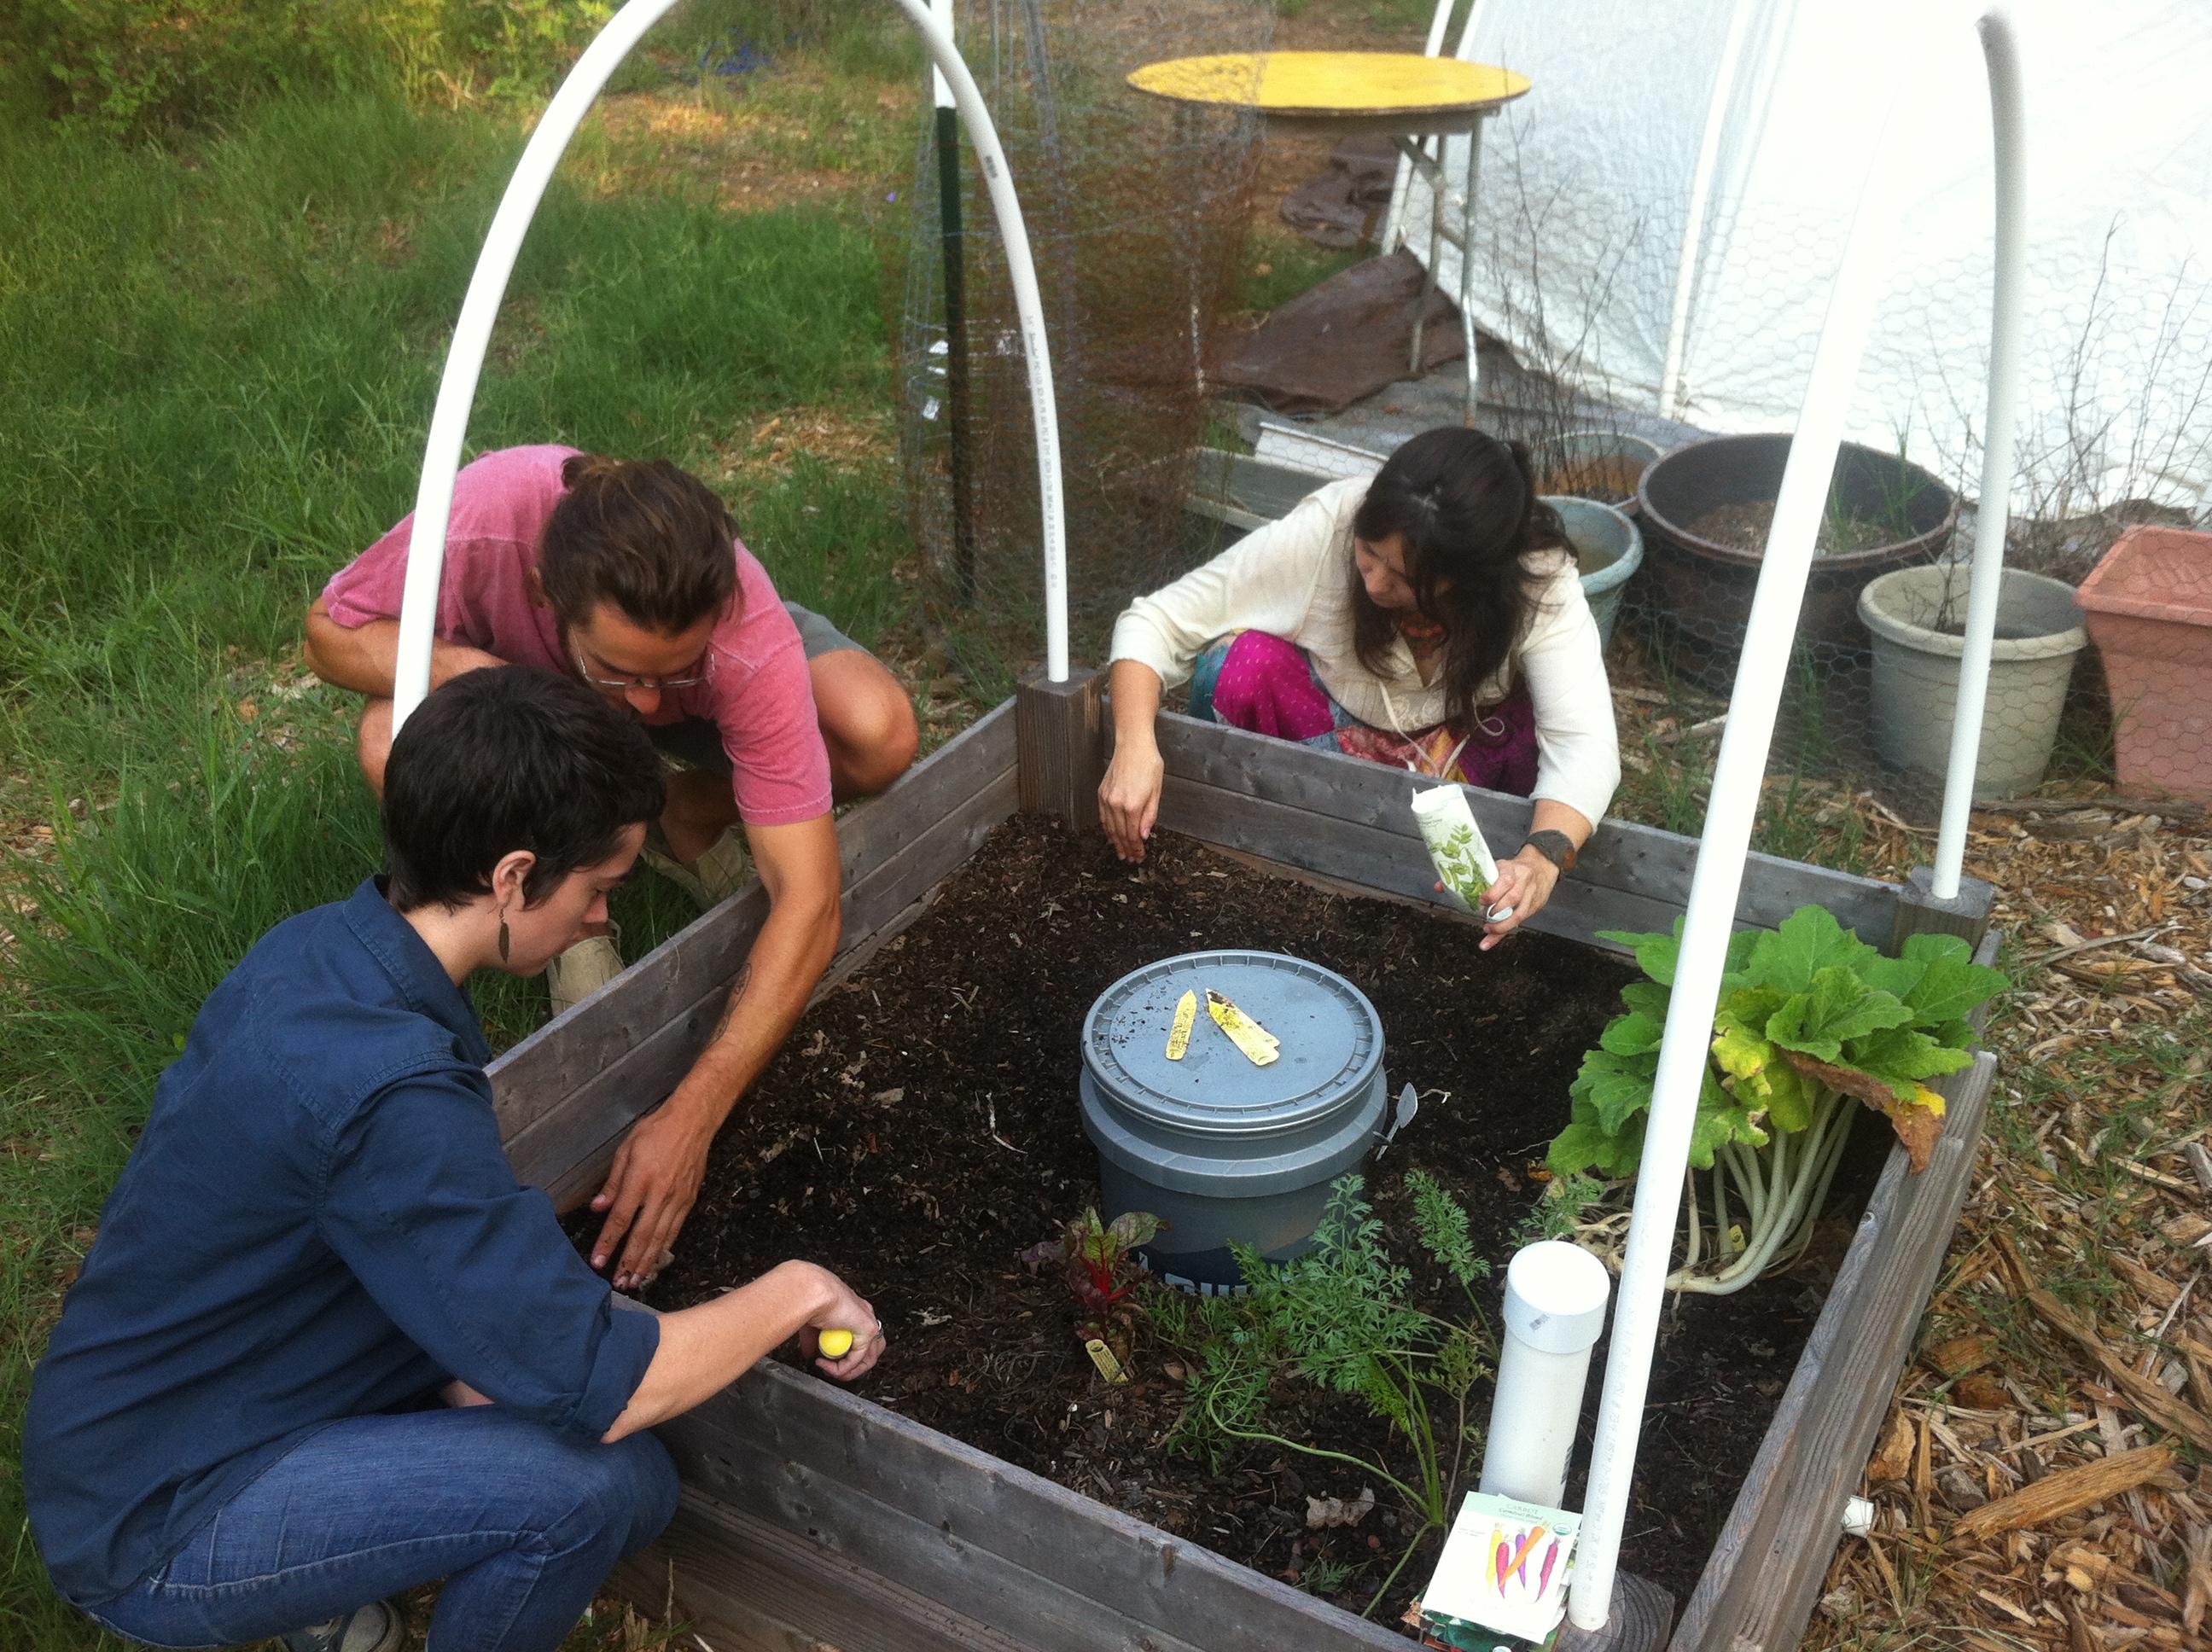
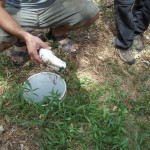
Planting seeds in a wicking bed at Creation Flame during morning hands-on session – August Permaculture Design Course
2:30 – 4:30 Making a compost pile
4:30 – 6:00 Compost tea & Bio-fertilizer
Day 9
7:30 – 11:30 Earthworks
11:30 – 2:30 earthworks cont
2:30 – 4:30 Earthworks hands-on
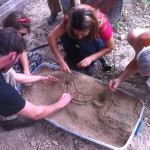
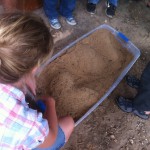
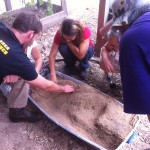
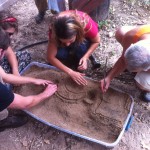
The concepts, which can often be hard to grasp on flat topographical maps, become more clear in three dimensions
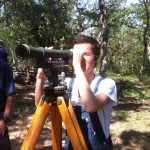
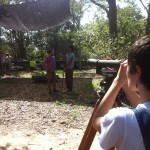
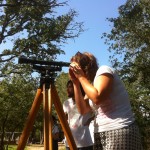
Using a transit level to map out contour lines within a landscape in preparation for earthworks design
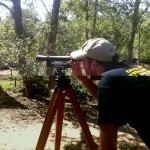
Learning to find contour with a transit level helps to remind us how easily the human eye can be tricked
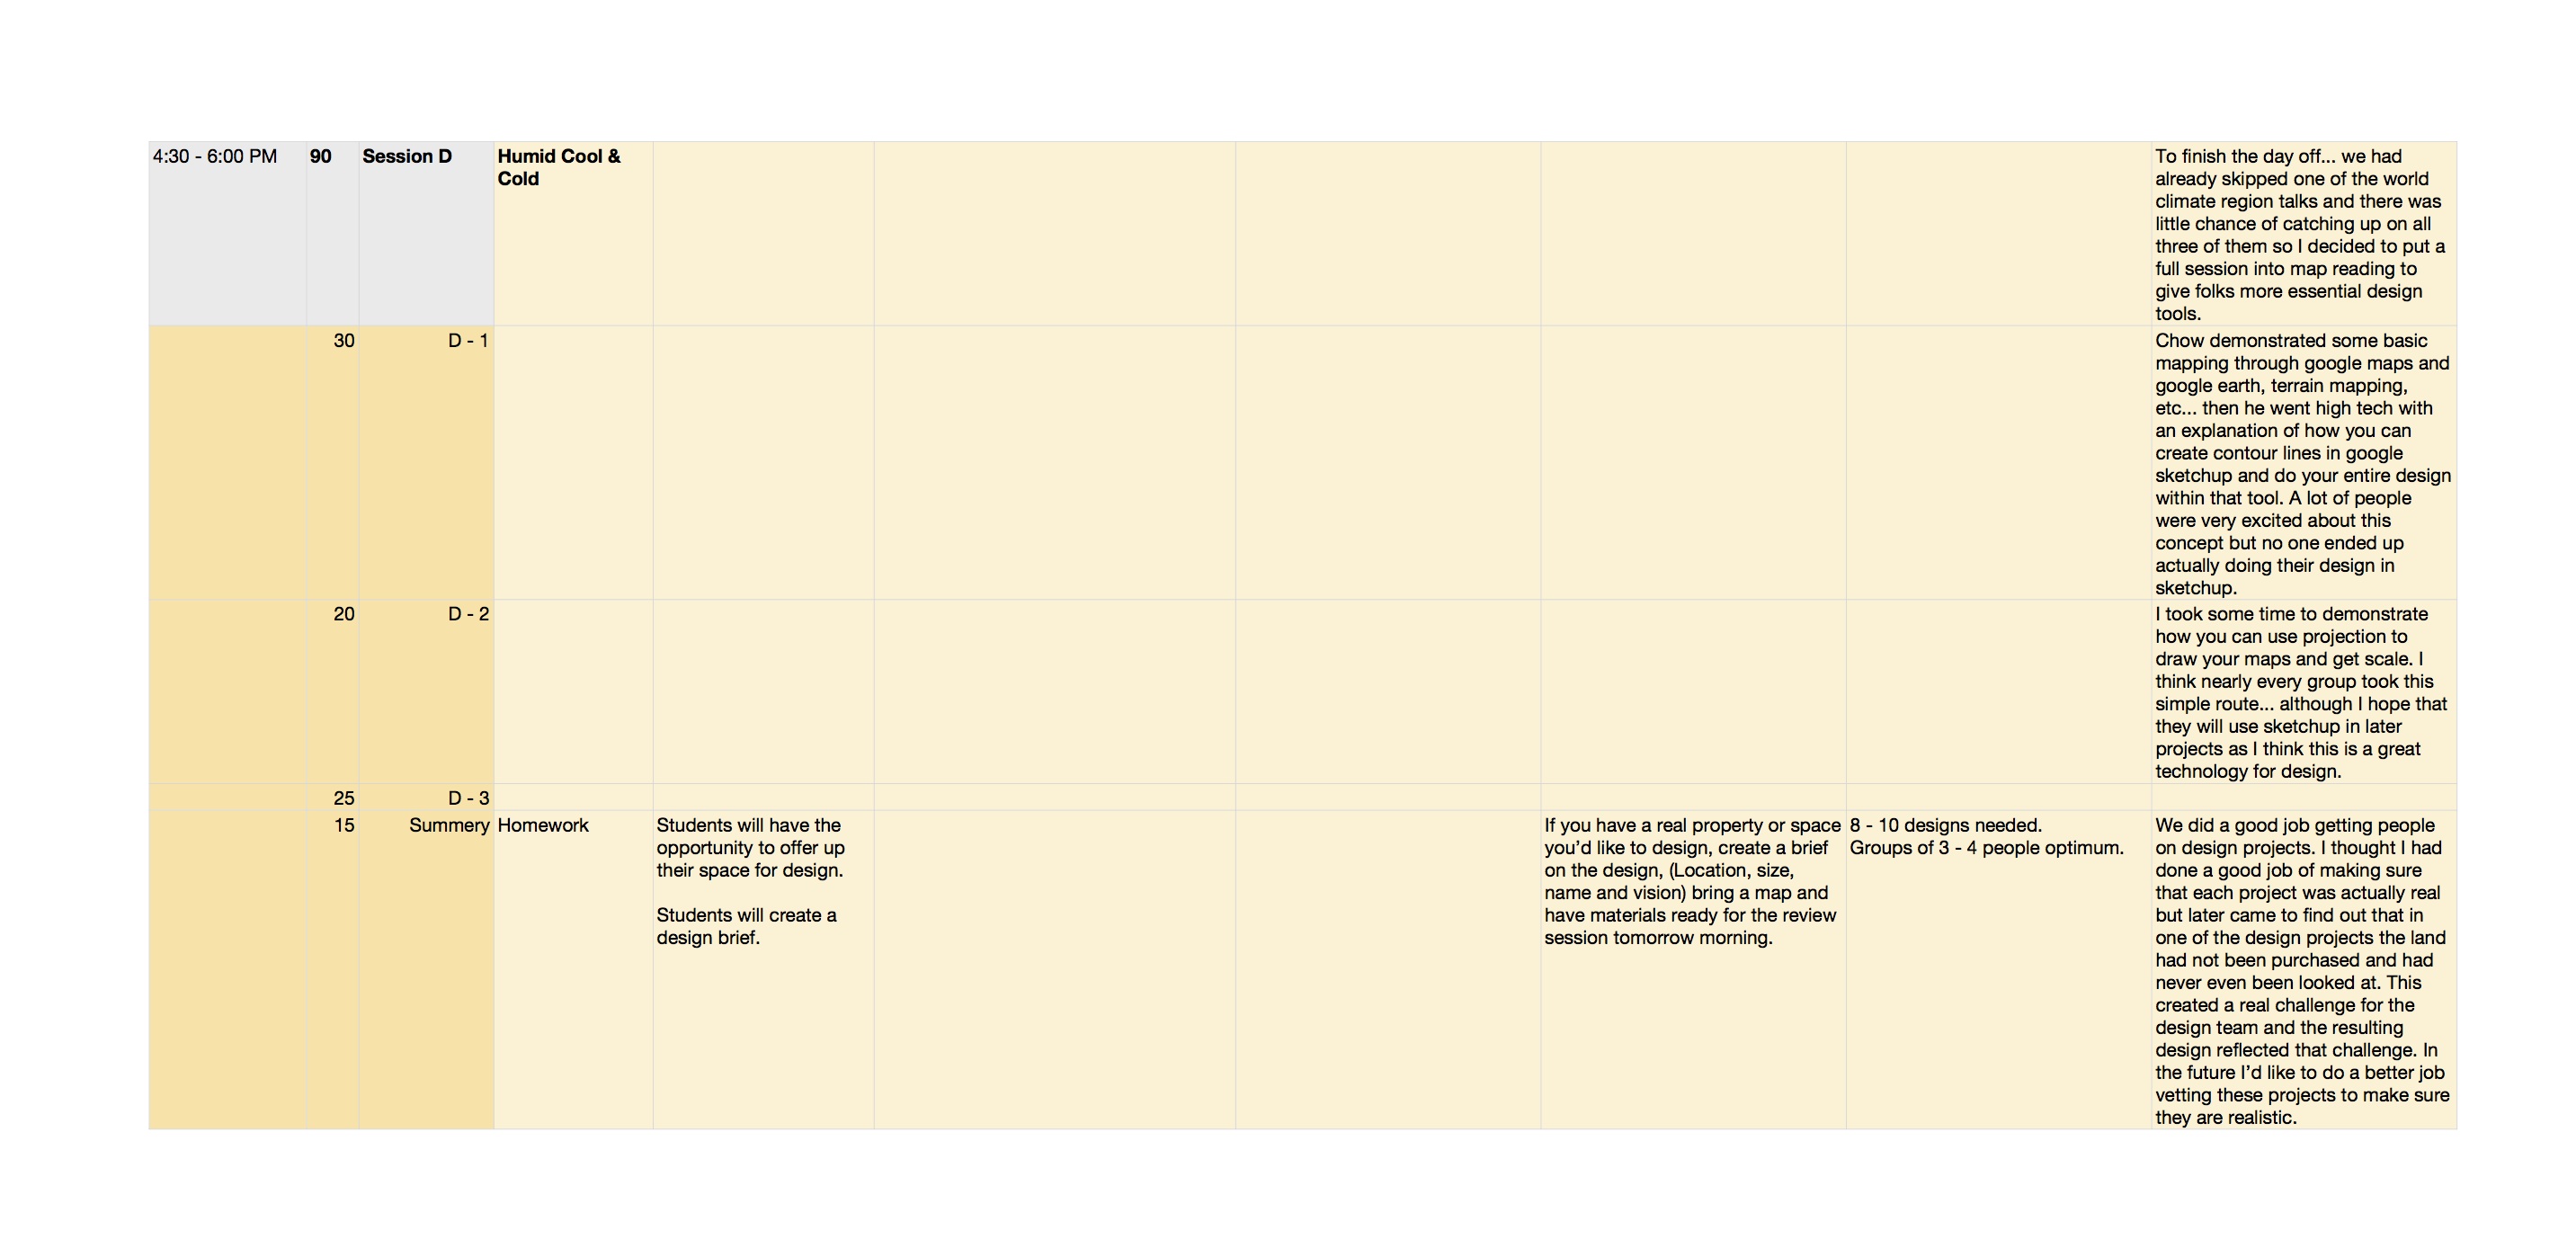
4:30 – 6:00 Map reading
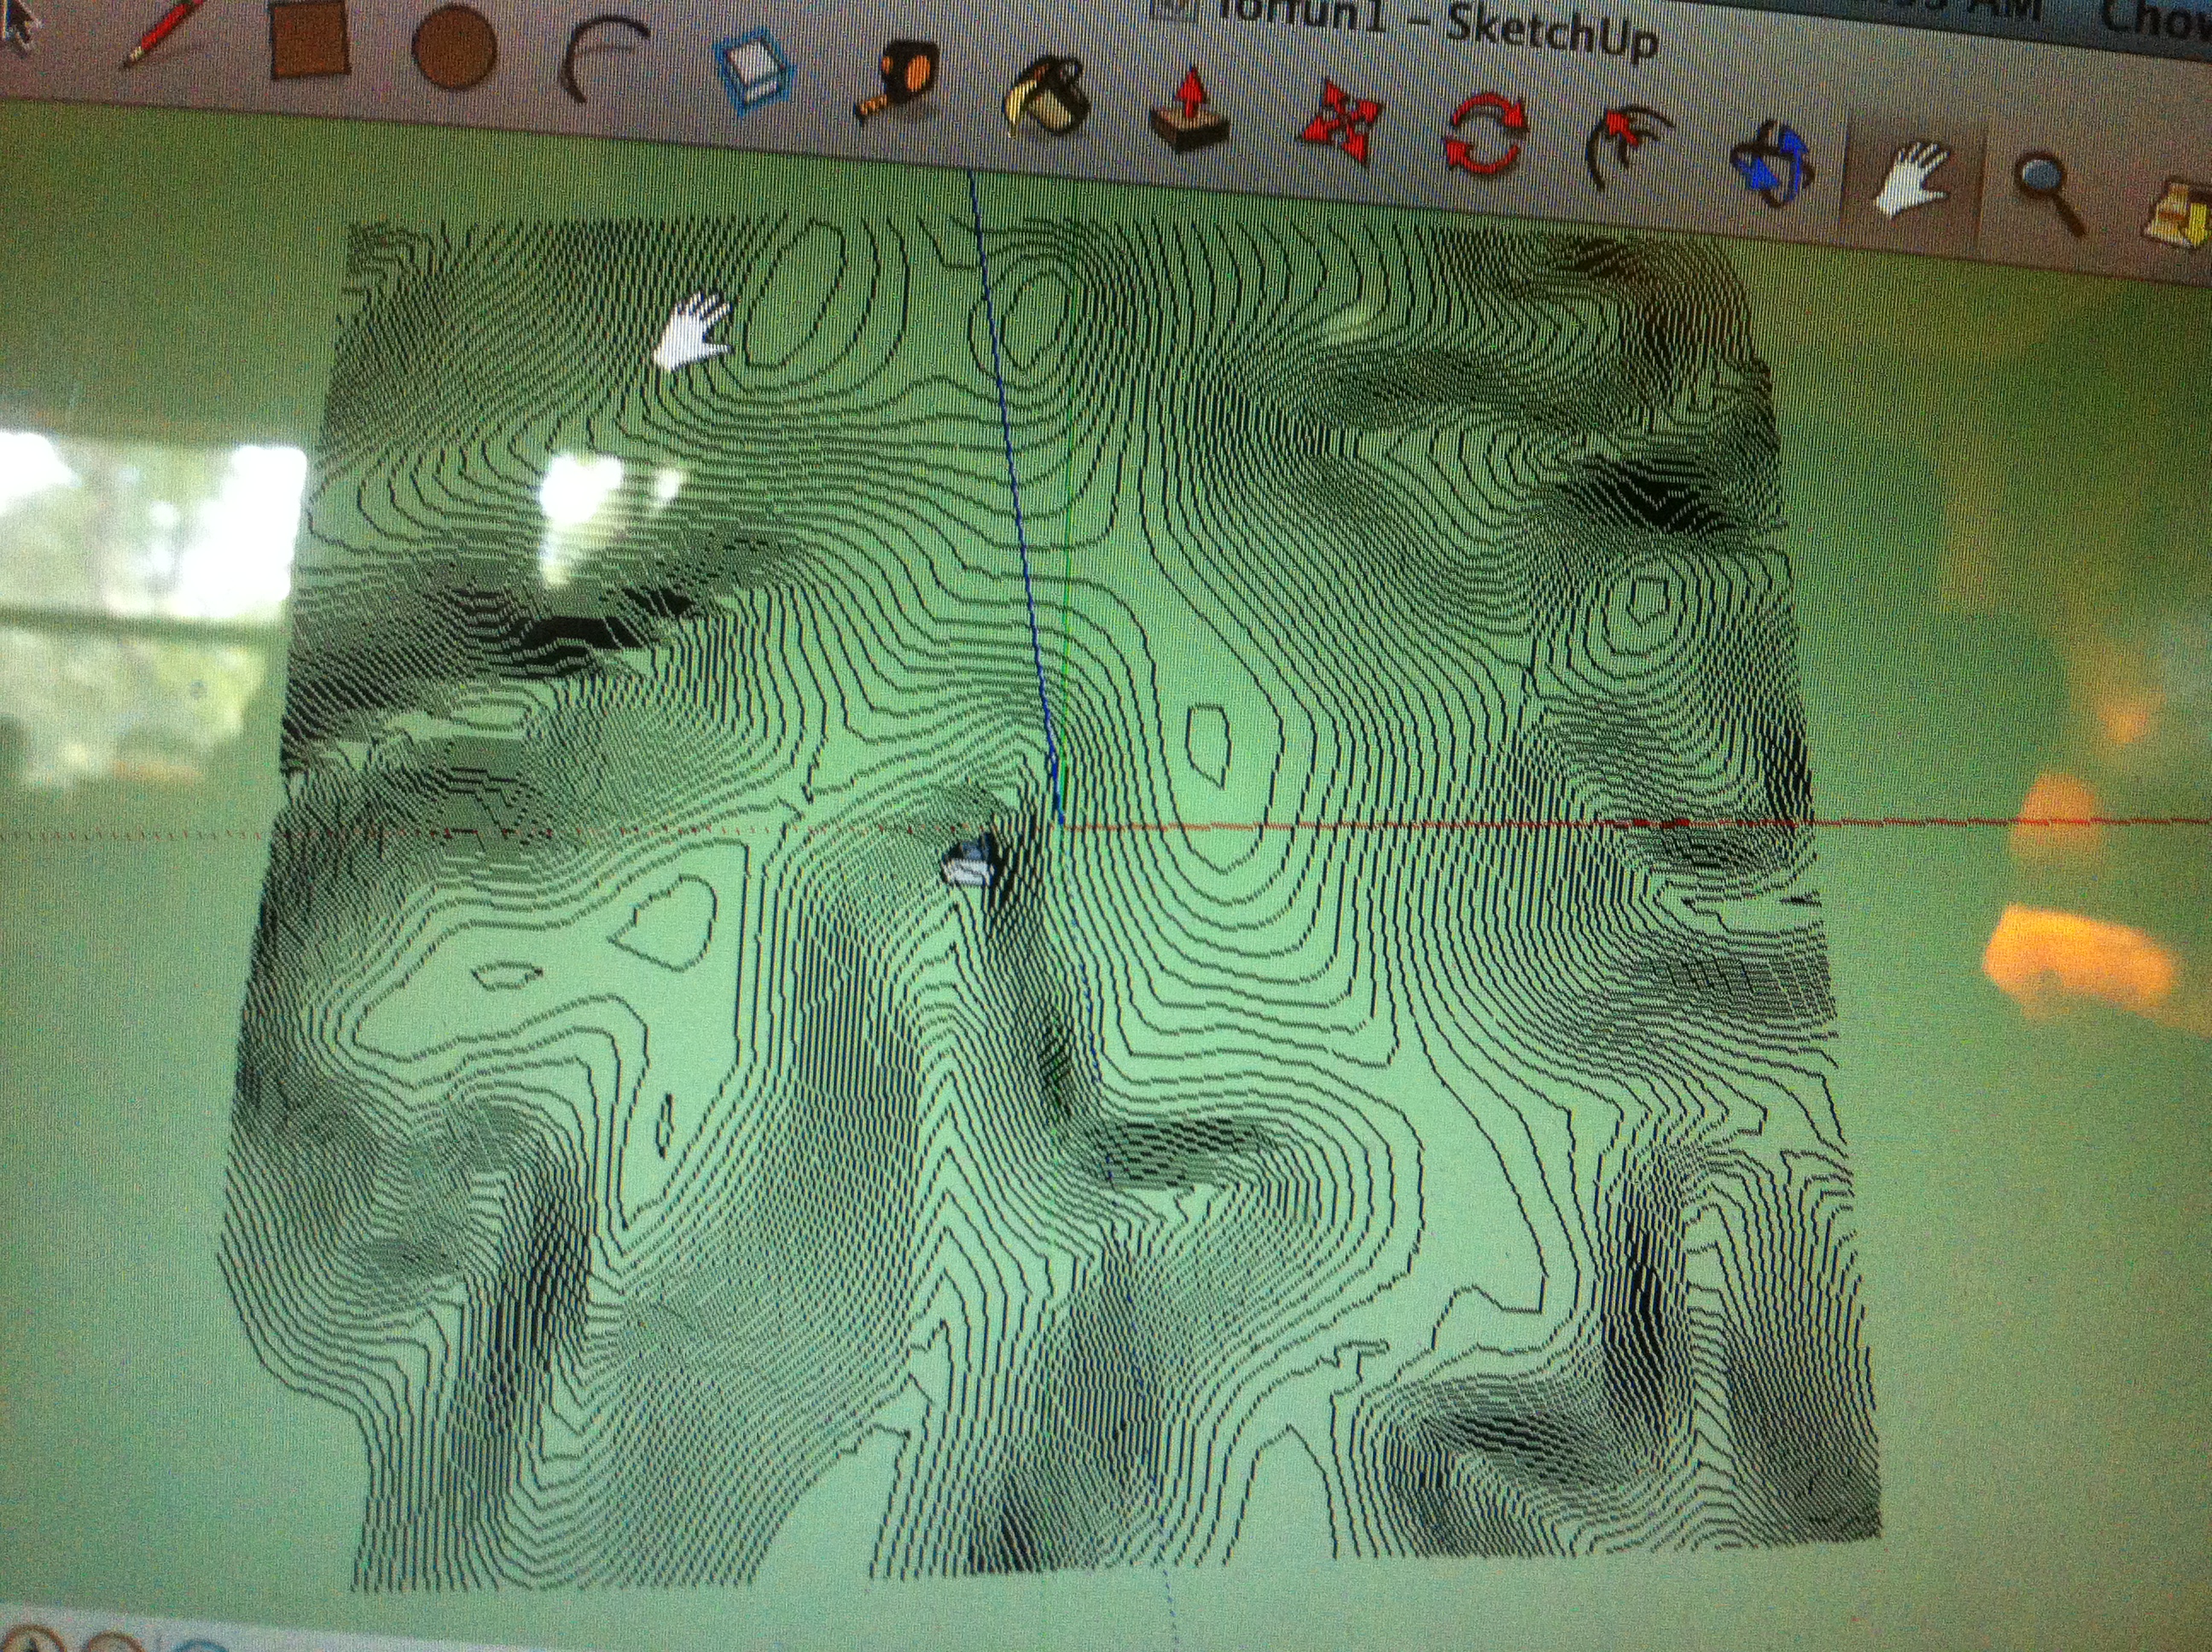
Using google scketchup to create contour maps that help determine flow and design effective permaculture earthworks
Day 10
7:30 – 11:30 Appropriate Technology
11:30 – 2:30 Natural Building
2:30 – 6:00 Final Design Introduction
Day 11
7:30 – 11:30 Climate Regions
11:30 – 2:30 Community Cultivation

A brainstormed list of the local community systems, projects and resources that support permaculture.
2:30 – 6:00 Design Time
Day 12
7:30 – 6:00 Design day
Day 13
7:30 – 6:00 Presentations Feedback and Graduation
This groups didn’t stop at property boundaries. They worked from a broad acre design out into the broader community.
This design team looked at the broader historical context for the design and then zoomed into a regenerative design strategy for 130 acres.
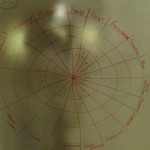
How well did we hit the mark? This bullseye represents peoples opinion about the course. Most of the feedback was clustered in the first two rings!
Additional Materials
The next section of this diploma project will detail the feedback from the course participants and my own personal evaluation of the overall design and implementation.

